In Parts 1-4 of this series I showed you how to:
- Customize the WordPress login screen
- Customize the dashboard
- Customize the admin menu
- Add help text to post editing screens
In this fifth instalment I'll show you how to customize listings screens in the admin.
In this tutorial you'll learn how to:
- Remove columns from the posts listings screens for different post types
- Resize the remaining columns
I'm going to create a plugin to do this - if you've already created a plugin after following Parts 1 to 4 of this series you may prefer to add the code from this tutorial to that plugin, giving you one plugin with all of your admin customizations.
What You Will Need to Complete This Tutorial
To complete this tutorial you will need:
- A WordPress installation
- Access to your site's plugins folder to add your plugin
- A text editor to create your plugin
Setting up the Plugin
At the beginning of my plugin, I'm adding the following lines:
/*
Plugin Name: WPTutsPlus Customize the Admin Part 5 - listings screens
Plugin URI: http://rachelmccollin.co.uk
Description: This plugin supports the tutorial in wptutsplus. It customizes the WordPress listings screens in the admin.
Version: 1.0
Author: Rachel McCollin
Author URI: http://rachelmccollin.com
License: GPLv2
*/
1. Removing Columns From the Posts Listings Screen
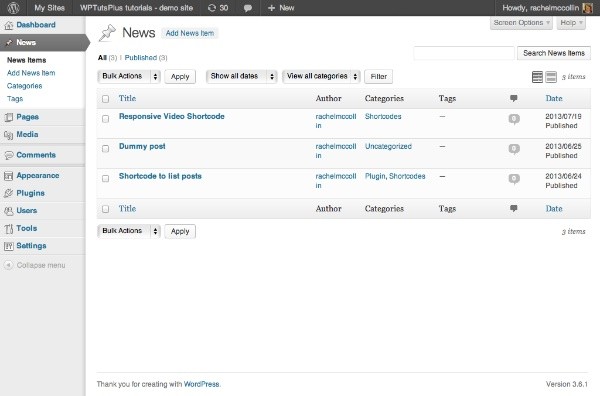
In my site I won't be using tags for posts, so I may as well remove those from the posts listings screen. Below you can see what the posts listings screen looks like with all of the default columns in place. (Note that in this screenshot, posts are referred to as news items because I changed this in part 3 of this series).

The tags column is unnecessary as it has no data, so I'll remove it.
To edit columns I use one of three action hooks:
-
manage_posts_columns, for the posts listing screen -
manage_pages_columns, for the pages listing screen -
manage_$post_type_posts_columns, for a screen listing your custom post type. So for example if I had a'cars'custom post type, I would use themanage_cars_post_type_columnsaction hook
In this case I'll use manage_posts_columns.
In your plugin, add the following:
// remove tags from posts listing screen
function wptutsplus_remove_posts_listing_tags( $columns ) {
	unset( $columns[ 'tags' ] );
	return $columns;
}
add_action( 'manage_posts_columns', 'wptutsplus_remove_posts_listing_tags' );
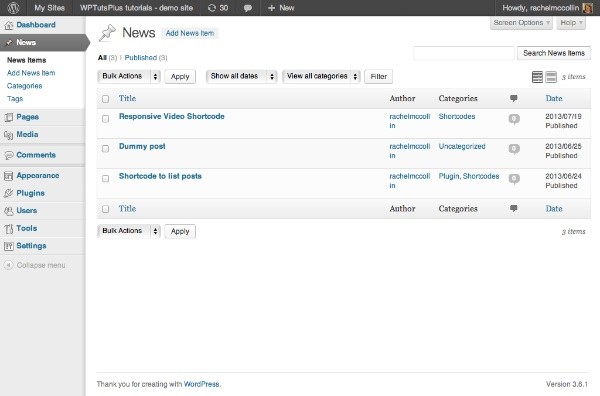
This removes the 'Tags' column, as shown in the screenshot.

The column for comments is also superfluous for this site, so I'll remove that too. Edit your function so it reads as follows:
// remove tags from posts listing screen
function wptutsplus_remove_posts_listing_tags( $columns ) {
	unset( $columns[ 'tags' ] );
	unset( $columns[ 'comments' ] );
	return $columns;
}
add_action( 'manage_posts_columns', 'wptutsplus_remove_posts_listing_tags' );
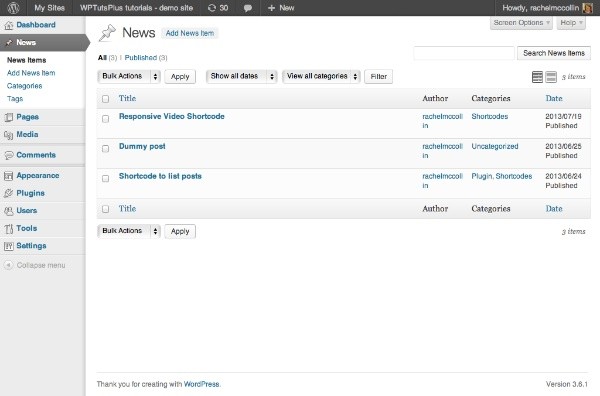
This will remove the 'Comments' column too:

So the unnecessary columns are now removed, but they've left a lot of space which I could use by making the columns that remain a bit wider.
A Note on Adding Taxonomy Columns to Listings Screens
It's worth noting that adding columns to the listings screens is done very differently. Prior to WordPress 3.5 you would add columns for custom taxonomies in a similar way to the method I've just demonstrated for removing columns. However since WordPress 3.5 that's changed. Instead of customizing the screen, you should set the 'show_admin_column' argument for the taxonomy to true when you register it. For more on this, see the Codex.
2. Resizing Columns in the Post Listing Screen
I can resize the columns using CSS. The classes I need to target are:
-
.fixed .column-author, for the 'Author' column -
.fixed .column-categories, for the 'Categories' column -
.edit-php, to ensure that my changes only apply to this particular editing screen, for which thebodytag has the.edit-phpclass.
I make these changes by defining new styles and activating them via the admin_enqueue_scripts hook.
In your plugin, add the following:
// resize columns in post listing screen
function wptutsplus_post_listing_column_resize() { ?>
	<style type="text/css">
		.edit-php .fixed .column-author, .edit-php .fixed .column-categories {
			width: 15%;
		}
	</style>
<?php }
add_action( 'admin_enqueue_scripts', 'wptutsplus_post_listing_column_resize' );
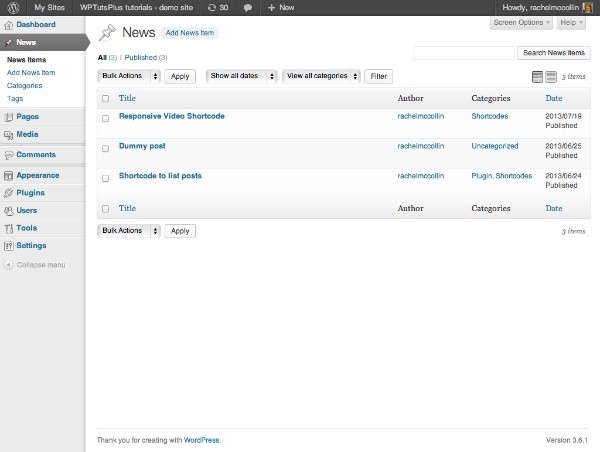
This resizes the columns so that they use the space more effectively.
Note: It's best practice to put your CSS in a separate stylesheet and call that using wp_register_style and wp_enqueue_style. As the next tutorial in this series focuses on styling the WordPress admin, I'll show you how to do that in part 6.
Summary
Customizing the post listing screens in WordPress is very straightforward - you can easily remove columns as you wish and amend the styling to make better use of the space. This will make the screens less confusing for your users, as they won't see columns which don't contain metadata.


Comments