Introduction
SpriteKit and SceneKit are iOS frameworks designed to make it easy for developers to create 2D and 3D assets in casual games. In this tutorial, I will show you how to combine content created in both frameworks into a single view to utilize the APIs that Apple has made available.
You will achieve this by adding a simple play/pause button and score-keeping functionalities to a 3D SceneKit scene through the use of a 2D SpriteKit-based interface.
This tutorial requires that you are running at least Xcode 6+ and have previous experience with basic SpriteKit and SceneKit content. If not, then I recommend you read some of our other Tuts+ tutorials about SpriteKit and SceneKit first.
It's also recommended that you have a physical iOS device to use for testing, which requires an active, paid iOS developer account. You will also need to download the starter project from GitHub.
1. Project Setup
When you open the starter project, you will see that, in addition to the default AppDelegate and ViewController classes, you also have two other classes, MainScene and OverlayScene.
The MainScene class is a subclass of SCNScene and provides the 3D content of your app. Likewise, the OverlayScene class is a subclass of SKScene and contains the 2D SpriteKit content in your app.
Feel free to look at the implementations of these classes. It should look familiar if you have some experience with SpriteKit and SceneKit. In your ViewController class's viewDidLoad method, you will also find the code for setting up a basic SCNView instance.
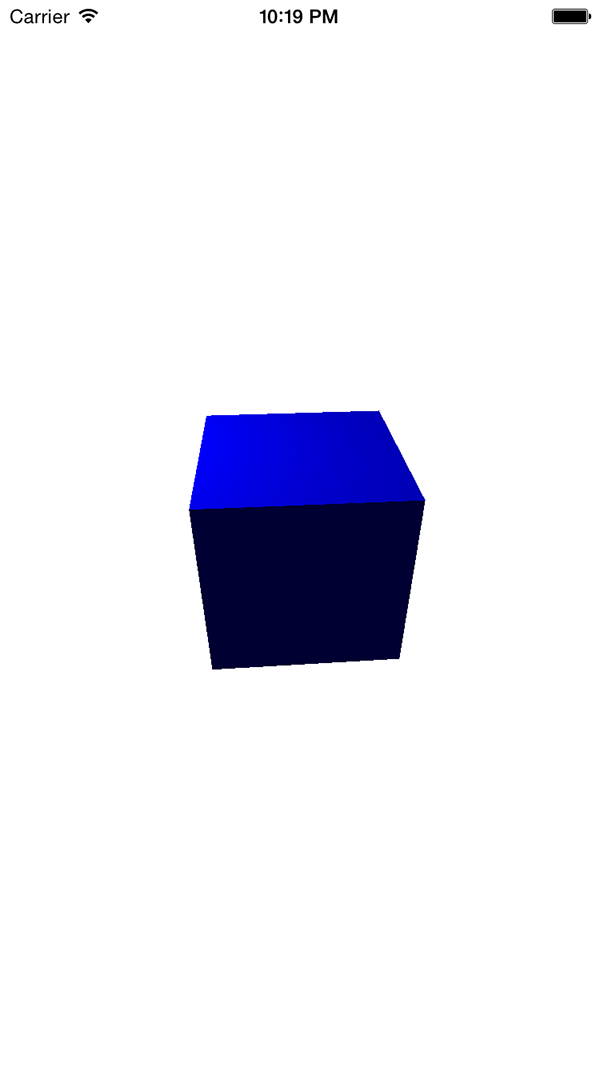
Build and run your app on either the iOS Simulator or your physical device. At this stage, your app contains a blue rotating cube.
It's time to add a SpriteKit scene on top of the 3D content. This is done by setting the overlaySKScene property on any object that conforms to the SCNSceneRenderer protocol, in our example that's the SCNView instance. In ViewController.swift add the following lines to the viewDidLoad method:
override func viewDidLoad() {
    ...
    self.spriteScene = OverlayScene(size: self.view.bounds.size)
    self.sceneView.overlaySKScene = self.spriteScene
}
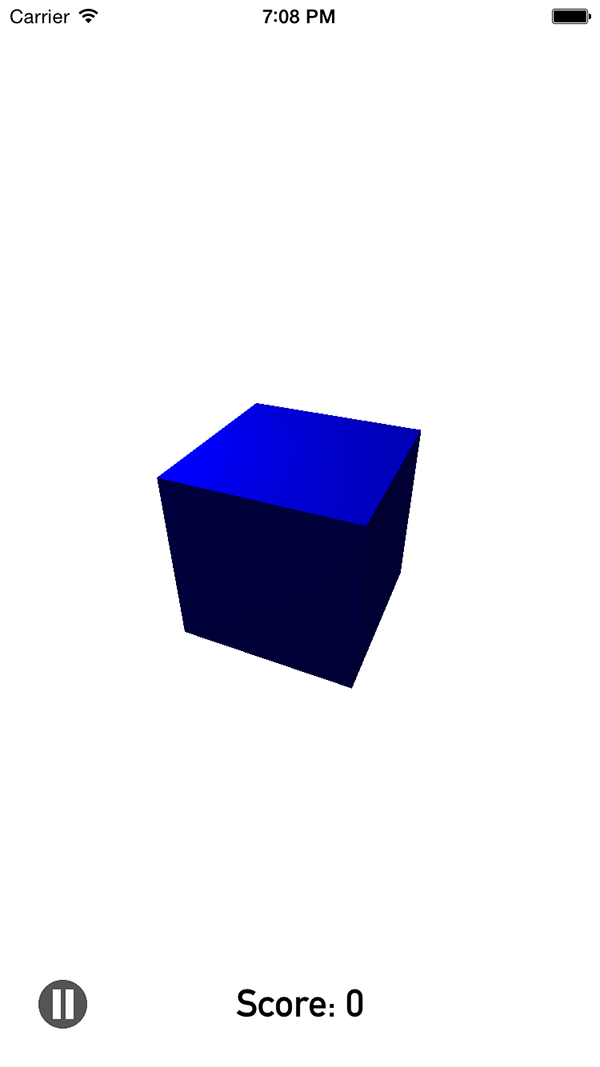
When you build and run your app again, you will see that you now have a pause button positioned in the bottom left and a score label in the bottom centre of your app's view.
You may be wondering why it is better to use this property rather than simply adding an SKView as a subview of the SCNView object. When the overlaySKScene property is used, both the 2D and 3D components of your app use the same OpenGL context to render content onto the screen. This performs significantly better than creating two separate views, which would each have their own OpenGL context and rendering pipeline. Even though the difference is negligible for this simple setup, the performance gained in lager, more complex scenes can be invaluable.
2. SceneKit and SpriteKit Interaction
There are many different ways in which you could transfer information between your MainScene and OverlayScene instances. In this tutorial, you are going to use key-value observing, KVO for short.
Before you implement the ability to pause the cube animation, you first need to add this functionality to the SpriteKit scene. In OverlayScene.swift, add the following method to the OverlayScene class:
override func touchesEnded(touches: Set<NSObject>, withEvent event: UIEvent) {

    let touch = touches.first as? UITouch
    let location = touch?.locationInNode(self)

    if self.pauseNode.containsPoint(location!) {
        if !self.paused {
            self.pauseNode.texture = SKTexture(imageNamed: "Play Button")
        }
        else {
            self.pauseNode.texture = SKTexture(imageNamed: "Pause Button")
        }

        self.paused = !self.paused
    }
}
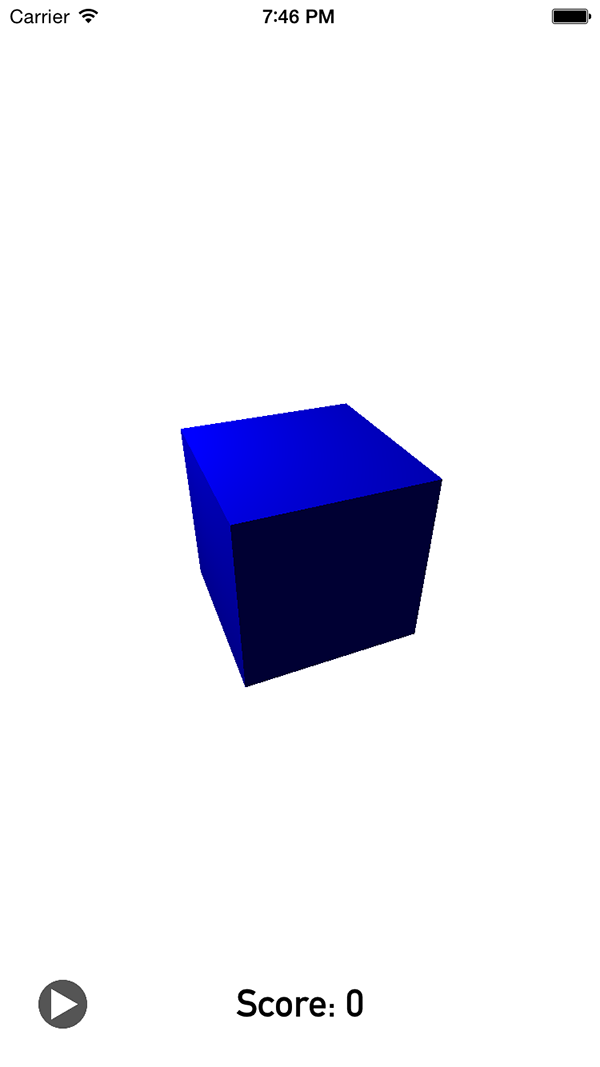
The touchesEnded(_:withEvent:) method is invoked when the user lifts its finger(s) from the device's screen. In this method, you check whether the user has touched the pause button and update the scene accordingly. Build and run your app again to check that this piece of the puzzle is working correctly.
We now need to stop the 3D cube from rotating when the pause button was tapped by the user. Go back to ViewController.swift and add the following line to the viewDidLoad method:
override func viewDidLoad() {
    ...
    self.spriteScene.addObserver(self.sceneView.scene!, forKeyPath: "paused", options: .New, context: nil)
}
Finally, add the following method to MainScene.swift to enable key-value observing:
override func observeValueForKeyPath(keyPath: String, ofObject object: AnyObject, change: [NSObject : AnyObject], context: UnsafeMutablePointer<Void>) {
    if keyPath == "paused" {
        self.paused = change[NSKeyValueChangeNewKey] as! Bool
    }
}
If you build and run your app again, the cube should stop rotating when the pause button is tapped.
Just as information can be transferred from a SpriteKit scene to a SceneKit scene, you can also send data from SceneKit instances to SpriteKit instances. In this simple app, you are going to add one point to the score every time the cube is tapped by the user. In ViewController.swift, add the following method:
override func touchesEnded(touches: Set<NSObject>, withEvent event: UIEvent) {
    let touch = touches.first as? UITouch
    let location = touch?.locationInView(self.sceneView)
    let hitResults = self.sceneView.hitTest(location!, options: nil)

    for result in (hitResults as! [SCNHitTestResult]) {
        if result.node == (self.sceneView.scene as! MainScene).cubeNode {
            self.spriteScene.score += 1
        }
    }
}
Note that we used the touchesEnded(_:withEvent:) method rather than a UITapGestureRecognizer, because UIGestureRecognizer objects cause the touchesEnded(_:withEvent:) method to be executed very inconsistently. Since you use this method for the pause button, you need to be sure that it will be called every time the user taps the screen.
In the touchesEnded(_:withEvent:) method, we perform a hit test for the final location of a touch in your sceneView. If the location of the touch corresponds with the location of the cube, one point is added to the score of your spriteScene. The text in the scene will automatically update thanks to the property observer of the score property in the OverlayScene class.
Run your app again and tap the cube to verify that the score label is updated whenever the cube is tapped.
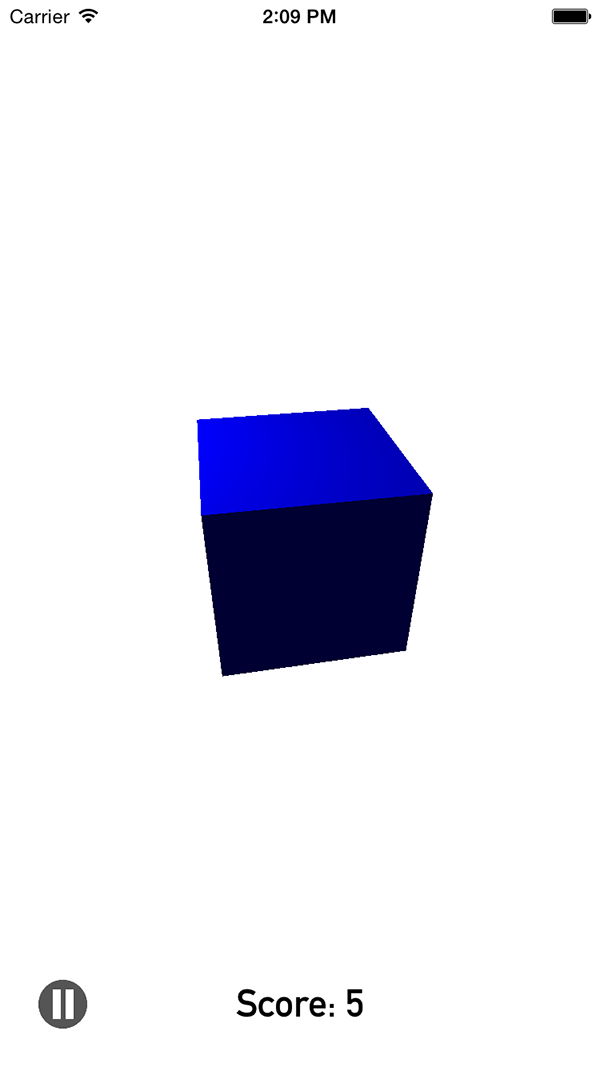
Both the pause button and the score label exemplify how you can transfer information between SpriteKit and SceneKit scenes. This information, however, is not limited to numerical and boolean values, it can be whatever data type your project needs it to be.
3. Using SpriteKit Scenes as SceneKit Materials
In addition to being able to overlay a SpriteKit scene on top of a SceneKit scene, you can also use an SKScene instance as a material for SceneKit geometry. This is done by assigning an SKScene object to the contents property of an SCNMaterialProperty object. This lets you easily add an animated material onto any 3D object.
Let's look at an example. In your app, you are going to add a simple color transition animation to the cube instead of the static blue it currently has. In the init method of the MainScene class, replace the following code block:
override init() {
    super.init()

    let cube = SCNBox(width: 3, height: 3, length: 3, chamferRadius: 0)
    let cubeMaterial = SCNMaterial()
    cubeMaterial.diffuse.contents = UIColor.blueColor()
    cube.materials = [cubeMaterial]
    self.cubeNode = SCNNode(geometry: cube)
    self.cubeNode.runAction(SCNAction.repeatActionForever(SCNAction.rotateByX(0, y: 0.01, z: 0, duration: 1.0/60.0)))
    ...
}
with this code block:
override init() {
    super.init()

    let cube = SCNBox(width: 3, height: 3, length: 3, chamferRadius: 0)

    let materialScene = SKScene(size: CGSize(width: 100, height: 100))
    let backgroundNode = SKSpriteNode(color: UIColor.blueColor(), size: materialScene.size)
    backgroundNode.position = CGPoint(x: materialScene.size.width/2.0, y: materialScene.size.height/2.0)
    materialScene.addChild(backgroundNode)
    let blueAction = SKAction.colorizeWithColor(UIColor.blueColor(), colorBlendFactor: 1, duration: 1)
    let redAction = SKAction.colorizeWithColor(UIColor.redColor(), colorBlendFactor: 1, duration: 1)
    let greenAction = SKAction.colorizeWithColor(UIColor.greenColor(), colorBlendFactor: 1, duration: 1)
    backgroundNode.runAction(SKAction.repeatActionForever(SKAction.sequence([blueAction, redAction, greenAction])))

    let cubeMaterial = SCNMaterial()
    cubeMaterial.diffuse.contents = materialScene
    cube.materials = [cubeMaterial]
    self.cubeNode = SCNNode(geometry: cube)
    self.cubeNode.runAction(SCNAction.repeatActionForever(SCNAction.rotateByX(0, y: 0.01, z: 0, duration: 1.0/60.0)))
    ...
}
This code snippet creates a simple SKScene instance with one background node, which is initially blue. We then create three actions for the transition from blue to red and green. We run the actions in a repeating sequence on the background node.
While we've used basic colors in our example, anything that can be done in a SpriteKit scene can be turned into a SceneKit material.
Build and run your app one last time. You will see that the color of the cube transitions from blue to red and green.
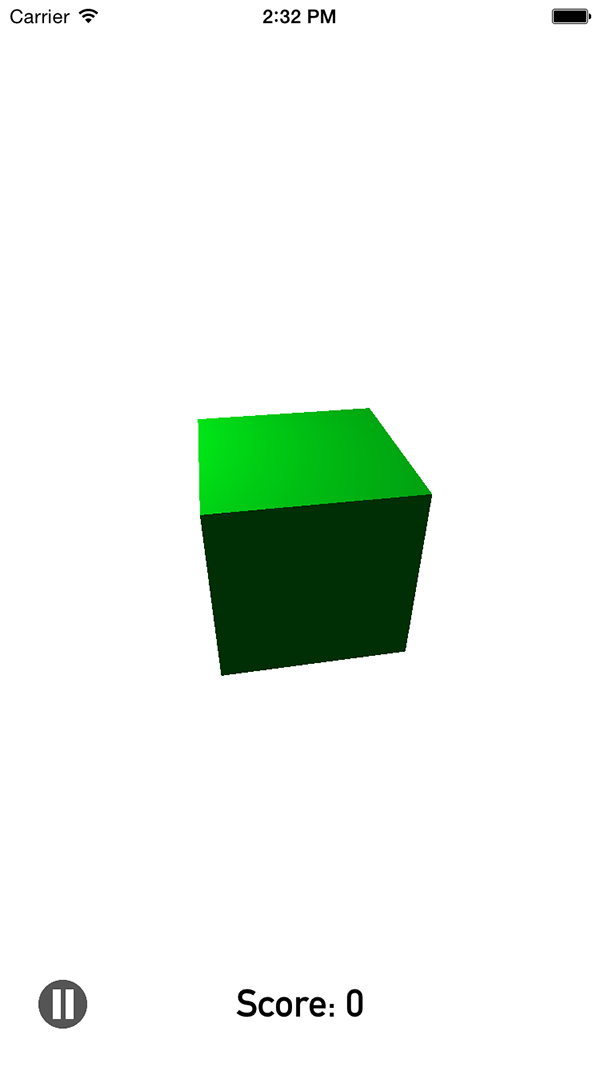
Note that pausing the SceneKit scene does not pause the SpriteKit scene that we've used as a material. To pause the animation of the material, you will need to keep a reference to the SpriteKit scene and pause it explicitly.
Conclusion
Combining SpriteKit and SceneKit content can be very beneficial in a variety of ways. Overlaying a 2D scene on top of a 3D scene allows you to create a dynamic interface and it will result in a performance gain since both scenes use the same OpenGL context and rendering pipeline. You've also learned how to leverage SpriteKit to create animated materials for 3D objects. If you have any comments or questions, leave them in the comments below.


Comments