
Selling Your Own T-Shirts
Earlier this year, I had an idea to sell T-shirts that counter our increasingly anti-social technology-oriented society. I came up with the brand concept, Sociables, and promptly set the idea aside in that folder that Jadah Sellner described at the World Domination Summit (WDS) as containing all those domains you own for business ideas that you never follow through on.
Then I discovered a free WordPress plugin for Spreadshirt.com and decided to write this tutorial to walk you through the process of launching your own WordPress-powered T-shirt store.
Another WDS attendee, Benny Hsu, recently wrote about building up his T-shirt business, Get Busy Living, to earn $100,000 in less than six months. My interest is probably more for the fun of promoting the Sociables message of community in an increasingly screen-focused world than profit and world domination:

There are many different ways to sell T-shirts online, and pros and cons to each of them. Hsu used a crowdfunding service called Teespring which I'll touch on later. The profit margins are higher for services like Teespring. However, I wanted to use a WordPress-centered store, so I turned to Spreadshirt. Like CafePress, Spreadshirt makes it easy to create and upload designs and sell merchandise. When products sell, you earn a small commission with each purchase.
CafePress offers an API, but the WordPress plugins available (MoneyPress) don't seem as well reviewed. So, I wanted to go with startup Spreadshirt and indy developer Thimo Grauerholz's own Spreadshirt Plugin.
This tutorial will walk you through all the steps I took to build my Spreadshirt shop and launch a WordPress site for my Sociables store.
Choosing Your Brand
There are millions of T-shirt concepts on the web. I can't help you with your vision, but once you have it, you need a domain and a Twitter, Pinterest and Instagram account. I've given up on Facebook pages (due to Facebook making it difficult to reach your fans without paying) but Hsu actively makes use of targeted Facebook advertising to drive sales.
I use Domainr to find available domain names for my business ideas. Sociables.com was taken, but Sociables.io was available. Domainr also has an iOS app. I've found Gandi.net to be the most economical and functional .io domain registrar. @Sociables was taken on Twitter, so I went with @SociablesIo.
Choosing a WordPress Theme
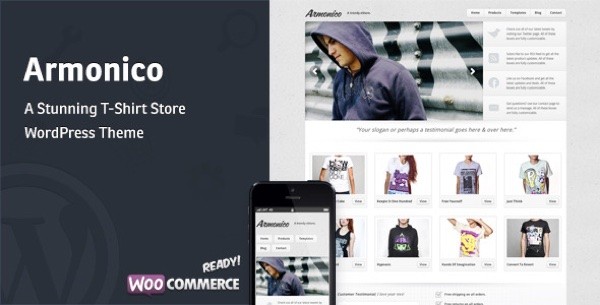
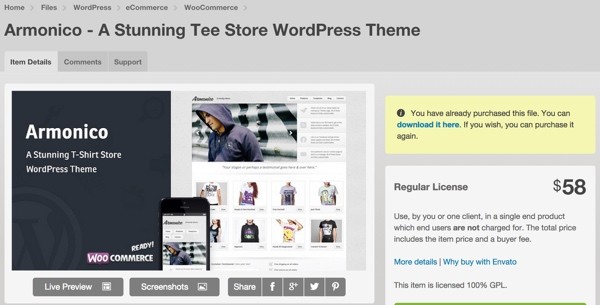
I searched Google and browsed ThemeForest for T-shirt shop designs and ultimately chose Armonico for $58. While I won't be using the WooCommerce features (because I want Spreadshirt to handle my product fulfillment), I liked the design and polish that Armonico offers. They were also quick to respond to my pre-sale support inquiries and offered a 30-day money back guarantee.
Hiring a Designer
I'm not a graphic designer so I turned to a local Pacific Northwest person I've worked with in the past. He calls himself Pope, and he's one of the people who spends a month at Burning Man putting up and taking down the city. He's also a fast and efficient graphic designer with expertise in WordPress, and actually runs his own T‑shirt shops as well. He took a few of my conceptual ideas and helped them come to life:
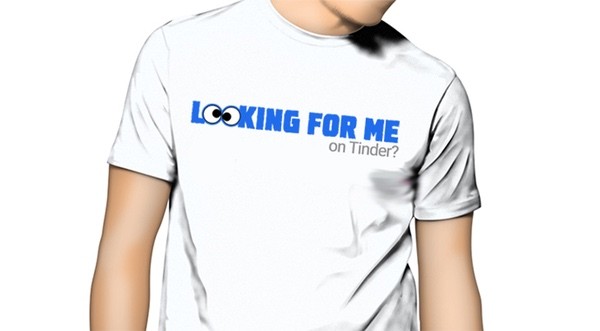
Note: It's the fault of my limited design budget that I didn't ask him for non-white, non-male T-shirt models.
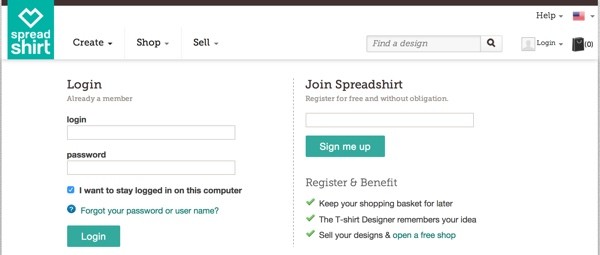
Sign Up With Spreadshirt
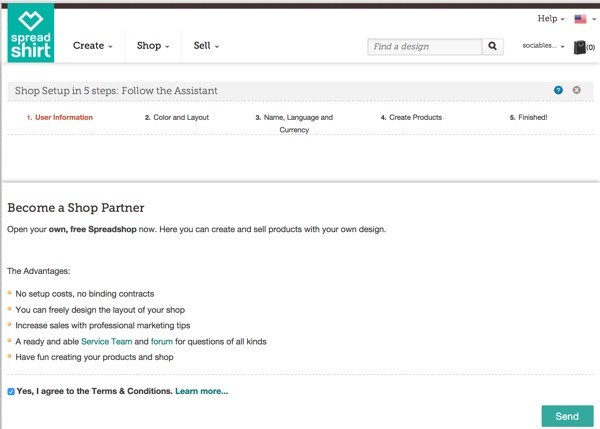
First, you need to sign up with Spreadshirt.com:
Then, visit the create a shop wizard:
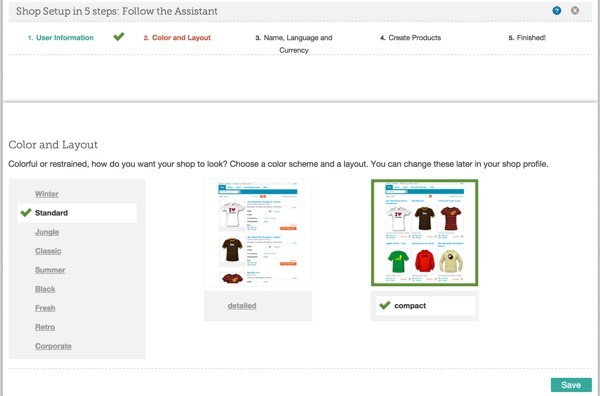
Select a color and layout for your Spreadshirt-hosted shop. It won't matter too much as you'll be directing site visitors to your WordPress-powered shop:
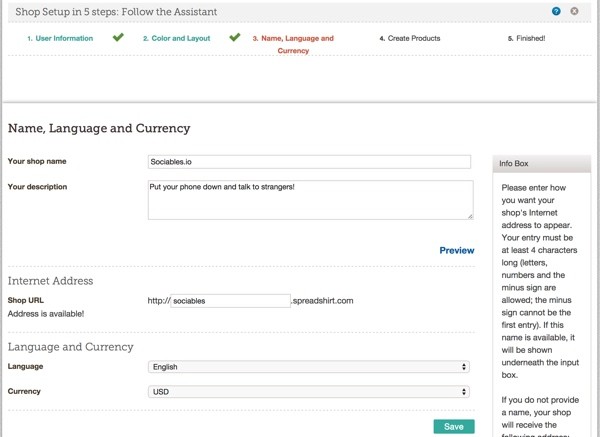
Name and describe your shop:
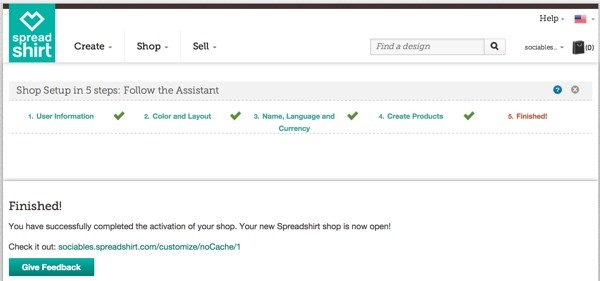
You should see this when you're done:
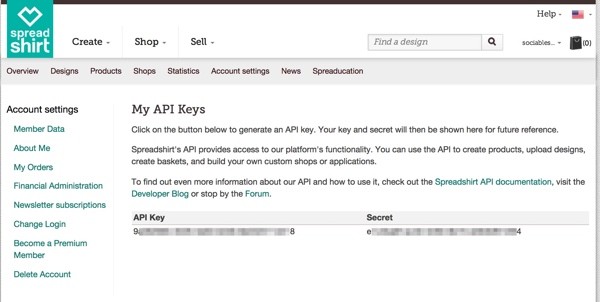
Spreadshirt also has an API which you'll need access to for the plugin. Sign up from their blog:

Make a note of your API Keys, which you'll use later to configure the plugin:
Setting Up Your Hosting
I'm running Sociables at Digital Ocean because it's inexpensive and offers fast SSD drives for hosting. You can find my visual guide to installing WordPress at Digital Ocean here. Any vanilla WordPress installation will do. While you can also integrate WP-Spreadplugin into your existing WordPress site, this tutorial focuses on building a standalone WordPress-powered T-shirt shop from scratch.
Installing Your Theme
First, you'll need a theme. I chose to purchase Armonico at ThemeForest, for $58:
As part of the Armonico theme installation, it will ask you to install a couple of other plugins: MP Isotopes and MP Core. It provides you with links to these within the administrative dashboard. I also found that I ran into a couple of bugs unless I installed WooCommerce. However, I didn't need to use any WooCommerce features.
Note: If you decide to use WooCommerce, then you'll be responsible for taking payments and product fulfillment. The best part about these T-shirt shop services is that they handle all of this.
Then, I installed the other plugins I commonly recommend: Yoast SEO, Google Analytics, Contact Form 7, and Mailgun. The latter two I use to power my contact form emails—a Tuts+ tutorial is on its way for this, so check my instructor page; it's scheduled to appear on December 16th, 2014.
Add the Spreadshirt Plugin to WordPress
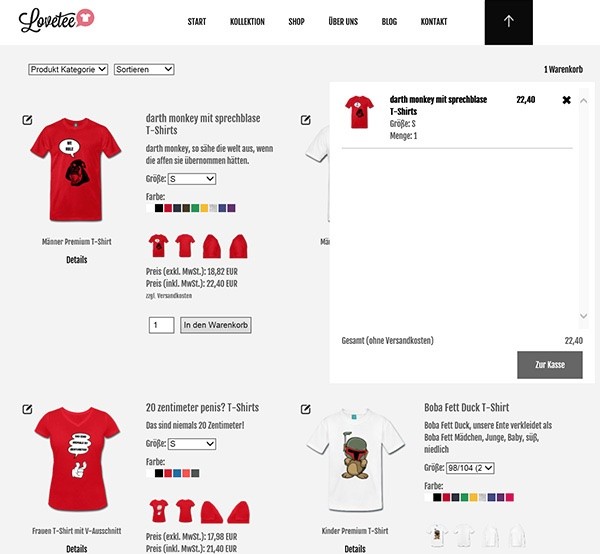
Now, we'll install the Spreadshirt Plugin for WordPress. It's developed by Thimo Grauerholz. He runs a T-shirt site with a custom version of it at Lovetee. Thimo was also gracious and quick in responding to my email query.
From the dashboard, add a new plugin and search for WP-Spreadplugin:
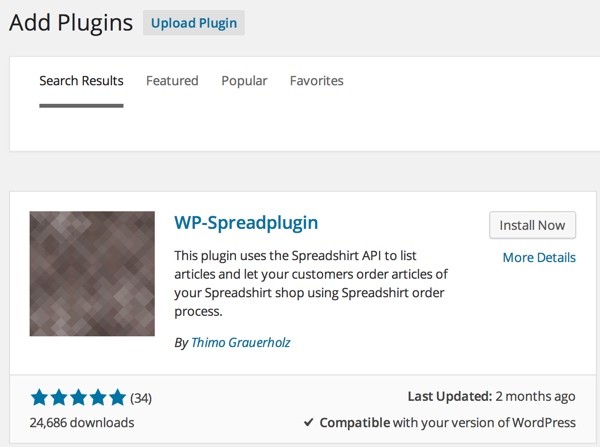
Click Install Now and activate it:

Uploading Your Designs to Spreadshirt
Before we can use Spreadplugin, we have to upload our designs to Spreadshirt and create products:
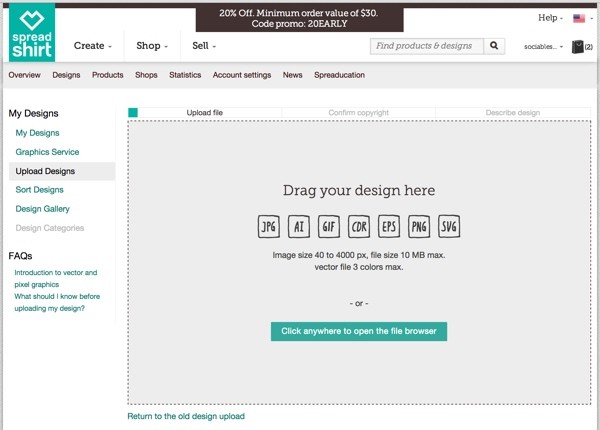
Choose the design that you'd like to upload:
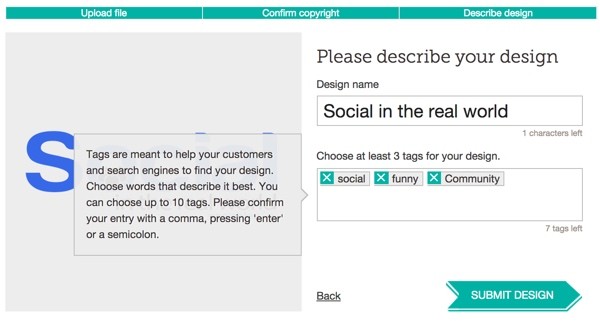
Name and tag the design:
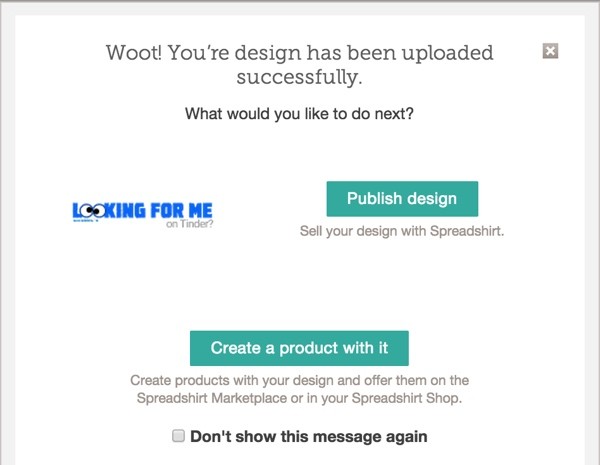
You should see this after each design has been uploaded:
Create Categories
We also need to create categories within Spreadshirt. I created a category for each design so that when people click through from the Sociables home page, they'll see men's and women's T-shirts for the design, e.g. tinder, talks to strangers, etc.
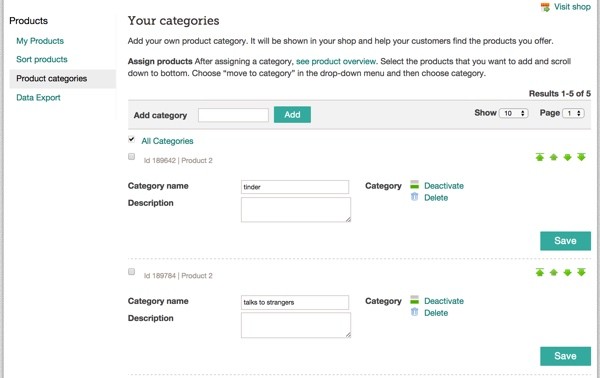
Make note of each category ID number, because you'll need to use them when placing the Spreadshirt plugin shortcode on WordPress posts for each design.
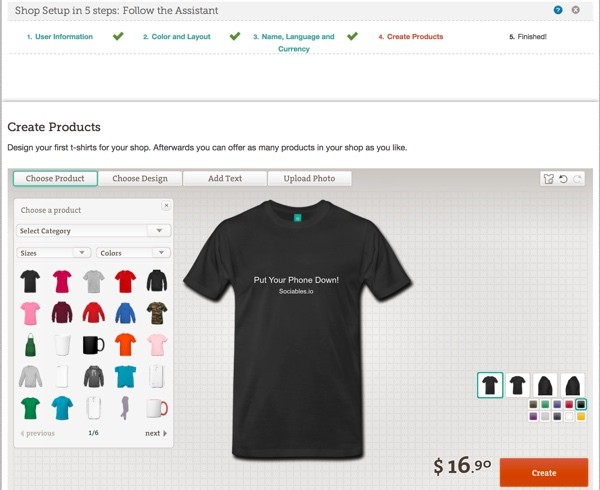
Create Products Within Spreadshirt
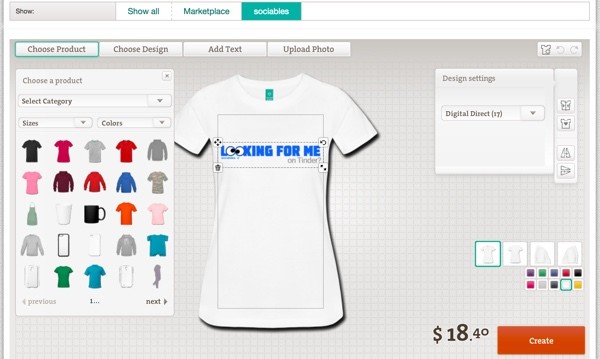
Next, we create products once for men and once for women. Choose the type of shirt, gender and color in the Spreadshirt product designer:
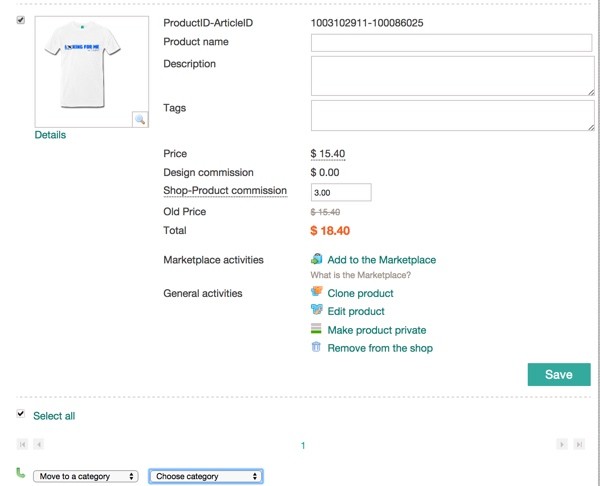
From the Products page at Spreadshirt, move the pairs of products to the appropriate category. For example, for "Looking for Me on Tinder", I move the men's and women's products to the tinder category I created.
Building Your Shop With WordPress Armonico
Now we can return to building out our WordPress shop. The home page for Armonico rotates the slider and chooses the product squares below from posts within categories that you create.
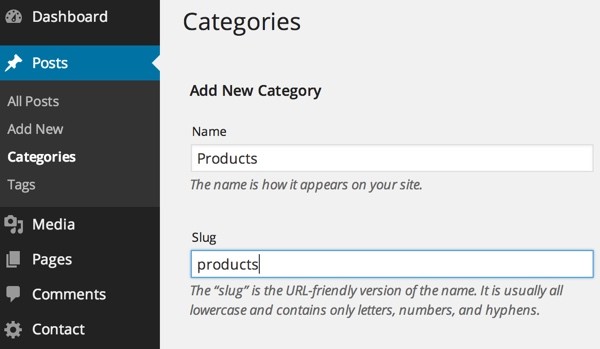
Create a Category for Your Products
First, I created a products category:
Creating Product Pages
Then I created product posts for each of my designs. I placed these in the products category. And I placed the Spreadplugin shortcode specifying the category ID from my Spreadshirt.com shop, which we made note of above:
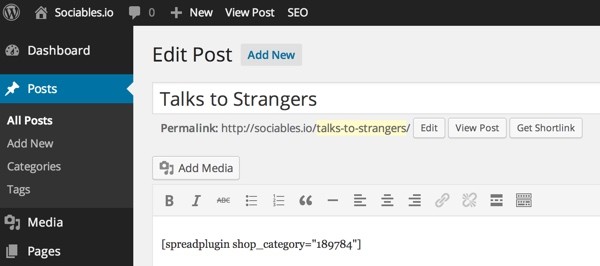
Here's the shortcode:
[spreadplugin shop_category="yourid"]
There's more documentation available for WP-SpreadPlugin here.
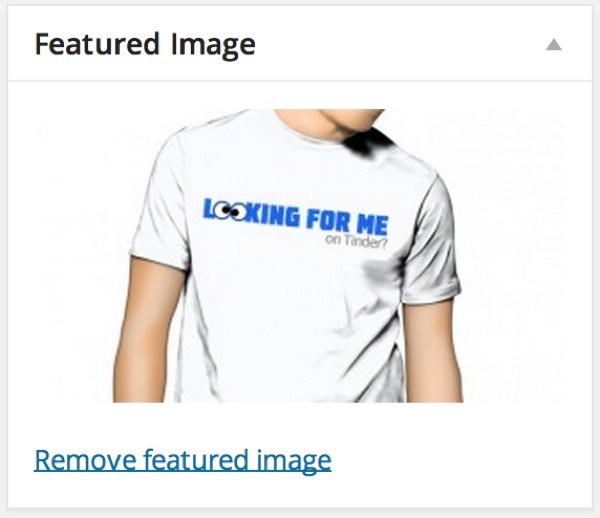
You also need to set the featured image to what you want to appear in the home page slider:
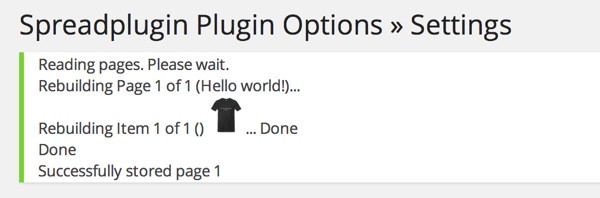
And finally, you need to return to the Spreadplugin Options page and rebuild the cache. You can also wait to do this when all of your product posts are complete. The process is a bit slow—I'll talk about Spreadshirt.com performance later.
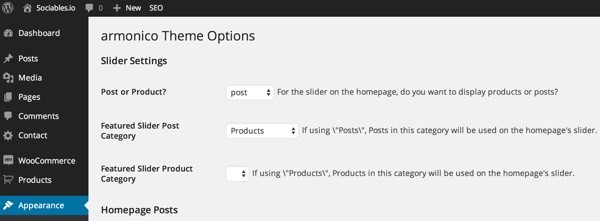
Configuring the Slider
Visit the Armonico Theme Options page and select the category or categories you want to use for the slider and for the product squares below the slider:
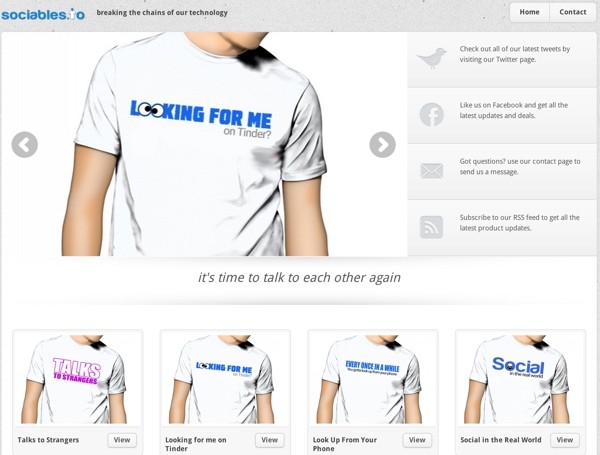
Here's what my slider looks like:

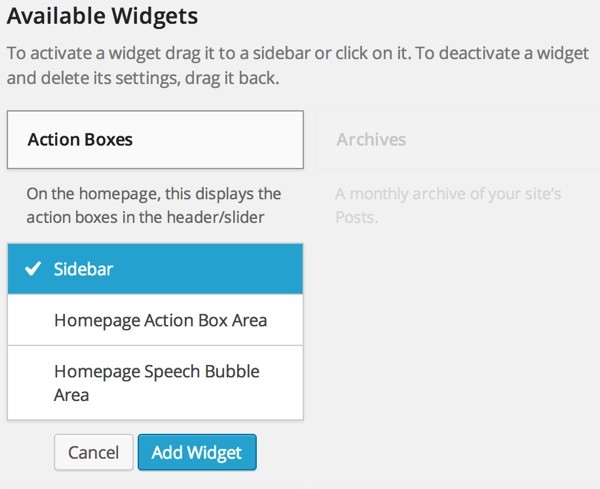
To set up the Armonico widgets beside the Slider, visit the Appearance > Widgets menu. Choose Action Boxes > Sidebar > Add Widget.
Define the links, images and text for each action box area:

Here's what my action boxes look like after configuration:
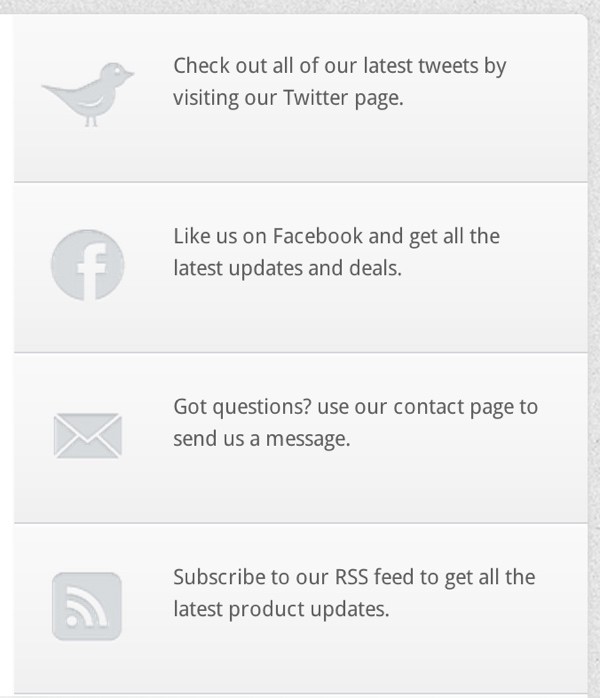
I downloaded the Armonico icons for the action boxes from their demo, as I couldn't find them within the theme download.
Launching Your Site
Finally, you can launch your site. You can check out what mine looks like at Sociables.io:
I recommend beginning by emailing your friends and sharing your site within your social network. Gather feedback from people and gauge the responses. Use that feedback to improve the designs, product selection and pricing, and the site itself.
Once you're ready to expand awareness, consider Facebook and Twitter advertising to get the word out. Read more about Benny Hsu's advertising approaches. He uses a lot of trial and error with his advertising to find what works.
Experimenting With Other Vendors
Hsu also uses Teespring, a simple to use crowdfunded drop-shipping T-shirt company. You can read more about Teespring's development practices here.
A huge advantage to Teespring is they offer a much better commission structure than CafePress and Spreadshirt. One limitation of Teespring's time-limited crowdfunding pages is that if your minimum order is not met, no products are sold.
Pope pointed me to TeeChip, which does not have this limitation, but otherwise operates very similarly to Teespring.
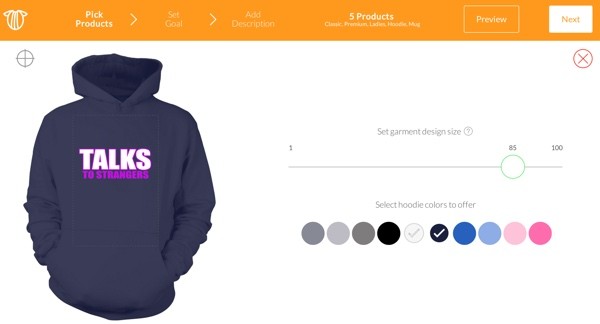
Here's what the TeeChip campaign setup looks like. You upload your design and choose a product and colors:
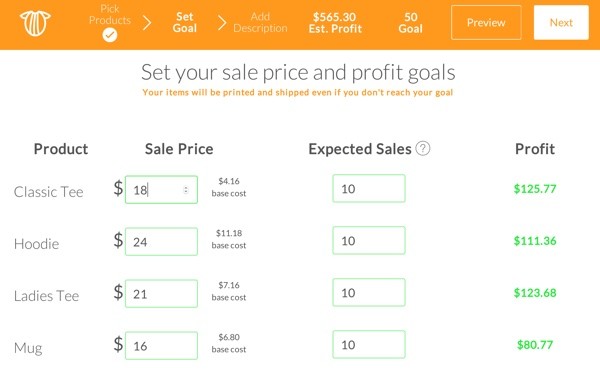
You set pricing and profit goals:
Here's the page that visitors will see:
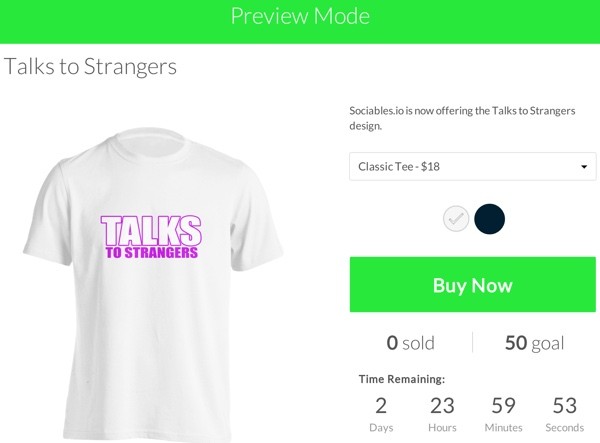
Notice that these product offers are time-limited, so you have to renew them regularly. However, there is no minimum fulfillment threshold. All customer orders are shipped.
Reflections on Spreadshirt
Personally, the deeper I got into this tutorial using Spreadshirt, the more frustrating I found its product options and shop configuration to be. The performance of the site was not very good, and this made making changes increasingly painful. I wish that I could just upload a design and let the customer select men's or women's and T-shirt quality or a specific product, but Spreadshirt wants you to select all of this ahead of time.
I found TeeChip to be much simpler, and it offers more flexibility in these product configuration scenarios. You can also earn significantly higher profit margins with the crowdfunding product sites.
Currently, there aren't any WordPress plugins for Teespring or TeeChip. You probably could embed an iFrame but I haven't tried it. Another option would be to place a static graphic on your site and link it to individual campaigns, but you would need to regularly renew the campaigns when they expire. I do hope these campaign sites offer more WordPress integration in the future.
So, at some point, I'll probably update my site to use TeeChip and move away from Spreadshirt. Your mileage may vary.
There are obviously many ways to build a T-shirt shop with WordPress; please post any comments, corrections or additional ideas below. I'd like to hear your experiences.
You can also browse my other Tuts+ tutorials on my instructor page or follow me on Twitter @reifman.

Comments