In this series you'll learn about Android development from the beginning. In the first section we setup the Android SDK and Eclipse. In this part we will acquaint ourselves with the Eclipse software. Eclipse is an IDE (Integrated Development Environment) for Java. Together with the ADT (Android Developer Tools) plugin, Eclipse provides an environment in which you can build, code, design, and run Android apps. We will learn more about Eclipse throughout the series, but in this tutorial we will explore the basic features of the Eclipse user interface so that you know your way around before we start developing.
At the time of writing this tutorial, Eclipse is the officially supported IDE for Android, but be aware that this is set to change with the new Android Studio program. We will look at Android Studio in the next tutorial, but it's only available as an early access preview at the moment, so you should initially focus on Eclipse for your Android development projects.
1. Create an Android Project
Step 1
To begin, simply open Eclipse. To get started in the Eclipse environment, let's go ahead and create an Android project we will later build on. Don't worry too much about the details at this stage, we will explore each element of Android projects as the series progresses. For the moment we just need to create a basic project so that we can use it to become familiar with the Eclipse interface. Also, keep in mind that there is a lot more to Eclipse than what we will cover here. In this tutorial we will focus on what you need to know to get going in Android.
Eclipse models each app you create as a project, with the coding and other resources related to the app stored and managed from within a directory for the project in your workspace. Creating a new Android project involves a few steps, which we will gloss over at this stage just to get a project setup to show how the Eclipse workspace will look while you are working on an Android app. Click the "New" button.

In the wizard, expand the "Android" folder and select "Android Application Project". This is the process you will use whenever you create a new project for an Android app. Click "Next".
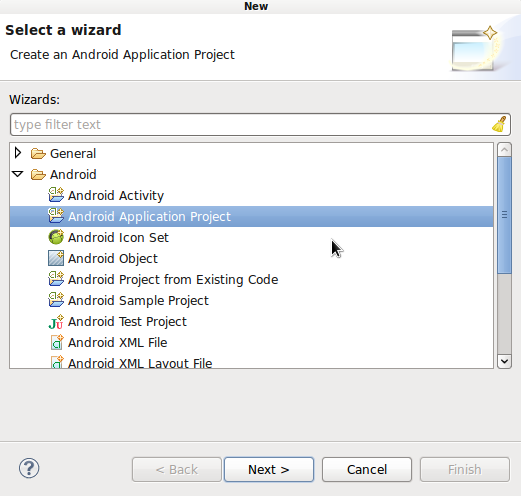
Step 2
In the "New Android Application" screen, you will see various fields you can set. When you click on the text-fields, Eclipse will display some informative text near the bottom of the window. Enter "MyFirstApp" as the Application Name. This will automatically be populated in the Project Name field and a package name will also automatically populate. You can alter these but for the moment leave them with their default contents.
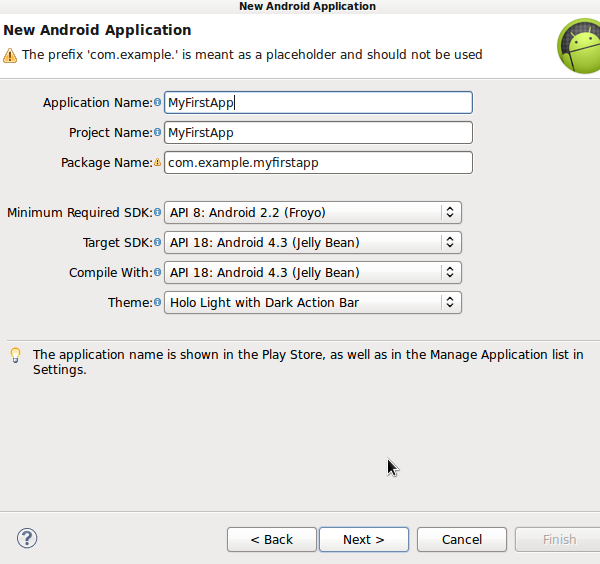
You can also leave the SDK options as they stand - these allow you to target particular API levels and to specify the minimum level you wish to support. As you progress with your Android development skills, you will see that the types of functionality you include will sometimes have implications in terms of which platform levels your app will support. Of course you want to aim to support as wide a range of devices as possible but this can sometimes be tricky. To continue, click "Next".
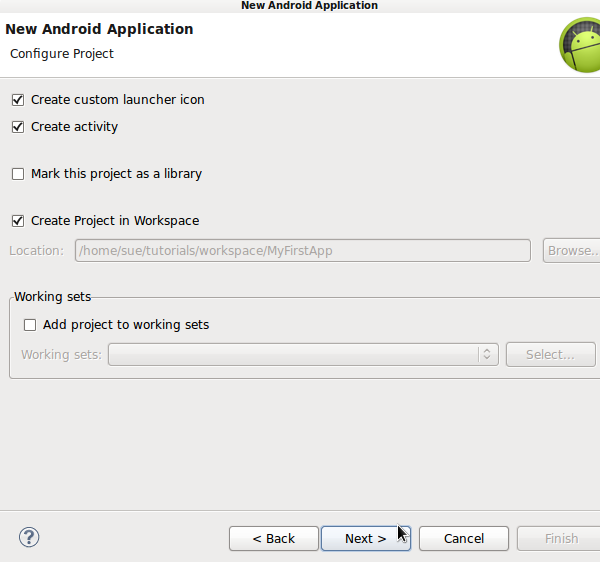
The next screen you will see lets you configure the project. By default Eclipse selects certain settings. Check the options to create a launcher icon for your app, create an Activity for it (this is a user interface screen), and to create the project in your workspace. Click "Next".
Step 3
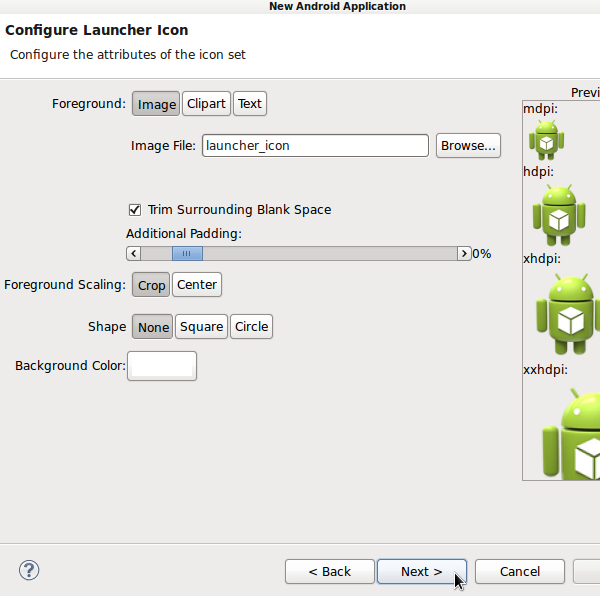
Next you will see the Launcher Icon screen. In general you will likely use this to specify a launcher icon image file and to set display properties, but for now just leave it as is and click "Next".
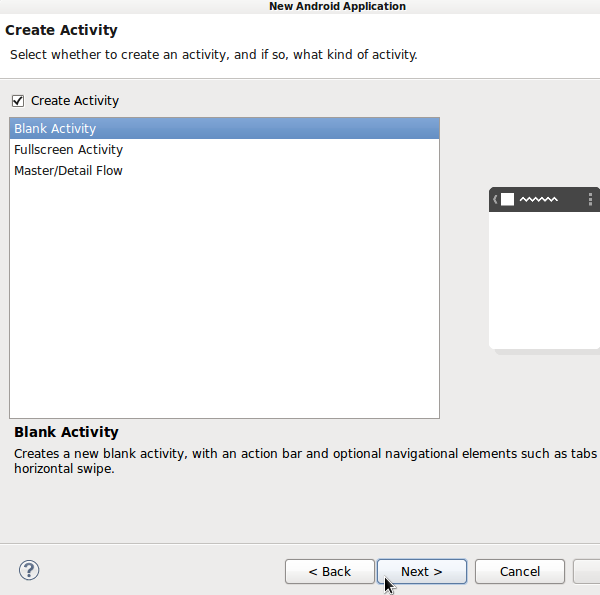
In the next screen get Eclipse to generate an Activity for you. This is likely what you will do for a majority of the apps you create at first. The Activity generated is a single user interface screen, which most apps need at the very least. Leave the "Create Activity" box checked, with "Blank Activity" selected and click "Next".
Step 4
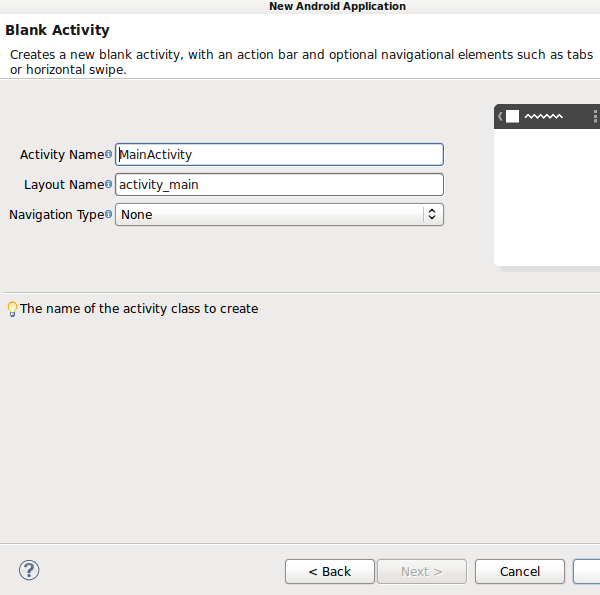
We're almost there! In the last screen you will see an overview of the project Activity details before it is created. You can alter the Activity and layout names, but leave them as they are for this tutorial. Click "Finish" to create your project.
Eclipse will create your project, opening the Activity file. Don't worry too much about the contents of the files or the project directory at this stage, we will explore them in future tutorials. But for the moment we will use this basic project to get used to Eclipse.
2. Using Eclipse Views
Step 1
Now that we have a project open we can see what Eclipse will look like while you develop your Android apps. You will see various tabbed areas within the Eclipse window, all of which can be modified to suit your own preferences. These tabbed sections are referred to as views. By default you should see a central editor area in which files appear for viewing and editing. To the left you should see the Package Explorer view and to the right the Outline view. Beneath the editor you should see a few default tabs providing additional information.
You can add views to the visible display by choosing "Window" then "Show View" and making a selection. To remove a view from display simply close it using the cross on its tab. You can also minimize and maximize visible views at any time using the buttons in the top right corners of each. Views in Eclipse are designed to let you see and interact with the various items within your projects in different ways. Let's look at each of the most relevant views in turn.
Step 2
To the left of your Eclipse window you should see the Package Explorer. You can think of this as a file explorer, presenting the content of your projects within a directory structure. You can click to expand and collapse the folders in a project, as well as double-click to open any editable files in the editor. Each project is stored in a dedicated directory in your workspace, represented in tree form within the Package Explorer. This will be your main source for accessing the files that you need to work on when developing your apps.
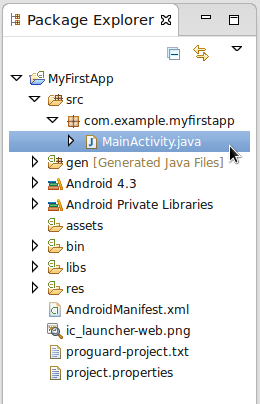
If you expand the "src" folder in your new project, you will see the package you originally created when starting the project. Inside that you will see the Activity class file, which should automatically have opened in the editor. Your Java files are always organized into packages like this inside your projects. Most of your initial Android projects only use a single package, but you can have more than one. We will look into Java class files later on in this series, so don't worry if you haven't used them before.
When we look closer at the application project structure in the upcoming tutorials we will pay particular attention to the "res" directory and the Manifest file, so take a moment to locate and browse these in the Package Explorer. When we begin developing, most of our attention will be paid to the "src" and "res" folders.
Step 3
The editor area is displayed in the center of the Eclipse window. You should see the Activity file you created along with your project opened for editing. Don't worry about the content of the file just now - we'll get to that soon. The editor view displays all files you have open at any time.
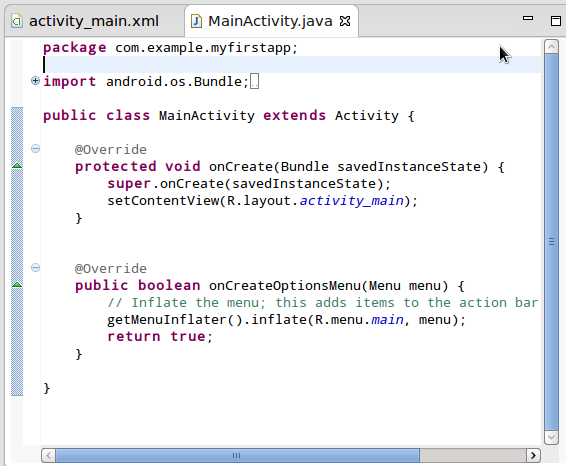
Eclipse also should have opened the layout file for your app. Switch to it now by clicking the top of the tab where it reads "activity_main.xml". Initially the layout file will be opened for editing graphically as this file represents the user interface for your app's main screen. Click on the "activity_main.xml" tab. You should see at the bottom of the view to switch from the Graphical Layout. As you can see, the editor displays the XML code for editing directly.
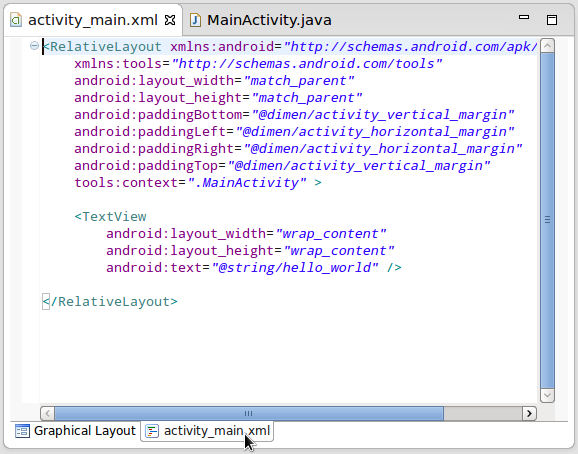
As you will see when we start coding, the Eclipse editor aids the programming process by displaying suggested code excerpts as you type. This applies to Java and XML files, both of which you will be using plenty of.
Step 4
To the right of the editor, you should see the Outline view. We will explore more about the Outline view when we look at the basic programming tasks involved in Android. For now all you need to understand is that the view presents a structural overview of the content of any open Java or XML files. You will be able to use the outline to navigate your source code quickly.
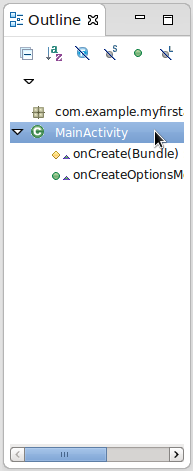
Step 5
At the bottom of the Eclipse window, you will see a few views displayed by default, including the Problems, Javadoc, and Declarations views. Developers often use this area for outputting error and debugging messages, typically with the Eclipse Console view, which you can add to the display if you wish. However, the Android tools include a dedicated view for outputting messages that will help you to develop and debug your apps, so let's open that now.
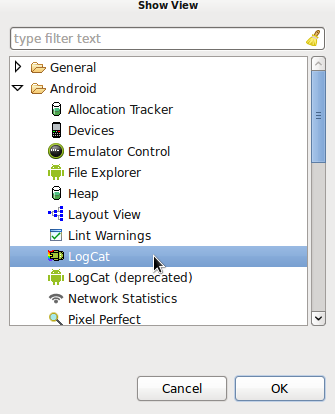
Select "Window", then "Show View", and choose "Other". In the Show View pop-up, expand the "Android" folder, select "LogCat", and click "OK". The LogCat view will appear in the bottom area of the Eclipse window. We will use this when we start to develop. With the LogCat view, we will write messages out during the execution of our apps. This step helps us find out what happens as the programs run.

3. Using Eclipse Perspectives
Step 1
The Eclipse views we've looked at provide different ways to interact with the content of your projects. As you have seen, you can configure the visible views in a way that suits your needs most effectively. Eclipse also provides Perspectives, which give you a quick way to switch between useful collections of views for common tasks. The default perspective you see initially is called "Java". Near the top right corner of the window you should see a button with "Java" on it.
For most of your Android development you will use the Java perspective. However, when you debug your apps you may also find the DDMS (Dalvik Debug Monitor Server) perspective useful. We will explore the details of this perspective later in the series. For now try switching to it to acquaint yourself with how the perspectives work. Choose "Window" then "Open Perspective", or click the "Open Perspective" button next to the "Java" button. Select DDMS from the list. At the moment the perspective will not show much - it will display virtual or connected physical devices when we work with them later.
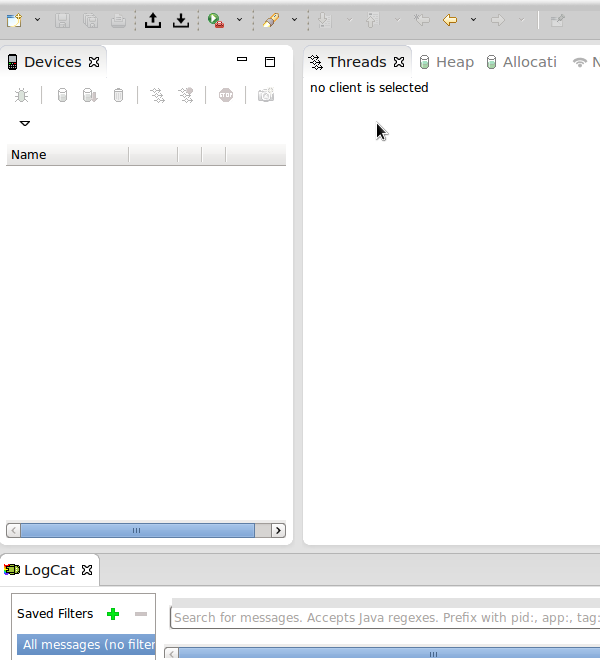
Switch back to the Java perspective now by clicking the "Java" button or using the "Window" menu again. As you can see, Eclipse will display buttons for perspectives you recently used to make switching faster.

Conclusion
Now we have completed our Eclipse familiarization phase. Bear in mind that most of the aspects of the software will make a lot more sense to you once we start working on some Android projects. In the next part of the series we will look at Android Studio as we have with Eclipse, since you may wish to use it now and will certainly use it later if you continue with Android development. After that we will get to grips with the task of developing an Android app, including the basics of Java programming. Feel free to continue exploring Eclipse on your own. It is a highly configurable program that you can setup to reflect your own preferences at any time.


Comments