This is the first in our Learn Android SDK From Scratch series! In this tutorial you will learn about the requirements necessary to get up and running with the Android SDK!
Introduction
Welcome to the series on learning the Android SDK from scratch! If you want to start developing Android apps, this series will teach you the skills necessary from the very beginning. If you have any programming or coding experience at all it will help, but we will try to assume as little knowledge as possible.
We will start by setting up the Android development resources on your computer and work through to create completely functional Android apps. Android development involves a few distinct types of skill, but if you focus on each one in turn you can build a solid foundation for working on the platform. Once we get the initial setup tasks out of the way, we will head right into the development process! You will be working towards concrete results in no time!
Series Overview
In this first part of this series we will look at how to set up with the Android SDK, including Java requirements. The process is a little less complex than it used to be thanks to the ADT Bundle download. However there are a couple of requirements in terms of your system and the Java JDK. At the end of this tutorial you'll be ready to start developing apps for Android.
Here is an overview of the series:
- Android SDK Requirements
- Development Environments - Eclipse
- Development Environments - Android Studio
- Android App Structure
- User Interface Design - Layouts and Views
- User Interaction
- Java Application Programming
- Android App Resources
- The Project Manifest
- Android App Data
- Devices - Virtual and Physical
- Running and Debugging
- Activities and Lifecycle
- Common Android Components
- SDK Samples
- Publishing and Releasing
- Next Steps
- Android from Scratch Quiz
Although you do not need to have any specific programming experience to get started with Android, a little Java and/or XML will of course help, as will any markup or scripting skills. If you have no relevant experience we will run through the basics and point you in the right direction for any areas you need to acquaint yourself with in order to get the best out of Android development. In the next couple of tutorials we will look at the Eclipse and Android Studio IDEs before we get onto the specifics of Android development itself.
For the purposes of this tutorial let's assume that you have not installed Eclipse or any of the Android tools yet. If you have, refer to the official Android Developer Guide if you are having trouble with your installation setup or need it updated. The instructions below also cover installing a fresh JDK, so if you already have Java 6 installed you can skip to step 3. If you have Java 7 installed, you may encounter some problems developing for Android as it only supports Java 6 at the moment - in this case you may wish to set your Eclipse preferences to use Java 6.
1. Operating System Requirements
Users of most operating systems should be able to run the Android development tools. If you're using Windows XP, Vista, or Windows 7, then you're set! The Android tools support 32-bit editions of all three Windows versions, plus 64-bit editions of Vista and Windows 7.
On Mac, you can develop for Android using the official tools on OS X versions from 10.5.8 (x86).
On Linux, the Android tools are supported for Ubuntu from version 8.04 and on the GNU C Library from 2.7. If you run a 64-bit Linux installation, it will need to be able to run 32-bit applications.
2. Download and Install JDK 6
To develop Android applications, you need to install the Java Development Kit (JDK) on your computer. You may already have this if you have programmed in Java before. If not, you need to download and install JDK version 6 from Oracle. This is not the most recent version, but it is the version supported on the Android platform. If you already have the JRE (Java Runtime Environment) this is not enough to run the Android tools - you need the JDK installed.
On the Oracle Java download page, browse to Previous Releases to download version 6. Choose Java SE 6 and select the most recent update of the Java SE Development Kit. Accept the license agreement and select the proper download for your operating system. You need to sign into an Oracle account for the download, so set one up if you don't already have one. Once you have the JDK downloaded, run to install it and follow the instructions.
3. Download the ADT Bundle
Step 1
Once you have the JDK set up you can get started with the Android development software. Download the ADT Bundle from the Android site. The ADT Bundle simplifies the setup process for Android development, since it packages everything you need into a single download.
The bundle contains the Android Software Development Kit (SDK), the Eclipse Integrated Development Environment (IDE), and the Android Developer Tools (ADT) plugin and various platform tools. The SDK contains the resources you need to build, test, and deploy Android apps. You will develop apps in Eclipse, which is a software program that is primarily used for developing Java applications. To develop Android apps in Eclipse, you need the ADT plugin. With all of this in place, you will be able to use Eclipse to write your code, to design your user interfaces, to compile, run, test, and debug your Android apps on actual and virtual devices.
Developing for Android means targeting a potentially wide range of computing devices, with varying hardware controls and Internet connectivity. All of this means a tremendous range of possibilities but can also involve serious complexity when testing your apps. For this reason the Android development download includes lots of different utilities to aid the development process. However, this does not mean that you have to be a programming expert to start developing apps for Android as you will see, so don't be intimidated by how complex things may seem at first. Select the ADT Bundle for your platform and download it.
Step 2
Once your ADT Bundle download is complete, unzip the folder and place it in your chosen location. Navigate to Eclipse, which you should find in the "eclipse" directory inside your download folder. Run Eclipse by double-clicking the executable "eclipse" file.
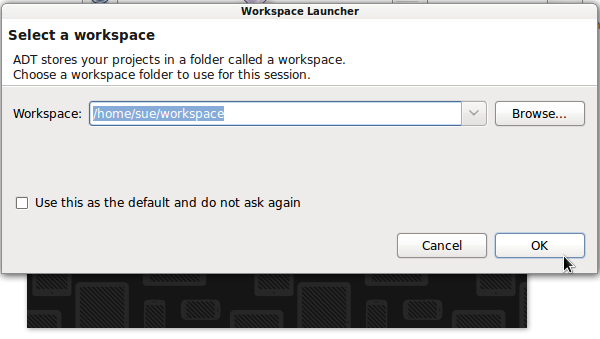
You will be prompted to choose a location for your workspace during setup - you can either let Eclipse create one or create one yourself and point Eclipse to it. The workspace folder is where the files associated with your Android projects will be stored, including the code you write and any media items involved in your apps. In most cases you will interact with these files via Eclipse, but remember this is where the files are if you need to access them.
The Eclipse installation automatically uses the ADT resources you downloaded along with it. As long as you leave everything you downloaded in place inside the download folder it should continue to function each time you launch the Eclipse software.
On the first run, Eclipse will display some options for getting started with Android, including creating a new project and working through tutorials. Feel free to try out some of these options or simply ignore the start screen. We will work through the process of creating your first apps in this series anyway. Upon closing the tab displaying this initial message, the Eclipse workspace will appear. We will examine it in the next tutorial.
4. Keeping Everything Up To Date
Step 1
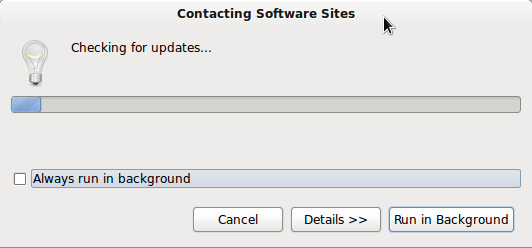
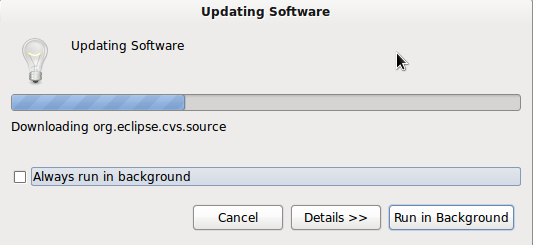
Once you have Eclipse and the ADT up and running, keeping it all up to date is straightforward, but does require frequent checks in a few places. In Eclipse, regularly check for general software updates by choosing "Help" then "Check for Updates". Be aware that it may take a few minutes to retrieve the available update information.
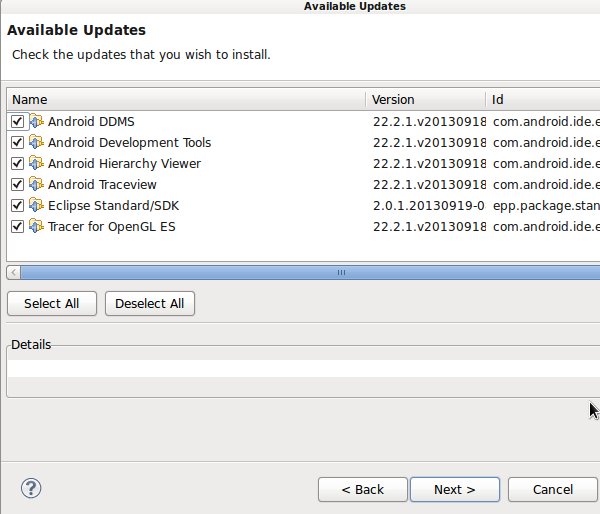
If Android ADT updates are available they will appear here, so you can select or deselect to suit your needs, accept any license agreements and click "Finish" to download and install the updates, which can take some time depending on how substantial they are.
Step 2
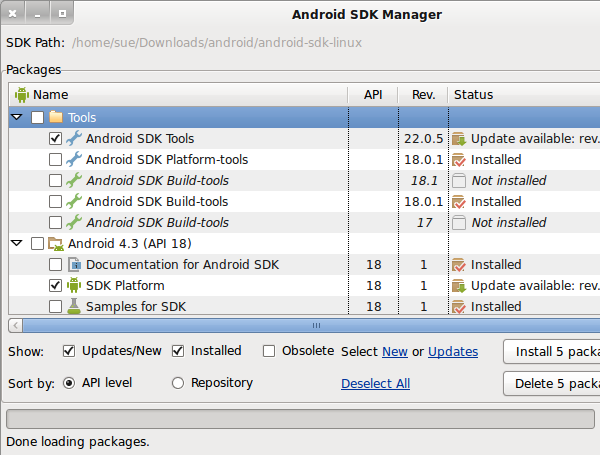
As well as checking for Eclipse updates regularly, you should frequently run the Android SDK Manager to see what's available. In Eclipse, choose "Window" then "Android SDK Manager" to launch it. Once the data is loaded you can see what you have installed at the moment, what updates are available, and what other platform components are available that you may also wish to install. Browse through the list to see what's there. You can automatically select updates to resources you already have installed if you simply want to keep what you have up to date. Make your selection and click to install, accepting license agreements as necessary.
When you begin developing for Android you can stick with what comes by default in the ADT Bundle.
Step 3
To ensure you keep up to date with your ADT resources, you can also add the Android ADT update URL to Eclipse to check for updates. In Eclipse, choose, "Help" then "Install New Software". If the site does not appear when you click the drop-down arrow for the "Work with" text-field, enter it and click to add it:
https://dl-ssl.google.com/android/eclipse/
Select the ADT update site from the list to see any available updates. You can check the "Hide items that are already installed" checkbox to simplify the process. When ADT updates are available, you can install them from here.
Conclusion
That was the setup to start Android development! In the next tutorial we will familiarize ourselves with the Eclipse environment to be acquainted with the essential features of the software to create Android apps. We will then take a look at Android Studio, which is only available in preview form at the moment, but it is what you are likely to use for Android development down the line. After that we will work through each aspect of the basic Android development processes, including coding, design, and running your apps.

Comments