Whenever we talk about any online store, products work as a backbone for its foundation. Store owners are always looking for an easy way to manage and add products on their eCommerce website. Sadly, in the past this remained a tiring task which held many people back from launching their online stores. But WooCommerce brought a sigh of relief for all such people. Products can be added and maintained very well with this plugin. It is now a matter of only a few clicks and you can add as many products as you want to sell.
Products
Let's dive into the Products section of WooCommerce, where I will commence my discussion with a brief introduction of how store owners can add new products to their online stores.
Look at the main menu of the dashboard in your WordPress-based website and you will see the section for Products right below WooCommerce. Hovering your mouse on Products will lead you to another sub-menu where you will notice some options which are:
- Products
- Add Product
- Categories
- Tags
- Shipping Classes
- Attributes
To add any new product, click Add Product. Clicking this option will take you to a new page with a layout quite similar to WordPress Posts/Pages.
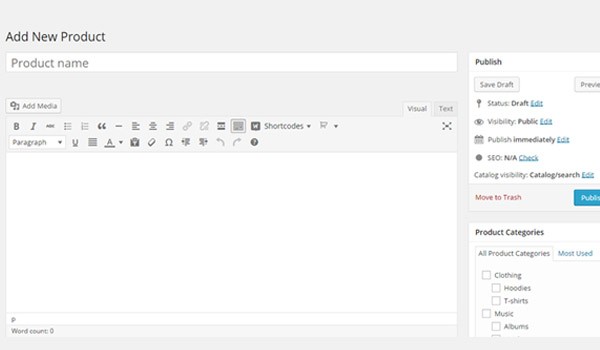
You can see two major fields here. In the first blank field you can add your Product name, while in the editor you can add a description of your product. Fill out these fields and click the Save Draft button for the time being.
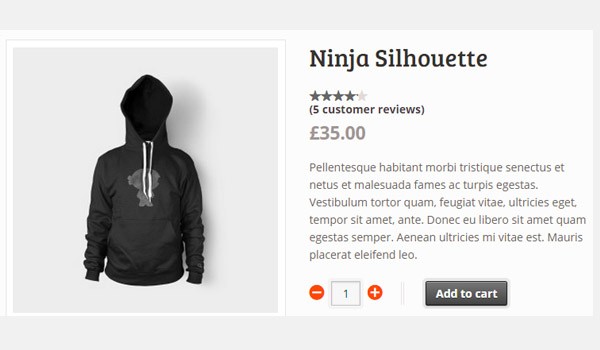
The figure above shows a sample product with the product name and description, which is all managed and edited from this part of the plugin.

Towards the right you can see different tabs from where you can Publish your product and manage the Product Categories, Product Tags, Product Gallery and Product Images. These are displayed in a column where each option can be clicked to toggle the whole tab/widget. More on this later!
Product Data
As you scroll down the page you will notice a group of tabs. The first tab of options you will see is for the Product Data. This is a dropdown menu which allows you to select which type of product you want to add. Mainly, WooCommerce offers four different types of products, which are:
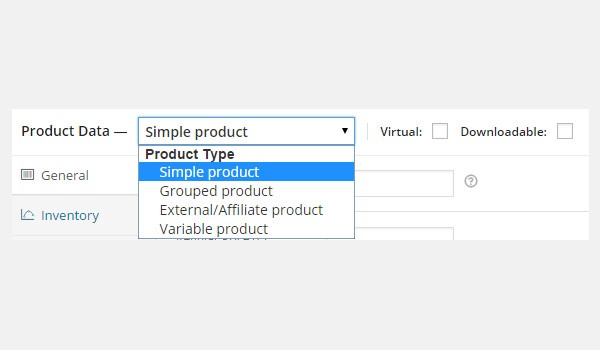
- Simple product
- Grouped product
- External/Affiliate product
- Variable product
Simple product
Most of the products that are displayed in an online store are categorized as Simple products. Products which are simple offer different shipping options to the customers, e.g. a mug.
Grouped product
A collection of products which are co-related is termed as a Grouped product. There is always one parent product and its children are variations of the parent product. All these are combined and represented as one group. Customers can purchase individual products from this group. For example, if Windows 10 is the grouped product then 32-bit and 64-bit will be its children, which in reality are different versions which customers can purchase individually.
External/Affiliate product
Any product which is displayed on your store but is originally sold on someone else's website is termed as an External/Affiliate product. The concept of Affiliate marketing is a smart strategy adopted by businesspeople. It is like promoting or advertising the products of other people on your website to earn a particular commission or fixed percentage per sale. External/Affiliate products are always linked to a URL of some other website.
Variable product
Any product which has some variations is termed as a Variable product. For example, a cap which is available in different colors and sizes can be categorized as variable. Here each color and size can have different price, SKU (stock keeping unit), etc.
Associated with each Product data type there are certain sets of options which need to be configured. They are broadly categorized as follows:
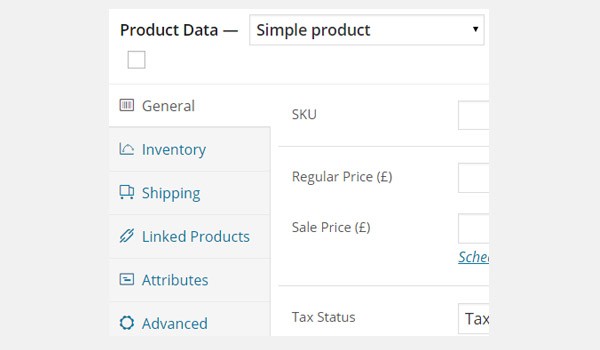
- General: Some general settings of the product.
- Inventory: To manage the stock status for your product.
- Shipping: To manage various shipping options, classes and rates.
- Linked Products: To manage all products which you want to link to any particular product.
- Attributes: All the additional data which is related to your product is managed from this section.
- Advanced: Control some of the advanced settings like notes, reviews, etc.
Here you will notice that as we change our product type, the configuring options change accordingly in each of these sections. More on this in upcoming articles.
This completes a brief introduction to adding and managing products in WooCommerce. In the upcoming tutorials of this series I'll be explaining how you can add each of the product types individually and how you can edit their settings.

Comments