In the first two parts of this series, you learned how to install WooCommerce and configure its settings, followed by how to configure product settings. Now it's time to add some products to your store!
In this tutorial I'll work through the process of adding physical products to my store, and in the next tutorial in this series I'll cover virtual and downloadable products.
What You'll Need
To complete this tutorial you'll need:
- An installation of WordPress, with Administrator access
- The WooCommerce plugin installed and activated
- WooCommerce settings configured.
Adding a Product
Click Products > Add New to create your store's first product:
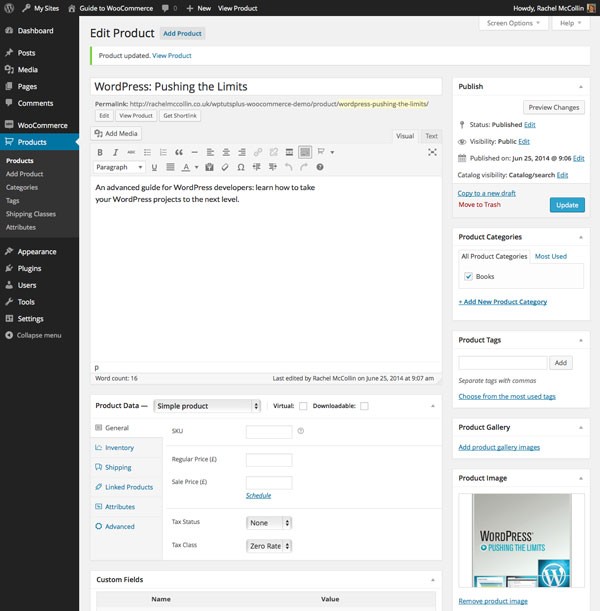
I've added a title, description and product image for my product: product images work in the same way as featured images for posts.
Now when I publish my product and view it, my store displays some rudimentary information:
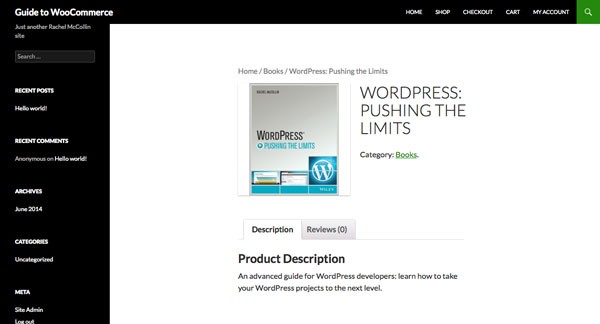
Clearly I need to add more information, such as price, attributes and shipping. To do this, I use the tabs in the Product Data metabox on my product editing screen.
Product Data - Product Type
WooCommerce gives you four product types you can use:
- Simple product is a basic product
- Grouped product is a collection of related products which might be variants of the same product, for example I might add a book as a grouped product and then add the e-book version of it as a sub-product.
- External/affiliate product are not sold on your site but externally, for example on Amazon or eBay.
- Variable product represents products with several variations such as colour or size.
Here I'll use the default Simple product.
Product Data - General
Start with the General tab:
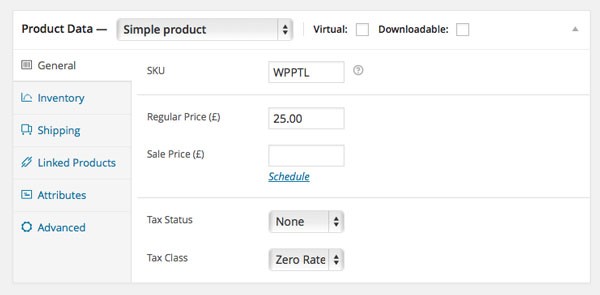
Here you add an optional SKU reference (a unique reference which you use to manage your products), the price and the tax rate. As my product is an educational book, sales tax doesn't apply in the UK so I've selected Zero Rate. You can also add a sale price if you have a sale coming up, and click the Schedule link to define when the sale price will apply.
Product Data - Inventory
The next tab is the Inventory tab:

Here, you define whether WooCommerce will manage inventory for you and input the current stock level. The Allow Backorders? option lets people buy items which aren't currently in stock, and wait for them to be delivered when they come into stock. If you check the Sold Individually checkbox, people will only be able to buy one of this product in an order, which could be useful for virtual products.
Product Data - Shipping
In the Shipping tab you define the shipping class for your product and add its weight and dimensions if you are using these to calculate shipping:
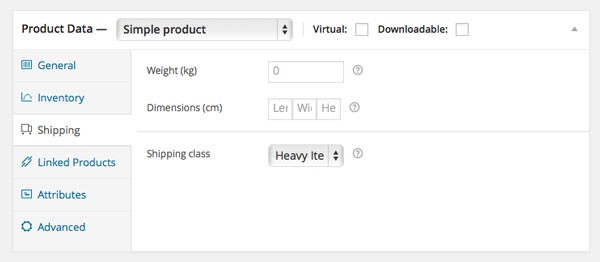
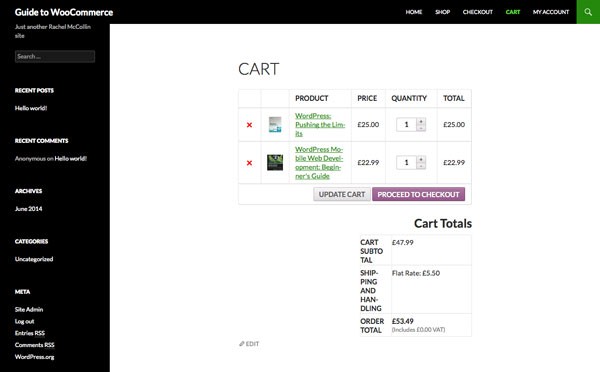
You can only set shipping costs to be calculated by weight if you have the premium Table Rate Shipping add-on, so with the free version you use shipping classes to set different shipping costs for different items. For this item, I'm going to select the Heavy Items class so that an extra charge will be aded at checkout.
When someone buys that item as part of an order the postage rate will increase, as shown in this example shopping cart:
Product Data - Linked Products
The next tab is Linked Products, which you use to add similar 'linked' products to a product's page, so that visitors can see other products they might be interested in. This is stored as an option for the product you are working with, and doesn't create a relationship between the two products - so if you want two products to both be displayed on each others' pages, you'll have to add them as linked products in both of the product's editing screens.
To use linked products, you have to have more than one product in your shop. As such, I'll demonstrate this tab with a second product that I've created. (If you follow my steps and create another product at this stage, don't forget to save the changes you've made to your first one by clicking the Update button).
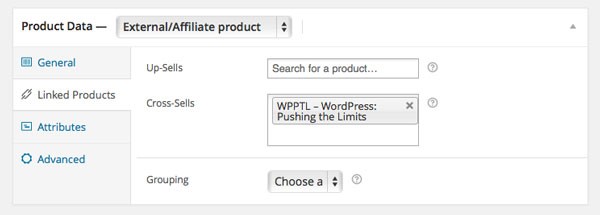
For my second product, I've added the first product I created as a linked product here. You can search for existing products in your store either by name or SKU, by typing part of the name in the relevant field.
Note that there are three ways of using linked products:
- Up-sells are where you want to sell additional or upgraded products or options as well as or instead of of the product the visitor is viewing.
- Cross-sells are where you want to sell alternative or additional products during the checkout process.
- Grouping is used to create parent and child products, where the child product is shown as part of the parent product's listing. You can only add a product to a group if you've already set up a product of the Grouped Product type instead of the Simple Product type.
Note: For more on grouped products, watch this video.
Product Data - Attributes
You use the Attributes tab to select terms from the attributes you defined before adding your products, choosing as many terms as are relevant to the product:
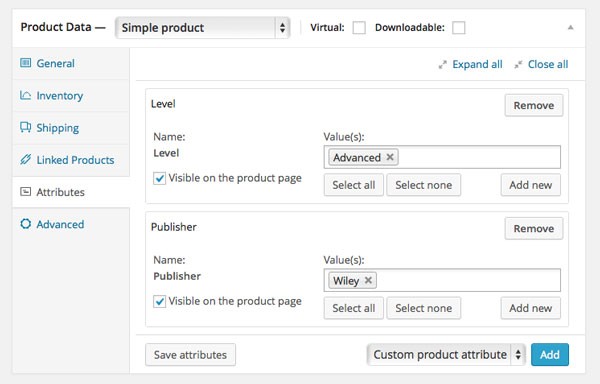
For each attribute you want to select terms from:
- Select the attribute from the Custom product attribute drop down
- Click Add
- Click the Value(s) field and select the relevant term(s) from the drop down list.
Note: You can add new attributes here by selecting Custom product attribute before clicking Add, and then entering the details of your new attribute. This will add the attribute to the list in your Attributes screen. But don't forget that attributes are taxonomies, not terms, so don't use this method to create new terms for an existing attribute.
As you can see I've added one term from each attribute to my product.
Product Data - Advanced
The final tab is the Advanced tab:
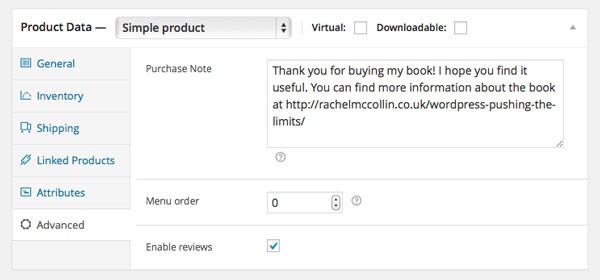
Use this to do the following:
- Add a purchase note which buyers will receive after purchasing the product, as I've done here.
- Specify a menu order which you can use to define the order you display your products in.
- Select whether reviews are enabled or not.
Adding a Product Short Description
Once you've completed your settings for all of these tabs, move down to the Product Short Description metabox:
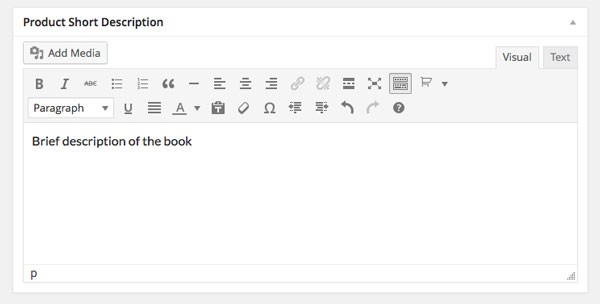
Here you can add a brief description which will appear at the top of the product's page, with the more detailed description you already added appearing further down the page.
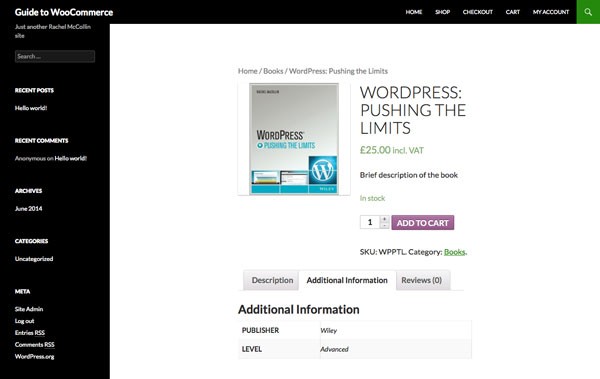
Finally, click Update to save the changes to your product and view it:

My product now has pricing information, a category and a short description. If I click on the Additional Information tab I can see its attributes:
So that's how you add a simple product. Next I'll demonstrate how to add an affiliate product which is particularly relevant for my bookstore.
Adding Affiliate Products
When you create your product you can select External/Affiliate product instead of Simple product, as I've done here:
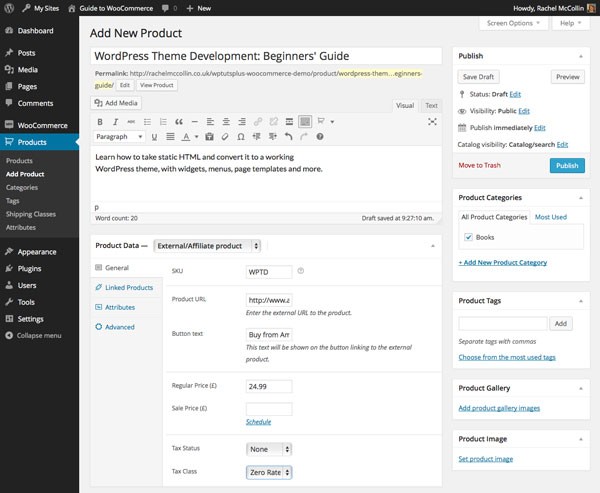
This means you can use your store to sell products which you don't actually sell yourself, meaning you can use affiliate links or simply encourage people to go and buy a product you've developed or created from another seller.
For example, I want people to buy my books but it's easier for me to let Amazon do the hard work of shipping them, so I simply direct people to an Amazon link.
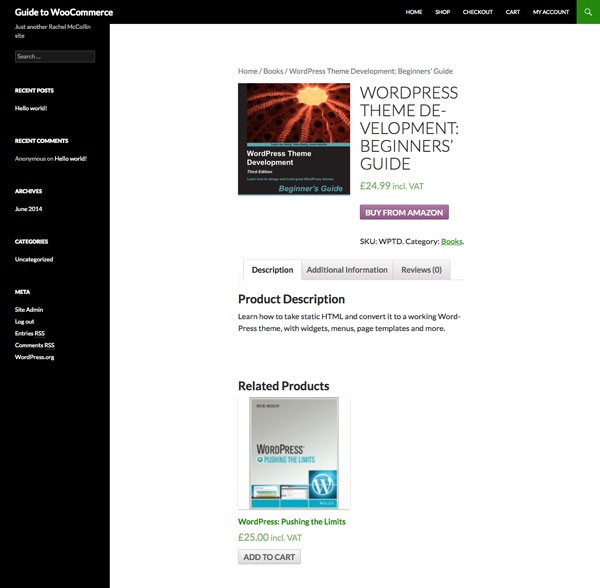
If you select this product type, the Shipping tab will disappear and the contents of the General tab will expand. Here you need to add the link to the product plus the text to be displayed on the link button. I've added these to my product which now looks like this in my store:
Summary
You've now worked through the process of adding your first physical product to WooCommerce and configuring it. In the next part of this series, you'll learn how to add virtual products which users can download or access via a link.

Comments