Since its introduction, 3D graphics in the browser has been a popular topic. But if you were to create your apps using plain old WebGL it would take a very long. But now we have some pretty useful libraries that we can take advantage of, like Three.js. So in this series I will show you how to create stunning 3D experiences for the browser.
I do expect you to have a basic understanding of 3D space before you start reading this tutorial, as I won't be explaining things like coordinates, vectors etc.
Preparation
We will start with the code from previous part of this series. Also, grab the assets I provided and put them in the same folder as your app. Now, since we will use images here you will have to put your app on some static server (may be local), because unless you start the browser with enabled file access from files (for example using the --allow-file-access-from-files flag in Chrome) CORS will not let you load them from file. That's all you need to do before proceeding.
Step 1: Loading the Texture
If you've ever got so bored that you went with creating something using pure OpenGL, you probably remember how much pain it is to load a texture. Luckily, Three.js comes with a nice function that will load and set up the texture for us. Add this line before the definition of our cube's material:
var cubeTexture = THREE.ImageUtils.loadTexture('./box.png');
It's really all you have to do in order to have your texture loaded.
In a real-world app you would have to preload the texture like any normal image and show the users some fancy loading bar to let them know that you are loading (Three.js will use the cached image then).
Step 2: Painting the Cube
Now we will apply the texture to our cube. This is also easy, you just need to replace the color definition in the cube's material to look like this:
var cubeMaterial = new THREE.MeshLambertMaterial({ map: cubeTexture });
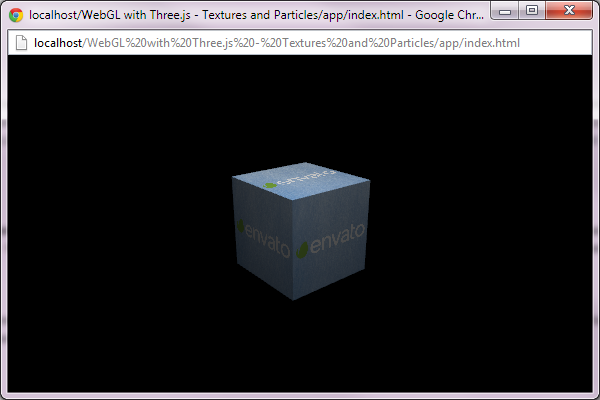
The map attribute sets the texture. Now you can open the browser and you should see a rotating, textured cube:
You can also colorize the texture, just add the color definition in the material's options, like that:
var cubeMaterial = new THREE.MeshLambertMaterial({ map: cubeTexture, color: 0x28c0ec });
And now the cube turns blue:
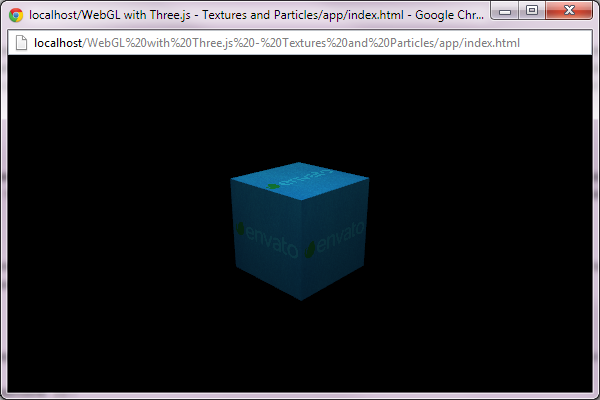
This way you can have multiple different objects with the same texture if only the color changes.
Step 3: Multiple Materials
You can set different materials for every face of the cube. To achieve that, you have to change the whole material's definition. First, define the materials array. Each element in the array will correspond to the material of one face. They go in this order: right, left, top, bottom, front and back:
var materials = [];
materials.push(new THREE.MeshLambertMaterial({ map: cubeTexture, color: 0xff0000 })); // right face
materials.push(new THREE.MeshLambertMaterial({ map: cubeTexture, color: 0xffff00 })); // left face
materials.push(new THREE.MeshLambertMaterial({ map: cubeTexture, color: 0xffffff })); // top face
materials.push(new THREE.MeshLambertMaterial({ map: cubeTexture, color: 0x00ffff })); // bottom face
materials.push(new THREE.MeshLambertMaterial({ map: cubeTexture, color: 0x0000ff })); // front face
materials.push(new THREE.MeshLambertMaterial({ map: cubeTexture, color: 0xff00ff })); // back face
As you can see each face has it's own material, so you can set different textures, colors and other attributes for each one. Next, change the type of the cube's material to THREE.MeshFaceMaterial:
var cubeMaterial = new THREE.MeshFaceMaterial(materials);
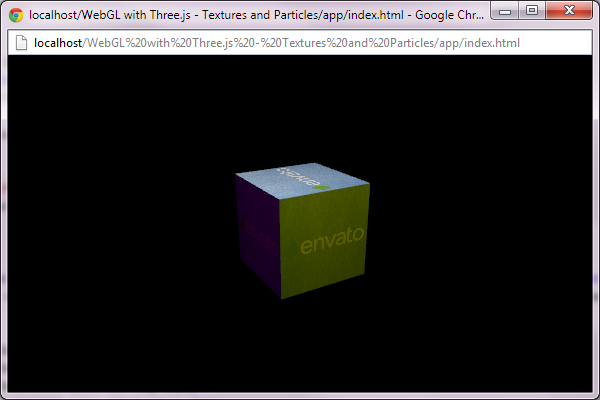
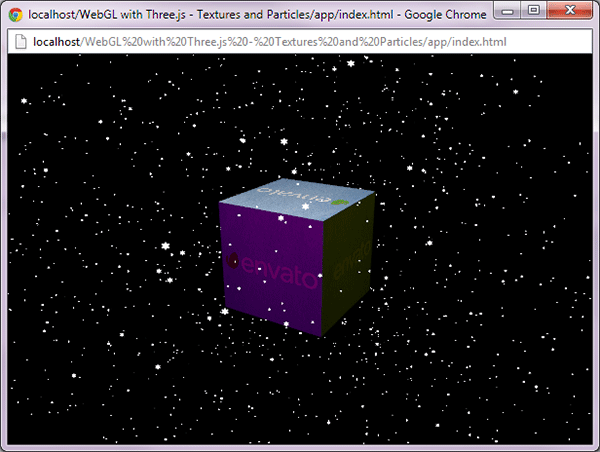
You only need to pass the materials array as the parameter. In the browser you should see that each side of the cube has different color:
Step 4: Particles!
Let's say you want to create an effect of spinning snowflakes in your app. If you were to render each snowflake as a mesh you will get very low fps. That's where particles come into play. They are way less complicated, and drawing them as a whole particle system makes them really efficient.
Start with creating a geometry for our particles:
var particles = new THREE.Geometry;
THREE.Geometry is a base geometry object, without any shape. Now we have to define the position of each particle in the system. Let it be completely random:
for (var p = 0; p < 2000; p++) {
	var particle = new THREE.Vector3(Math.random() * 500 - 250, Math.random() * 500 - 250, Math.random() * 500 - 250);
	particles.vertices.push(particle);
}
This loop will create 2000 randomly placed particles and put them all in the geometry. Next, you have to define particles' material:
var particleMaterial = new THREE.ParticleBasicMaterial({ color: 0xeeeeee, size: 2 });
Notice that we are using THREE.ParticleBasicMaterial, which is only for particles. In options we only define the color and the size of each particle. Finally, you can create the particle system and add it to the scene:
var particleSystem = new THREE.ParticleSystem(particles, particleMaterial);

scene.add(particleSystem);
Now, to make the scene look better let's rotate the particles in the direction opposite to the one that the cube is rotating in (change the render function to look like this):
function render() {
	requestAnimationFrame(render);

	var delta = clock.getDelta();
	cube.rotation.y -= delta;
	particleSystem.rotation.y += delta;

	renderer.render(scene, camera);
}
We moved the clock.getDelta to the variable, because if you would use it like that:
cube.rotation.y -= clock.getDelta();
particleSystem.rotation.y += clock.getDelta();
The particle system would not rotate, because the second call will return a number close to zero (remember that it's getting the time from the last call).
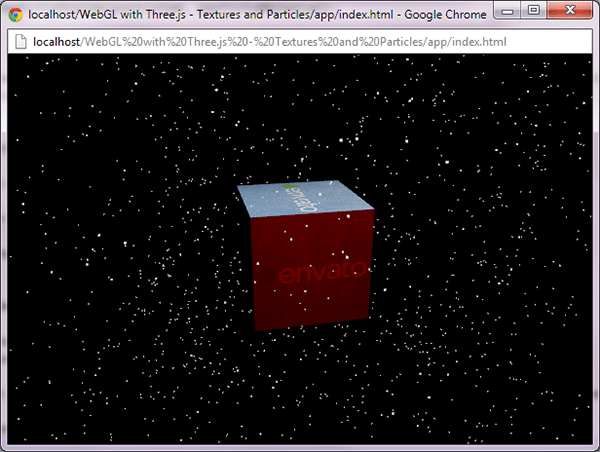
Now open up the browser and you should see a cube and particles rotating:
Let's combine both things you've learned in this tutorial and turn those ugly white squares into real snowflakes. First, load the snowflake texture:
var particleTexture = THREE.ImageUtils.loadTexture('./snowflake.png');
Now, change the particles' material to use the texture. Also, enable transparency and make the particles bigger so we can see the shape:
var particleMaterial = new THREE.ParticleBasicMaterial({ map: particleTexture, transparent: true, size: 5 });
If you open the browser you should see some nice snowflakes flowing around the cube:
Step 5: Smoke
Smoke effect is pretty easy to achieve and it looks nice. Start by creating the geometry, just like with the snowflakes:
var smokeParticles = new THREE.Geometry;
for (var i = 0; i < 300; i++) {
	var particle = new THREE.Vector3(Math.random() * 32 - 16, Math.random() * 230, Math.random() * 32 - 16);
	smokeParticles.vertices.push(particle);
}
The only difference here is that we are choosing the position from a rectangular prism with dimensions 32x32x230. Now, let's load the texture and define the material:
var smokeTexture = THREE.ImageUtils.loadTexture('./smoke.png');
var smokeMaterial = new THREE.ParticleBasicMaterial({ map: smokeTexture, transparent: true, blending: THREE.AdditiveBlending, size: 50, color: 0x111111 });
In material definition, there is a blending option. It tells the renderer how it should render one object on another. With THREE.AdditiveBlending overlapping color values will be added to each other which will result in a brighter smoke in the areas with higher particle density. We also set the color to almost black, so the smoke looks more natural.
Finally, create the particle system, move it a bit to the left and add it to the scene:
var smoke = new THREE.ParticleSystem(smokeParticles, smokeMaterial);
smoke.sortParticles = true;
smoke.position.x = -150;

scene.add(smoke);
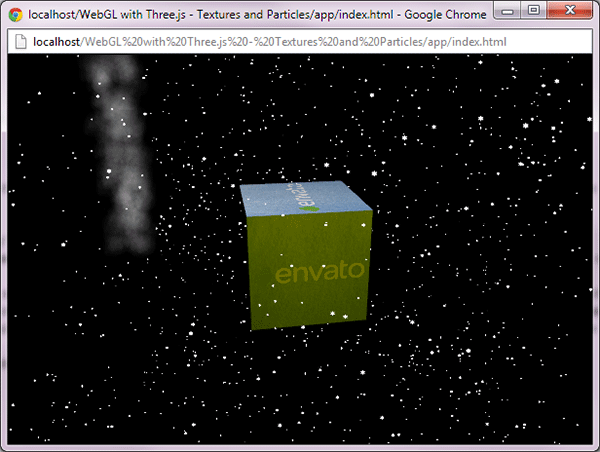
You also have to set smoke.sortParticles to true. When it's false the background of the sprite may be drawn as black. If you open the browser you should see a still pillar of smoke next to the cube:
To animate the smoke we have to loop trough all of the particles and move them up a bit. Add this code to the render function:
var particleCount = smokeParticles.vertices.length;
while (particleCount--) {
	var particle = smokeParticles.vertices[particleCount];
	particle.y += delta * 50;

	if (particle.y >= 230) {
		particle.y = Math.random() * 16;
		particle.x = Math.random() * 32 - 16;
		particle.z = Math.random() * 32 - 16;
	}
}
smokeParticles.__dirtyVertices = true;
In the loop we are adding delta * 50 to the y position of the particle. Next we check if the particle is higher than 230, if so we randomly choose its new position somewhere in the bottom of the smoke pillar. Finally, the most important thing: setting the geometry's __dirtyVertices flag to true.
To improve the performance, Three.js is caching the objects to avoid building all of the WebGL calls again every frame, so if we change something in the geometry of the object we have to let the renderer know that it has changed. Basically, the
__dirtyVerticesflag will just reach the element.
If you open the browser now you should see a smoothly animated smoke next to the cube.
Conclusion
In this tutorial you've learned how to use textures and particles. As before, don't be afraid to experiment a bit with your app. If you have problems take a look at the documentation. In the next article I will teach you how to load models and animate them.

Comments