Introduction
Watch Connectivity is a new communication framework released alongside iOS 9 and watchOS 2. It's main purpose is to easily and seamlessly transfer information between an Apple Watch application and its parent iOS application.
The framework provides many different functionalities. A few weeks ago, Jorge Costa wrote about the ability to send messages between an iOS and an Apple Watch application. In this tutorial, we will zoom in on transferring data in the background.
The ability to send messages is designed for data that is needed immediately by the other device. In contrast, background transfers are best suited for larger chunks of data that are not needed immediately by the counterpart. An exception to this is with complication information, which we'll discuss later in this tutorial.
Prerequisites
This tutorial requires that you are running Xcode 7 on OS X 10.10 or later. You will also need to download the starter project from GitHub.
1. Framework Setup
In order to use the Watch Connectivity framework, both your iOS and watchOS app need to have a class that conforms to the WCSessionDelegate protocol and that correctly configures the default WCSession. The methods of the WCSessionDelegate protocol handle the receiving of all data via the Watch Connectivity framework and enables you to take control of the new data in your application.
Open the starter project in Xcode and edit AppDelegate.swift. At the top, add the following import statement:
import WatchConnectivity
Next, update the class definition of the AppDelegate class to make it conform to the WCSessionDelegate protocol.
class AppDelegate: UIResponder, UIApplicationDelegate, WCSessionDelegate {
We also declare a property of type WCSession! in the AppDelegate class to store a reference to the default WCSession object.
var session: WCSession!
Finally, update the application(_:didFinishLaunchingWithOptions:) method as shown below.
func application(application: UIApplication, didFinishLaunchingWithOptions launchOptions: [NSObject: AnyObject]?) -> Bool {
    session = WCSession.defaultSession()
    session.delegate = self

    if WCSession.isSupported() {
        session.activateSession()
    }

    return true
}
In application(_:didFinishLaunchingWithOptions:), we get a reference to the default WCSession object, set the session's delegate to your app's AppDelegate instance and, if supported, activate the session. The isSupported class method checks to see whether or not the counterpart watchOS app for your iOS app is installed on a paired Apple Watch and is able to send data.
The setup for the watchOS side is very similar. Open ExtensionDelegate.swift and replace its contents with the following:
import WatchKit
import WatchConnectivity

class ExtensionDelegate: NSObject, WKExtensionDelegate, WCSessionDelegate {

    var session: WCSession!

    func applicationDidFinishLaunching() {
        session = WCSession.defaultSession()
        session.delegate = self
        session.activateSession()
    }

    func applicationDidBecomeActive() {

    }

    func applicationWillResignActive() {

    }
}
You will notice that we don't call isSupported on the WCSession class before activating the session. This is because this method always returns true on the watchOS side.
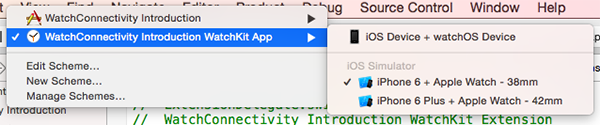
To check that everything is working correctly, run your Apple Watch app on either of the two simulators as shown below.
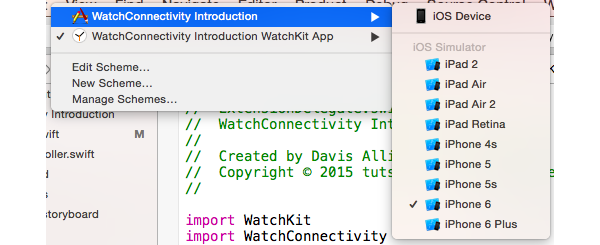
Next, run your iOS app on the same iPhone simulator type you selected when running the watch app.
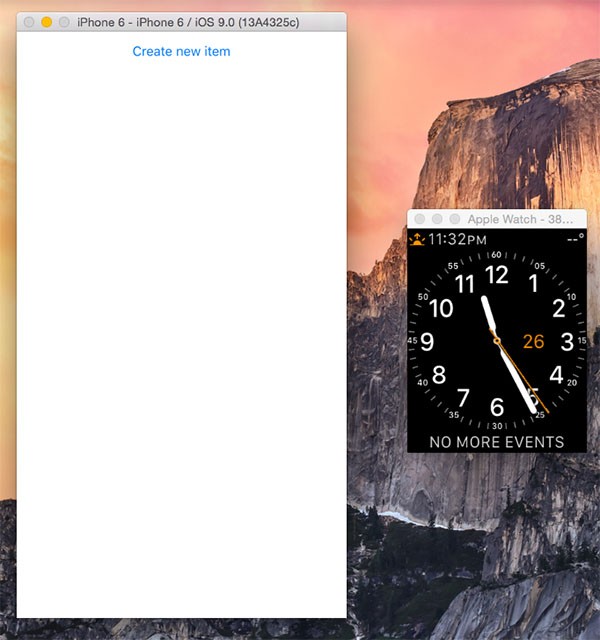
Once your iOS app has launched, your Apple Watch simulator should just go back to the watch face as shown in the screenshot below.
2. Sending Data
With the default WCSession object correctly configured, it is time for us to send some data between the iOS and the Apple Watch application.
Open TableViewController.swift and add the following line of code at the end of the createNewItem(_:) method:
WCSession.defaultSession().transferUserInfo(item)
The transferUserInfo(_:) method accepts a dictionary as its only parameter. Once this method has been called, the user info dictionary you provided is added to the queue of information to be transferred.
Both iOS and watchOS work in conjunction with each other to transfer the information at an opportune time. The combined system looks at things like app usage, battery life, whether or not the other device is currently being used, etc. Once the system has transferred the information, the app on the other device will execute a delegate callback method the next time it is launched.
Now it's time for us to implement the receiving side on the Apple Watch. Open ExtensionDelegate.swift and add the following method to the ExtensionDelegate class:
func session(session: WCSession, didReceiveUserInfo userInfo: [String : AnyObject]) {
    dispatch_async(dispatch_get_main_queue()) { () -> Void in
        if let items = NSUserDefaults.standardUserDefaults().objectForKey("items") as? [NSDictionary] {
            var newItems = items
            newItems.append(userInfo)
            NSUserDefaults.standardUserDefaults().setObject(newItems as AnyObject, forKey: "items")
        } else {
            NSUserDefaults.standardUserDefaults().setObject([userInfo] as AnyObject, forKey: "items")
        }
    }
}
This method will be called as soon as we run the Apple Watch application and once the information has been transferred successfully.
Note that while this tutorial is only showing an example of transferring information from iOS to watchOS, the WCSession and WCSessionDelegate methods behave exactly the same on both platforms for background transfers.
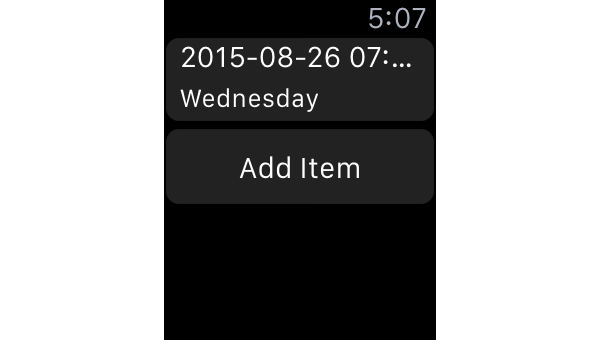
With this code implemented, run your Apple Watch app in the simulator. Next, run the iPhone app again and press the button to create a new item.

Now go back to the Apple Watch simulator and press Command-Shift-H twice to go back to the most recent app. You will see that the item you just created shows up on the Apple Watch.
Note that, while the information transfer happened immediately between the simulators, in a real-world situation with physical devices this will not always be the case.
3. Accessing the Pending Transfer Queue
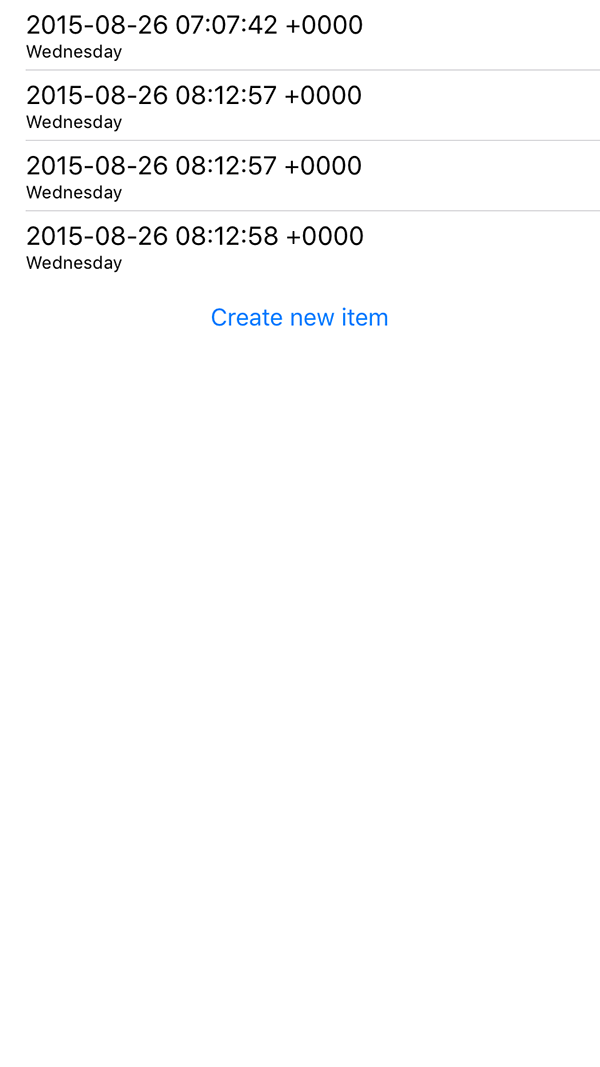
With your iOS app still running, quit the Apple Watch simulator from menu bar or by pressing Command-Q. After doing this, press the button in your iOS app to create a few more items as shown below.
Whenever you attempt to transfer information using the Watch Connectivity framework, it is added to a queue that is gradually cleared as information is transferred. This queue can be accessed and also the transfers in the queue can be accessed.
This is useful, because you can see how many items are still pending and you can even cancel specific transfers if you need to. The items you just created are currently being held in the user info queue because the Apple Watch is currently disconnected from the parent device, making a transfer impossible.
Open AppDelegate.swift and add the following code at the end of application(_:didFinishLaunchingWithOptions:):
let transfers = session.outstandingUserInfoTransfers
if transfers.count > 0 {
    let transfer = transfers.first!
    transfer.cancel()
}
With this code, we access the outstanding user info transfers and, if there is at least one, cancel the first transfer. The WCSessionUserInfoTransfer objects returned from the outstandingUserInfoTransfers property also have two read-only properties that you can access:
-
userInfo: This property stores the dictionary you are transferring. -
transferring: This property stores a boolean value and indicates whether the user info is currently being transferred.
There isn't a great deal of functionality available with outstanding information transfers in the Watch Connectivity framework, but depending on your application, some of these features might be very useful.
4. Other Transfer Methods
In this tutorial, we have only covered user info background transfers, but there are a few other ways of transferring data between devices. Each of these methods are designed for a specific purpose when communicating between an iPhone and an Apple Watch.
Application Context
This is where you need to transfer information between devices where only the most recent information is relevant. You transfer a single dictionary by calling the updateApplicationContext(_:error:) method. The error parameter in this method is a pointer to an NSError object, which will be filled with information if a problem occurs with the transfer.
On the receiving side you can implement the session(_:didReceiveApplicationContext:) method or, alternatively, access the application context via the default WCSession object's receivedApplicationContext property.
Complication Information
This is where you need to transfer a single user info dictionary specifically for your app's custom complication. You can only send information from the iOS side and this is done with the transferCurrentComplicationUserInfo(_:) method.
The key difference between this and the transferUserInfo(_:) method used earlier in this tutorial is that, when updating a complication, the system will always attempt to transfer the information immediately.
Note that a transfer is not guaranteed as the devices can be disconnected or your complication may have exceeded its background execution budget. If a complication information transfer can not be completed it is added to the outstandingUserInfoTransfers queue where it can be viewed and cancelled if needed.
Also note that, if a complication info transfer is in the queue and you call the transferCurrentComplicationUserInfo(_:) method again, the existing transfer in the queue will be invalidated and cancelled.
Files
You can even use the Watch Connectivity framework to transfer files between devices. This is done via the transferFile(_:metaData:) method where the first parameter is a local NSURL to the file and the second is an optional dictionary, containing any additional data associated with that file.
As you would expect, receiving of this file is handled by a method of the WCSessionDelegate protocol, the session(_:didReceiveFile:) method to be precise. In this method, you are given a single WCSessionFile object that contains a new local URL to the actual file as well as the metadata you transferred.
As with user info transfers, you can also view pending or file transfers that are in progress via the default WCSession object's outstandingFileTransfers property.
Conclusion
Overall, the Watch Connectivity framework provides a very simple and easy to use interface to transfer data between a connected iPhone and an Apple Watch. The framework enables the transfer of user info, application context, and complication info dictionaries as well as files.
You should now be comfortable with both sending and receiving information using the Watch Connectivity framework as well as how you can interact with any outstanding transfers.
As always, please be sure to leave your comments and feedback in the comments below.

Comments