Introduction
Apple's WatchKit framework for developing Apple Watch applications provides several ways for you, as a developer, to present different types of interfaces to users of your app. This includes page-based, hierarchal, and modal interfaces, which can all use contexts to create dynamic content.
In this tutorial, I am going to show you how to set up and manipulate each interface type, and what use cases they are each designed for.
Requirements
This tutorial requires that you are running Xcode 6.2+ and are comfortable with creating a basic Apple Watch app. If not, please read some of the other WatchKit tutorials on Tuts+ and then come back to this one. You will also need to download the starter project from GitHub.
1. Page-Based Interfaces
The first kind of interface you are going to implement in your Apple Watch app will be a page-based one. These kinds of interfaces function very similarly to the standard home screen on an iOS device to show multiple pages of information in a set order. Page-based interfaces are best suited for when you need to display multiple screens of information that are related to each other.
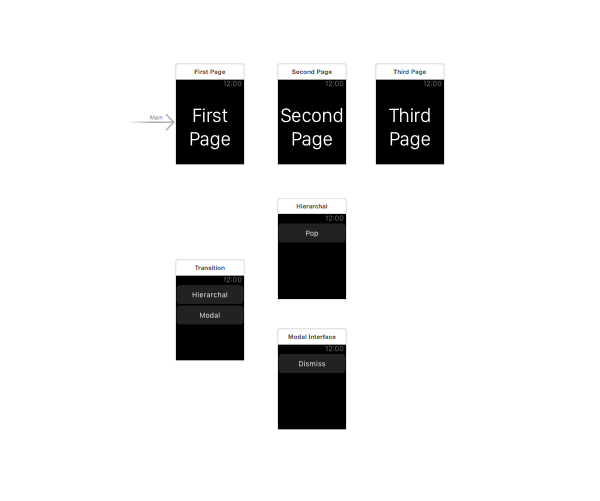
Open the starter project in Xcode and navigate to Interface.storyboard. The storyboard already contains six interface controllers as you an see below.
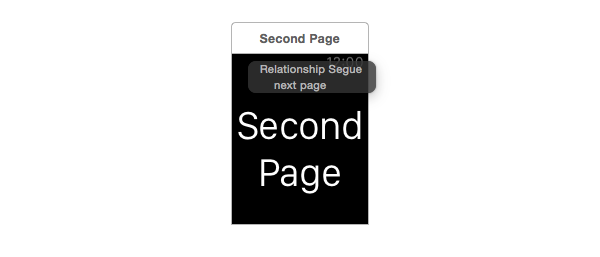
To create a page-based interface, you need to create a next page relationship segue between the interface controllers you want to link. Press the Control button on your keyboard and click and drag from one interface controller to another. Control and drag from the first interface controller to the second and, if done correctly, a Relationship Segue pop-up should appear. From this pop-up menu, choose the next page option as shown below.
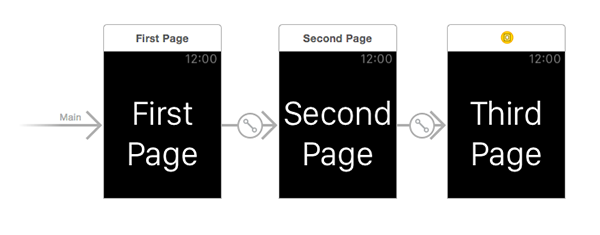
Follow these same steps to link the second interface controller to the third one. The storyboard should now show the segues between the top three interface controllers. Note that the order in which you create these segues determines the order the interfaces will appear in your WatchKit app.
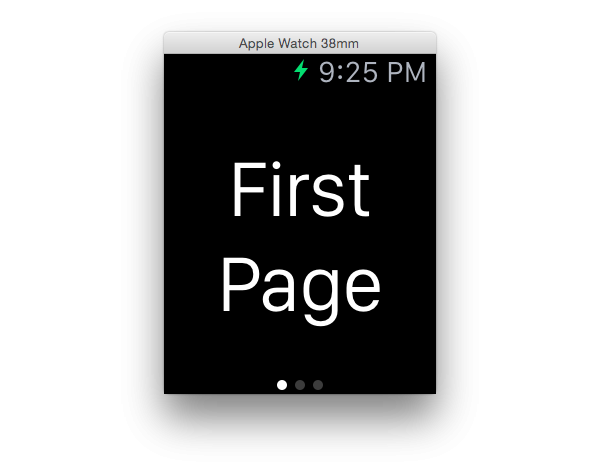
Build and run your app, and open an Apple Watch as an external display in the iOS Simulator. You will see that the app displays the First Page interface controller and has three dots at the bottom, representing the three available pages. You can swipe between the three pages by swiping left or right, just as you would on an iOS device.
When using a page-based interface, you can specify which interface controller you want to appear at launch. This is done by using the becomeCurrentPage method. Open SecondPageInterfaceController.swift and add the following line to the awakeWithContext(_:) method:
override func awakeWithContext(context: AnyObject?) {
    super.awakeWithContext(context)

    self.becomeCurrentPage()
}
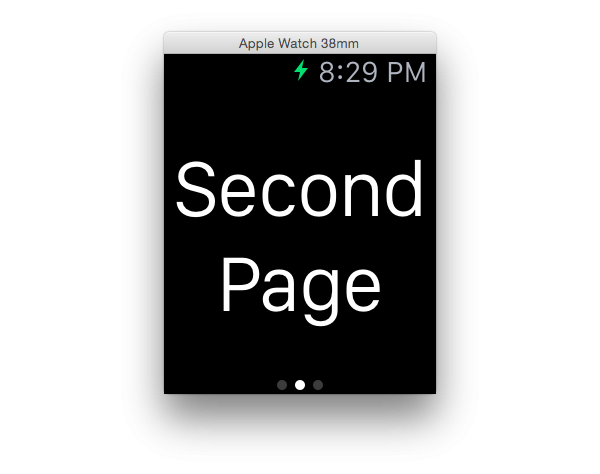
Build and run your app again, and you will see that the second page is now presented on launch.
At runtime, you can also specify an explicit order in which to show the pages of your interface. This is done by using the reloadRootControllersWithNames(_:contexts:) class method.
The first parameter of this method is an array of strings that contains the storyboard identifiers of the interface controllers you want to load. The order of identifiers in this array determines the order that the pages appear in.
The second parameter is an optional AnyObject type array that contains the contexts for each of the pages. You will learn about contexts later in this tutorial. For now, you will just leave this parameter as nil. Replace the line you just added to your awakeWithContext(_:) method with the following:
override func awakeWithContext(context: AnyObject?) {
    super.awakeWithContext(context)

    WKInterfaceController.reloadRootControllersWithNames(["Third Page", "First Page"], contexts: nil)
}
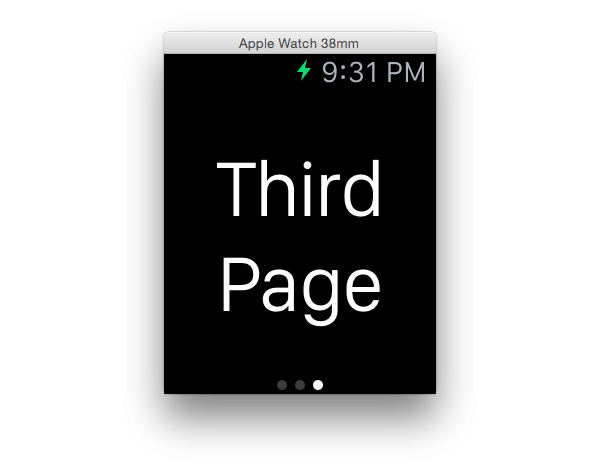
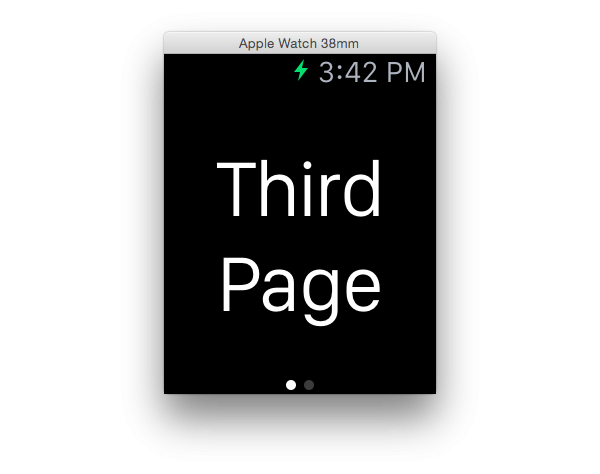
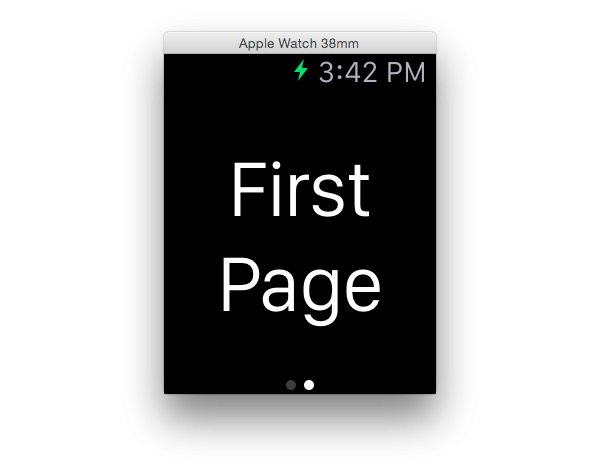
Build and run your app, and you will see that, after the loading has completed, your app will show the third page followed by the first page.
2. Hierarchal Interfaces
In addition to page-based interfaces, you can also implement hierarchal interfaces in an Apple Watch app. We speak of hierarchical interfaces when transitioning between interface controllers using a push transition.
The behavior of a hierarchal interface is similar to that of the UINavigationController class in an iOS app. This type of Apple Watch interface is best suited for presenting multiple interfaces one after another in a linear fashion.
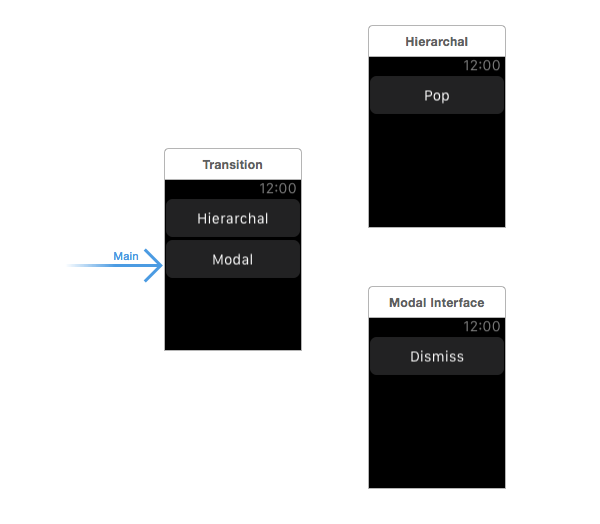
Revisit Interface.storyboard and drag the Main Entry Point arrow to the Transition interface controller as shown below. This will make the specified interface controller appear first when the app is launched.
Next, open TransitionInterfaceController.swift and add the following line in the pushButtonPressed method:
@IBAction func pushButtonPressed() {
    self.pushControllerWithName("Hierarchal Interface", context: nil)
}
Similar to the reloadRootControllersWithNames(_:contexts:) method that you used earlier, the first parameter of pushControllerWithName(_:context:) is the storyboard identifier of the interface controller you want to push. The second parameter is the context for this new interface controller.
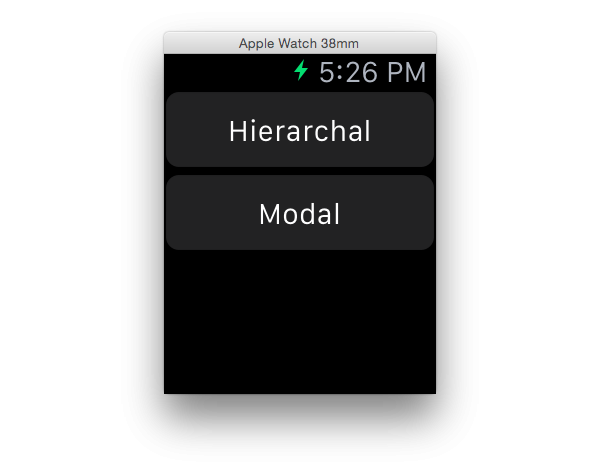
Build and run your app. You should see the following interface when your WatchKit app has finished launching.
Tapping the Hierarchal button should push the next interface onto the screen as shown below.
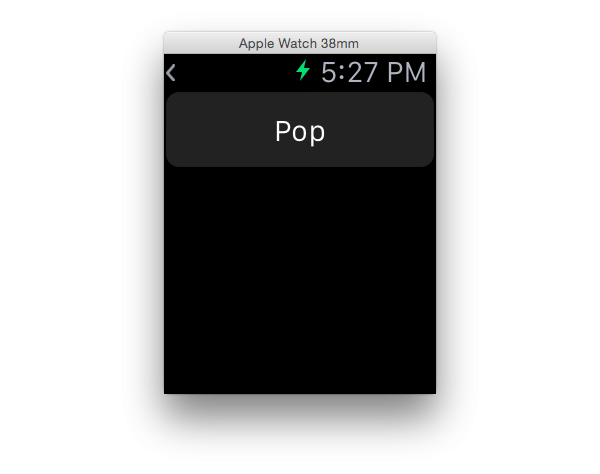
You will notice that there is now a small arrow in the top left corner of the screen. Tapping the arrow will take you back to the previous interface. It's also possible to pop the current interface controller in code. In the HierarchalInterfaceController class, update the popButtonPressed method as follows:
@IBAction func popButtonPressed() {
    self.popController()
}
Build and run your app again. Tapping the Pop button should now have the same effect as pressing the back arrow in the top left.
Alternatively, if you want to return to the very first interface in the hierarchy, you invoke the popToRootController method rather than the popController method. For your current app, these methods would both produce the same result as there are only two interfaces in the hierarchy at the moment.
3. Modal Interfaces
Modal interfaces function similarly to hierarchal interfaces. The major difference between the two is that modal interfaces are designed to display interfaces on top of one another rather than transitioning between them in a linear fashion.
Head back to TransitionInterfaceController.swift and add the following line of code to the modalButtonPressed method:
@IBAction func modalButtonPressed() {
    self.presentControllerWithName("Modal Interface", context: nil)
}
To dismiss the modal interface, update the dismissButtonPressed method as follows in the ModalInterfaceController:
@IBAction func dismissButtonPressed() {
    self.dismissController()
}
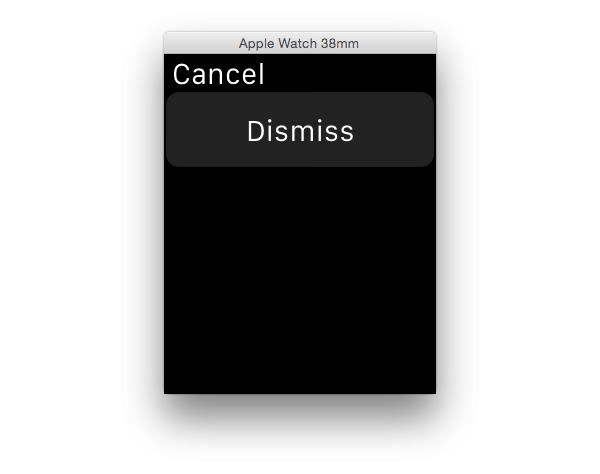
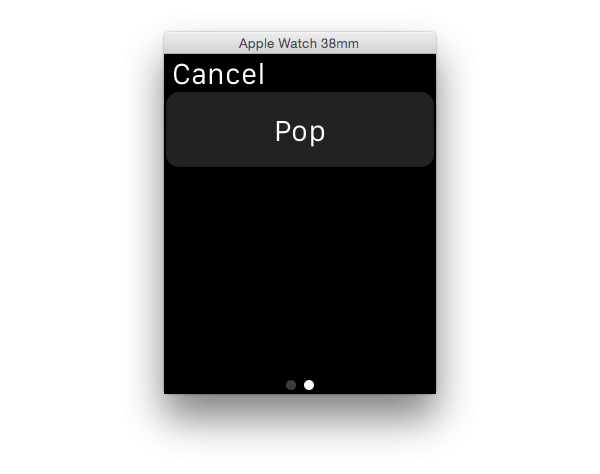
Build and run your app. Tap the Modal button to present a modal interface.
An advantage of modal interfaces is that you can modally present a page-based interface. This is done by using the presentControllersWithNames(_:contexts:) method. The first parameter is an array of storyboard identifiers and the second parameter is an array of context objects. In TransitionInterfaceController.swift, update the implementation of the modalButtonPressed method as follows:
@IBAction func modalButtonPressed() {
    self.presentControllerWithNames(["Modal Interface", "Hierarchal Interface"], contexts: nil)
}
Run your app and tap the Modal button. A page-based interface should be presented modally with the following two interfaces:

4. Interface Contexts
As you have seen from the various methods used in this tutorial so far, when transitioning to a new interface you can pass in a context to configure the interface that's about to be presented. The context you pass to your new interface is optional and can be any data type (AnyObject?).
This means that you can pass any type of data between interfaces, from simple numbers to complex data structures. The context is handed to the new interface in the awakeWithContext(_:) method. The advantage of passing a context to an interface controller is to configure its contents dynamically, that is, at runtime.
Open TransitionInterfaceController.swift and update the implementation of the modalButtonPressed method as follows:
@IBAction func modalButtonPressed() {
    self.presentControllerWithName("Modal Interface", context: "Custom Text")
}
In ModalInterfaceController.swift, update the implementation of the awakeWithContext(_:) as follows:
override func awakeWithContext(context: AnyObject?) {
    super.awakeWithContext(context)

    if let text = context as? String {
        button.setTitle(text)
    }
}
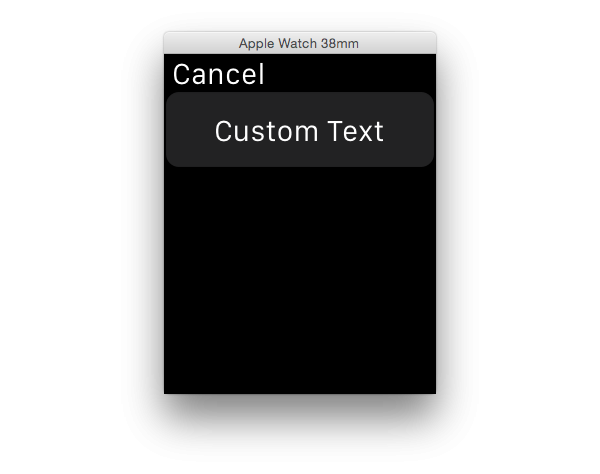
We use optional binding to see if the context provided can be cast into a String. If it can, we set the button's title to that value.
Build and run your app, and open the modal interface. The title of the button should have changed to Custom Text.
Learn More in Our WatchKit Course
If you're interested in taking your WatchKit education to the next level, you can take a look at our full course on WatchKit development.
Conclusion
In this tutorial, you learned how to set up and utilize the three main interface types available to WatchKit applications, page-based, hierarchal, and modal. You also learned how to use interface contexts to configure interface controllers at runtime. You now also know when it is best to use each of these interface types in your WatchKit applications. You can read more about interface navigation in Apple's documentation.

Comments