Welcome to the third tutorial in our series on Photoshop for developers! In this Quick Tip, I’ll introduce you to the fundamentals of painting with the Bucket Tool.
Using the Bucket Tool
According to Adobe: “The Paint Bucket tool fills adjacent pixels that are similar in color value to the pixels you click.” In other words, you choose a color and then use the Paint Bucket to fill a selected area with that color. I don’t know why they have to be so technical!
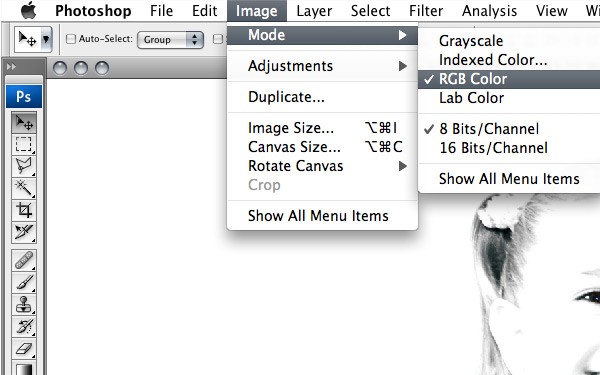
One little side note to keep in mind is that the Paint Bucket tool will not work when your document is in Bitmap or Indexed mode. So, you will have to change the mode of the image if you are opening an existing .gif or .bmp file. To determine what mode your file is in:
- Click the IMAGE menu.
- Choose MODE from the menu.
From here you will be able to differentiate between grayscale, indexed color, RGB, or lab. For all web and mobile images we are going to want to make sure we select RGB.
Use
Once the appropriate color mode is set, we can get down-and-dirty:
- Choose a foreground color from the color swatches
 in the toolbar.
 - Select the Paint Bucket (G) tool from the toolbar.
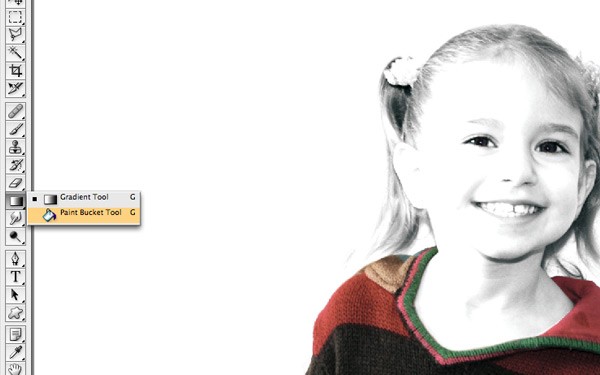
NOTE: The gradient tool is the top level option and the Paint Bucket is, by default, in a sub-menu beneath the gradient tool.
With the desired color chosen, we are going to take a look at the Option Bar. The Option Bar gives you some further customization options for tools. Default settings should be good enough in most cases, nonetheless, these will help you go from neat to sweet.
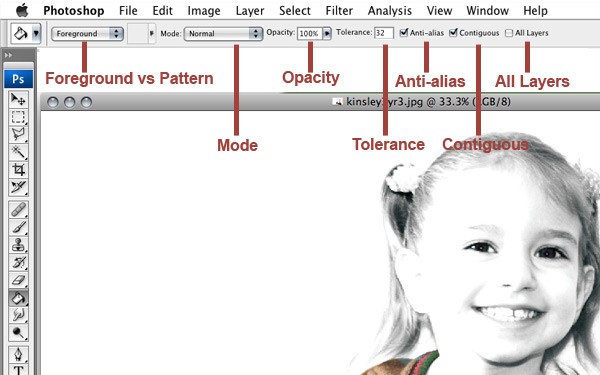
- Foreground color vs pattern simply means you want to fill the selected area with color rather than a pattern. We will get into patterns in a future tutorial in this series.
- The blending modes can create some pretty cool effects. If you are curious, just play around.
- Opacity of the color is how much transparency will be applied to the color.
- Tolerance is a number 0-255 defining how similar in color a pixel must be to be filled. A low tolerance fills pixels within a range of color values very similar to the pixel you click. A high tolerance fills pixels within a broader range.
- Anti-aliased smooths the edges of the filled selection and should almost always be checked.
- Contiguous fills only pixels of the same color nearby to the one you click. Leaving Contiguous unselected fills all similar pixels in the image.
- To fill pixels based on the merged color data from all visible layers, select All Layers.
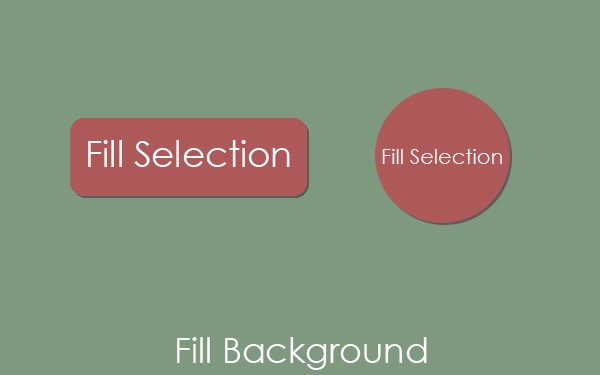
Now we are ready to start coloring. With the bucket tool and appropriate layer still selected, click the part of the image you want to fill. All desired pixels within the specified tolerance are filled with either the color or the pattern.
NOTE: You can also fill areas of the image by utilizing the marquee tool and just selecting portions of the image. See the last tutorial in this series on making selections with the marquee tool for more information!
A little tid-bit of information that I will share with you. I, personally, don't use the Bucket tool all that much. In the first tutorial of this series, I mentioned there are hundred different ways to carry out the same task. I also mentioned keyborad shortcuts. Instead of the bucket tool, I use SHIFT+F5. This is the equivalent of going to the EDIT > Fill menu. This option is the equivalent of the Bucket tool and then some.
Bucket tool down, gradient tool to go. In the next tutorial, I'll show you the gradient tool which will allow you to add some dimension to your images, graphics, and backgrounds.

Comments