In the first article of this series, we defined code smells and looked at a few examples of what they are and how we may refactor them so the quality of the code is improved. Recall:
[A] code smell, also known as a bad smell, in computer programming code, refers to any symptom in the source code of a program that possibly indicates a deeper problem.
Ultimately, we're working towards implementing WordPress-specific code sniffing rules, but before we do that it's important to familiarize yourself with PHP CodeSniffer.
In this article, we're going to take a look at what PHP CodeSniffer is, how to install it, how to run it against an example script, and how to refactor said script. Then we'll look at how we're going to move forward into WordPress-specific code.
If you have a local development environment set up, then great; if not, that's fine. I'll provide some links that will get you up and running quickly.
With that said, let's get started.
Prerequisites
Before getting started, it's important that you have some type of local development environment, even if this only includes a copy of the PHP interpreter.
You May Already Have a Copy
Note that if you're running a variant of Linux or OS X, there's a chance you already have PHP installed. If you do, then you don't need to worry about anything else in this section. To determine if you have PHP installed, run the following command on the command line:
$ php -v
You should see something like the following (though your output may be different based on the version of PHP you've opted to run):
PHP 5.6.10 (cli) (built: Jul  6 2015 14:28:54)
Copyright (c) 1997-2015 The PHP Group
Zend Engine v2.6.0, Copyright (c) 1998-2015 Zend Technologies
If you're more advanced and have multiple copies of the project installed, then you can run:
$ which php
And you should see something like this:
/Applications/MAMP/bin/php/php5.6.10/bin/php
Though your output will vary based on where your copy of PHP is installed.
But If You Don't, That's Okay!
Though this series is geared primarily towards beginners, there may be some of you who are comfortable with downloading a copy of PHP and installing it on your system. If this is you, then grab a copy of PHP from the project's homepage, install it, and return to this tutorial.
If, on the other hand, this is new to you then you can choose to use one of the installers for your operating system on the PHP homepage linked above or one of the provided utilities below.
- WAMP for Windows
- XAMPP For Linux, Windows, or OS X
- MAMP for Windows and OS X
All of these packages have their own installers and will install PHP, MySQL, and Apache. As previously mentioned, we're primarily concerned with having a copy of PHP available on our system.
Once these are installed, try running the commands mentioned in the first part of this section (or your system's equivalent) and you should see similar output.
If you don't, then you'll likely need to add the path to PHP to your environmental variables. This is outside the scope of this tutorial, so please consult the documentation for the version of the project you installed.
With PHP now installed, we're ready to get started with catching and cleaning up our code smells.
What Is PHP CodeSniffer?
You can find the official PHP CodeSniffer software on GitHub.
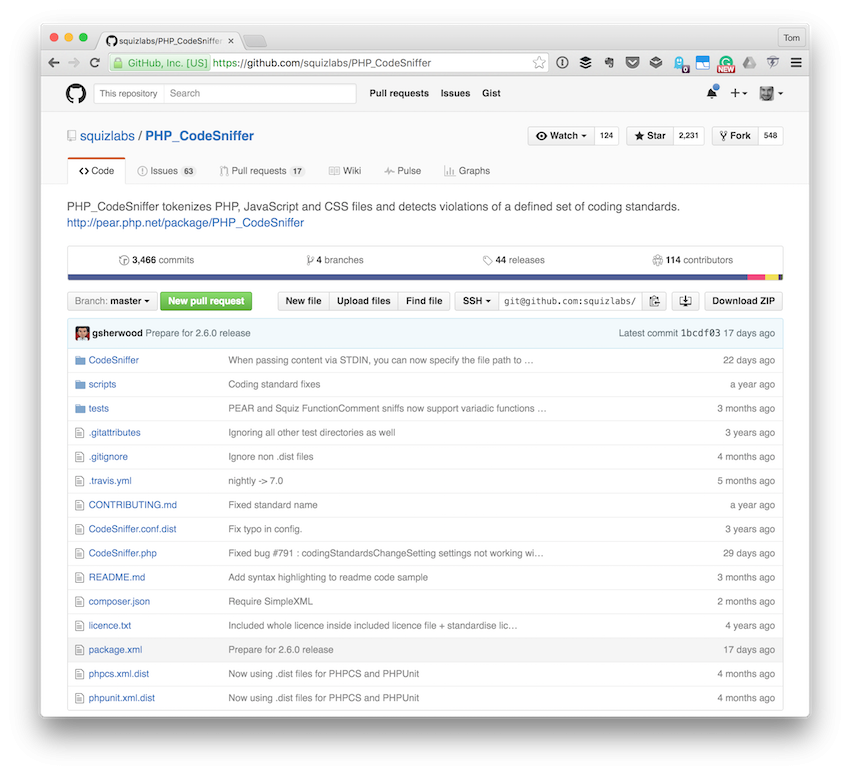
From the project's documentation:
PHP_CodeSniffer is a set of two PHP scripts; the mainphpcsscript that tokenizes PHP, JavaScript and CSS files to detect violations of a defined coding standard, and a secondphpcbfscript to automatically correct coding standard violations. PHP_CodeSniffer is an essential development tool that ensures your code remains clean and consistent.
If you've never seen anything like this before, it sounds really neat, doesn't it? I mean, it's a tool that's meant to help ensure a certain level of quality exists in your code!
Though the project mentions languages such as CSS and JavaScript, we're focused on PHP in this series. This doesn't mean it's not important to check the quality of those particular language files in your projects, though.
As great as it sounds, it still raises the questions: How do we install the software, and how do we begin checking our code?
Let's answer both of those questions now.
1. Installing the Software
If you were to perform a Google search for how to install PHP CodeSniffer, you will likely end up with a variety of results, many of which will include using something called Pear.
Pear was once the de-facto package distribution system for PHP libraries, and though many packages are still available through the software, it's also being retired from other popular packages (such as PHPUnit).
For this reason, I often recommend using other methods of installation when they are available. This includes using tools such as Composer, which is arguably the most popular dependency management software for PHP.
If you've never used Composer before, don't worry. I'll provide all the steps that you need in order to get PHP CodeSniffer up and running on your machine with Composer and with minimal work. If you're interested in learning more, we have quite a few tutorials on how to use Composer, so feel free to check them out.
Installing Composer
Before we install PHP CodeSniffer, we need to actually install Composer. Luckily, it's very easy to do so once you have PHP up and running on your local machine.
To install Composer, you can download this file and then execute the following command on the command line from wherever you downloaded the Composer installer:
$ php composer-setup.php --install-dir=bin --filename=composer
A note from the Composer installation instructions:
You can install Composer to a specific directory by using the--install-diroption and additionally (re)name it as well using the--filenameoption.
For more information, feel free to refer to the download instructions or view the entire project on GitHub.
Once it's installed, you're now able to use Composer to install third-party dependencies, such as PHP CodeSniffer, into your projects. Make note of where you've installed your copy of Composer, though. You'll need to refer to it when running it since we're going to be running it from the command line.
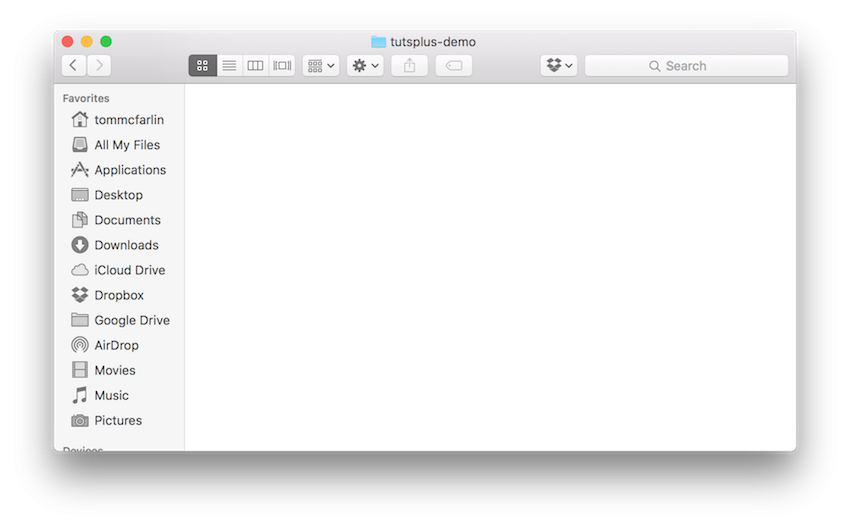
Anyway, let's go ahead and create a directory out of which we're going to run our PHP scripts. Though we won't have anything in this directory just yet, we need to create a file called composer.json.
I'm going to call my directory tutsplus-demo, and I'll include my Composer file in that directory to get started.
Once you have the file created, place the following code in the JSON file:
{
    "require": {
        "squizlabs/php_codesniffer": "2.*"
    }
}
In short, this tells Composer to install PHP CodeSniffer when you execute the proper command. Note that the require directive does the following:
Lists packages required by this package. The package will not be installed unless those requirements can be met.
You can read more about the Composer schema in the documentation.
Once Composer is installed and once you have your composer.json file looking like the code above, it's time to actually install PHP CodeSniffer. From the command line, issue the following command:
$ composer update
Note that this is predicated on the idea Composer is available publicly on your system. If not, you can execute it by typing the full path to the installed file or you can add it to your environmental variables and then restart your terminal session in order to reload the variables.
Once Composer has finished working, you should see something like this:

And your tutsplus-code directory should now look like this:
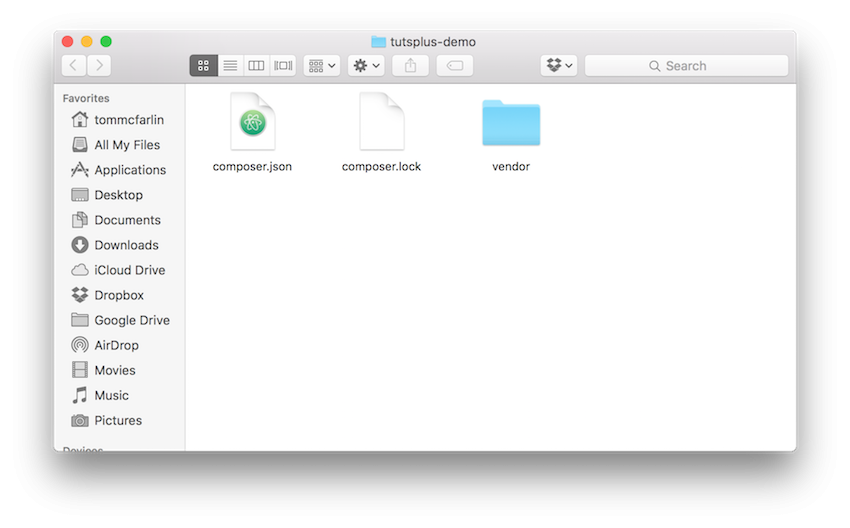
Notice specifically that you have a vendor directory. This means that Composer properly installed PHP CodeSniffer. At this point, we're ready to evaluate our PHP code.
2. Evaluating Scripts
First, let's take a sample script. The one we're going to be looking at can be found in this answer on Stack Overflow.
Create a file in your tutsplus-demo directory and name it sample.php. Then, make sure the file contains the following contents:
<?php
$target_dir = "uploads/";
$target_file = $target_dir . basename($_FILES["fileToUpload"]["name"]);
$uploadOk = 1;
$imageFileType = pathinfo($target_file,PATHINFO_EXTENSION);
// Check if image file is a actual image or fake image
if(isset($_POST["submit"])) {
    $check = getimagesize($_FILES["fileToUpload"]["tmp_name"]);
    if($check !== false) {
        echo "File is an image - " . $check["mime"] . ".";
        $uploadOk = 1;
    } else {
        echo "File is not an image.";
        $uploadOk = 0;
    }
}
?>
Save your work. Next, we can run PHP CodeSniffer from the command line and have it evaluate the code in the script above using the standard set of rules.
From your terminal, enter the following command:
$ vendor/bin/phpcs sample.php
This should generate output that contains the following:
Skyhopper5:tutsplus-demo tommcfarlin$ vendor/bin/phpcs sample.php

FILE: /Users/tommcfarlin/Desktop/tutsplus-demo/sample.php
----------------------------------------------------------------------
FOUND 4 ERRORS AFFECTING 4 LINES
----------------------------------------------------------------------
 2 | ERROR | [ ] Missing file doc comment
 5 | ERROR | [x] No space found after comma in function call
 7 | ERROR | [ ] Expected "if (...) {\n"; found "if(...) {\n"
 9 | ERROR | [ ] Expected "if (...) {\n"; found "if(...) {\n"
----------------------------------------------------------------------
PHPCBF CAN FIX THE 1 MARKED SNIFF VIOLATIONS AUTOMATICALLY
----------------------------------------------------------------------

Time: 46ms; Memory: 3.5Mb

Skyhopper5:tutsplus-demo tommcfarlin$
Notice that it found four errors. The first column tells you which line the error is on, the second column states that it's an error (versus a warning), and then the rest tells you what it expected to see versus what it actually saw.
So let's clean up the file based on those errors. Generally speaking, we need to do the following:
- Add a file-level documentation comment.
- Add a space after a comma in a call to a function on line file.
- Add spaces after
ifstatements in the script.
The end result would look something like this:
<?php
/**
 * Determines if the file being uploaded is a legitimate image or not.
 * If so, allows the file to be uploaded. Otherwise, prevents the upload
 * from occurring.
 *
 * PHP Version 5
 *
 * @category Demo
 * @package  TutsPlus_Demo
 * @author   Tom McFarlin <[email protected]>
 * @license  http://opensource.org/licenses/gpl-license.php GNU Public License
 * @link     http://is.gd/dq0DhO
 * @since    1.0.0
 */

$target_dir = "uploads/";
$target_file = $target_dir . basename($_FILES["fileToUpload"]["name"]);
$uploadOk = 1;
$imageFileType = pathinfo($target_file, PATHINFO_EXTENSION);
// Check if image file is a actual image or fake image
if (isset($_POST["submit"])) {
    $check = getimagesize($_FILES["fileToUpload"]["tmp_name"]);
    if ($check !== false) {
        echo "File is an image - " . $check["mime"] . ".";
        $uploadOk = 1;
    } else {
        echo "File is not an image.";
        $uploadOk = 0;
    }
}
?>
Next, run the script again and you shouldn't get any output. That is, you should be presented with the standard command prompt. Sometimes this mean something is broken, but in this case it means everything is running as expected
Not bad, right?
Now imagine what this could do for larger codebases and scripts that you're working with on a daily basis.
It's Not a Crutch
As important as it is to evaluate our code, to avoid code smells, and to aim for the highest quality possible, tools such as PHP CodeSniffer are not meant to be used as crutches. That means that we don't have an excuse to write bad code because another tool will catch it.
Because it won't always do so.
Instead, this is meant as a second pass of sorts. That is, it's meant to catch things that we may miss when writing code the first, second, or ninth time. The nice thing about this particular program is that you can load different rules into PHP CodeSniffer depending on the environment, framework, or library with which you're working.
And that's exactly what we're going to do with WordPress in the next article.
Conclusion
As far as introductory material is concerned, we've covered quite a bit of ground in this tutorial. That is, we've looked at setting up a basic development environment on our local machine that includes PHP.
Next, we've taken a look at Composer and how to get it installed on our system. We've written our first Composer file for retrieving dependencies, namely PHP CodeSniffer, and we've even evaluated and corrected results provided to us by the software.
If you're primarily a PHP developer, then I hope the first two articles in the series have been helpful, but if you're a WordPress developer then we have a bit more to cover.
In the final article in the series, we're going to turn our attention to WordPress. Because it has its own set of coding standards, we're going to look at how to load these rules into PHP CodeSniffer and then evaluate plugins, theme code, and so on to get an idea as to how to use this in our day-to-day work in our WordPress projects.
Before we move forward to the next article, review the code above and make sure that you have PHP and PHP CodeSniffer installed and that you're familiar with how it works, as we're going to be tying all of this together.
Finally, you can review all of my courses and tutorials on my profile page, and you can follow me on my blog and/or Twitter at @tommcfarlin where I talk about various software development practices especially in the context of WordPress.
Please don't hesitate to leave any questions or comments in the feed below, and I'll aim to respond to each of them.

Comments