React has quickly become a popular framework for creating both client-side and server-side views. There was a higher barrier of entry with tooling along with some frustration with JavaScript fatigue from the community. The create-react-app was created to address those frustrations.
Getting Started
You will first want to make sure that you have Node installed on your system. You need to at least have Node version 4 installed, but they recommend having version 6 for faster downloads and better disk usage. You can use nvm to easily switch between Node versions as well.
After you have Node installed, you will want to open your favorite command-line tool and install the create-react-app globally so you can execute it anywhere on your system.
npm install -g create-react-app
How to Create Your First App
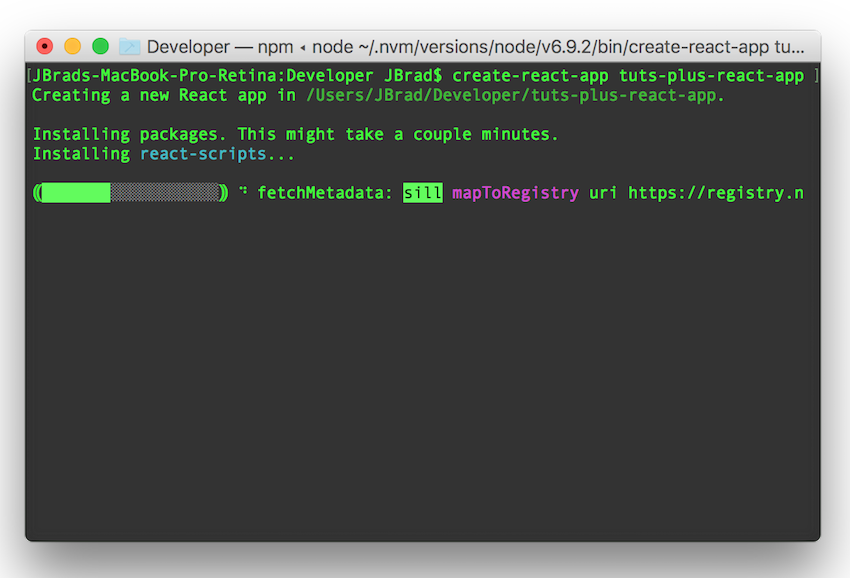
You will want to first open up the command line and navigate or create a directory where you will be doing your development. Next we will create the app by running create-react-app tuts-plus-react-app. This will execute the cli tool to create our tuts-plus-react-app.
Once the CLI tool is complete, you will taken to a summary screen that will let you know where the app has been created and show you a list of commands you can use.
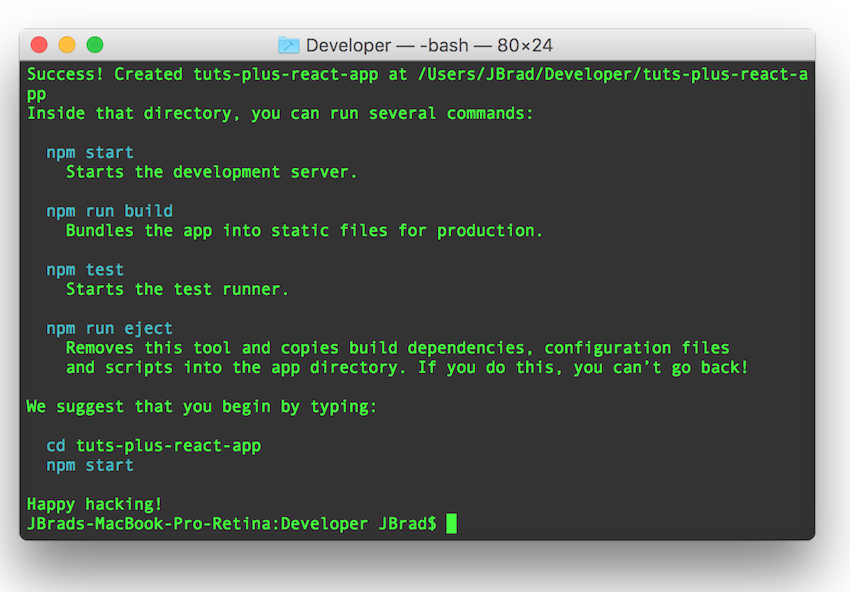
Next you will want to navigate to our new app by executing cd tuts-plus-react-app.
Starting the App
You can run the app locally by executing npm start. Once the app starts, you will automatically be navigated to http://localhost:3000/ in your browser and see your new React application.
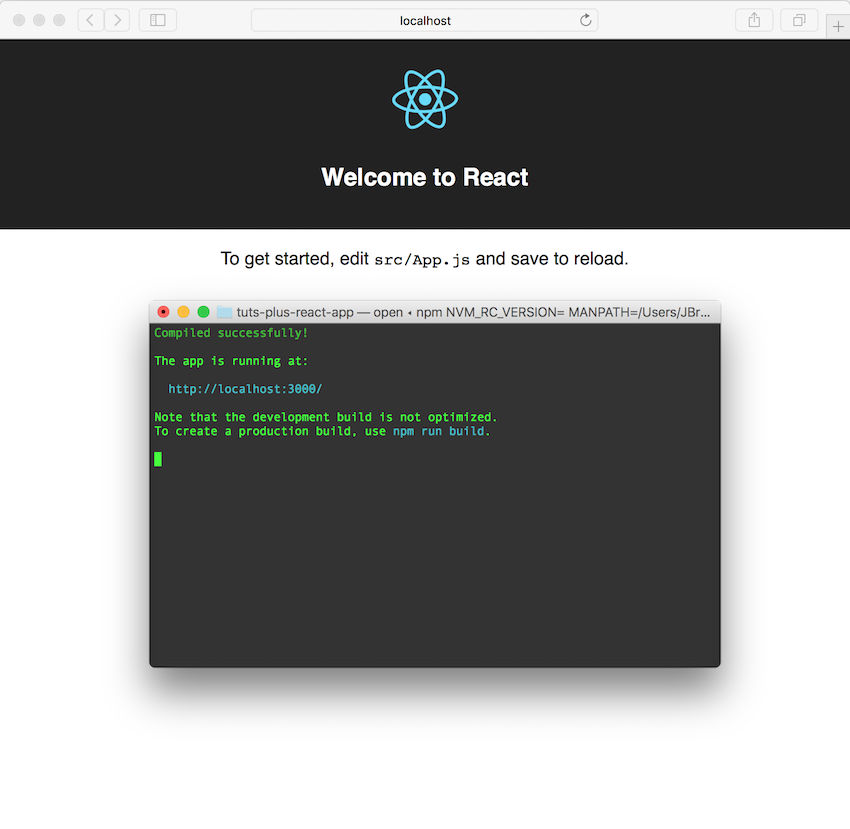
The app uses webpack to run a local dev server. There is a watch feature, so when you make edits to your React code and save, you will see the changes automatically show up in the browser.
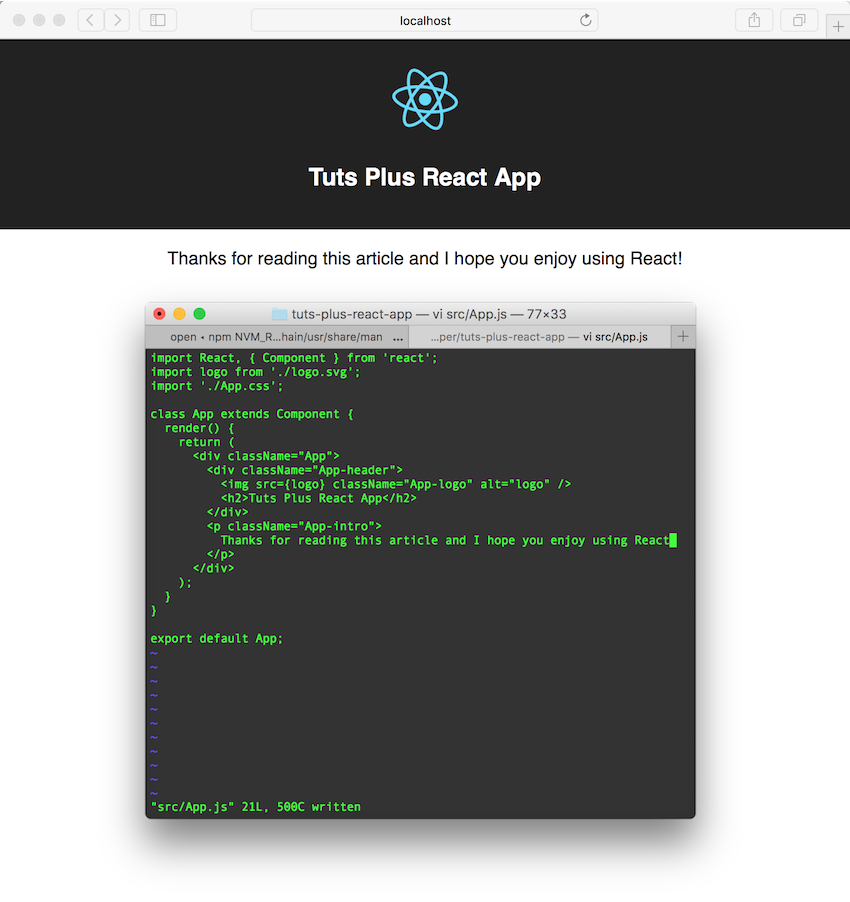
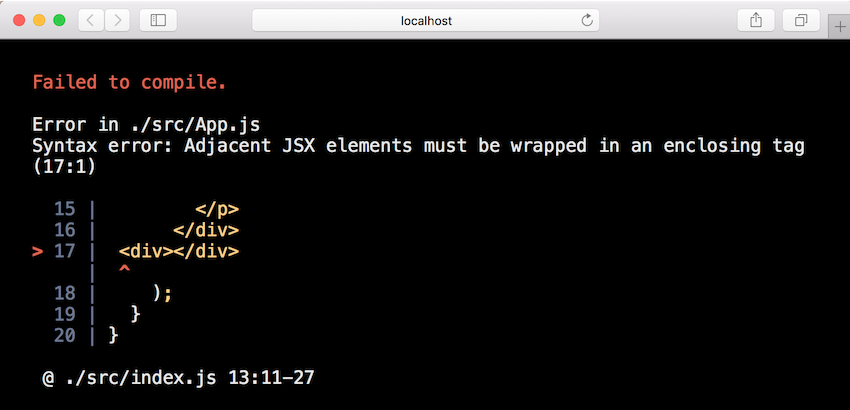
If you make any errors with your code, you will see those errors or warnings show up in the browser.
Code Styles and Testing
ESLint is included to ensure that your code follows common code styles. This will help you make sure your code is consistent, which is especially helpful when there are multiple contributors to a project. I would suggest using it if you are new to React as well to learn good React and JavaScript coding styles.
If you are familiar with writing tests for your code, Jest is included to run tests. Jest is a testing framework that is created and maintained by Facebook, the creators of React. To execute your tests, execute npm test in your command-line tool. This will run the tests and then start a watcher to execute your tests when your production code changes. There is an existing test file that you can add to in src/App.test.js.
Deploying Your App
When you are done making all of your edits, it's time to get your app deployed. All you need to do is execute npm run build in your apps directory. This will use Babel to transpile your React code into code that the browser understands. It will also minify your code as well to ensure you have the best performance in the browser.
User Guide
If you decide to continue using the create-react-app, I would suggest spending time reading through the user guide. It has a lot of useful information about other view-related topics like adding CSS stylesheets, importing other components, importing images and fonts, and others. It also has information about web development practices like using HTTPS, connecting to a Node back end, creating progressive web applications, and more.
There is also some extensive documentation on testing and deploying your application.
Happy Hacking
I hope you are now able see how easy it is to create a React application using the create-react-app project. I hope this helps lower the barrier of entry and gets you started with React. I know you are going to enjoy it!


Comments