If you want to try an easy and full-featured popular web shop, OpenCart is the is a great option.
For those who aren't familiar with the platform, we've created this beginner's series for you. Over the next several articles, this series this will show how to install and open an OpenCart web shop in 10 minutes.
Let's Get Started!
As mentioned in the introduction, we've got 10 minutes to become friends with OpenCart. What we know:
- OpenCart is popular and ease to use.
- You want to crank up a web shop right now.
OpenCart will run on most shared hosting having at least PHP 5.2, MySQL database, cURL (a server extension), 100-300MB of free space (depending on the number of products and images) and mod_rewrite (Apache server module). Always ask your hosting company if they support OpenCart hosting. In many cases, hosting companies provide a one-click install, but we choose to do the installation manually.
Before the installation, you need to have your database and FTP user account info at hand.
Prepare Your OpenCart Installation Package
Save the newest version of OpenCart from the official OpenCart Download page to your local project folder. Extract the zip archive within your working folder. Rename config-dist.php to config.php and admin/config-dist.php to admin/config.php. Upload every file and folder to your server from the "Upload" folder.
In this tutorial, I will install OpenCart on my local machine, which is very similarly configured such as a shared hosting service.
Make sure these folders on the server are writeable (chmod 0755 or 0777):
image/image/cache/cache/download/config.phpadmin/config.php
Go to your shop's homepage and follow the steps of installation:
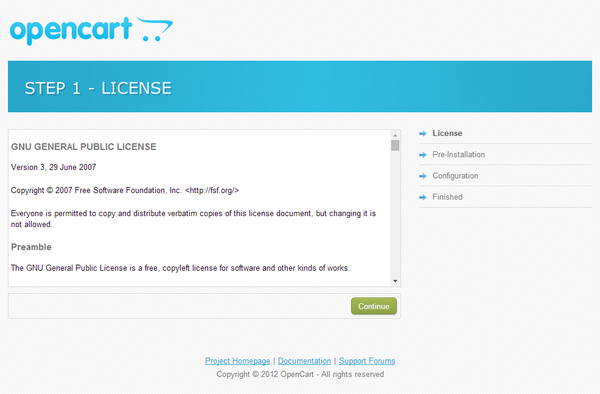
Step 1: Read the user license and hit Continue.
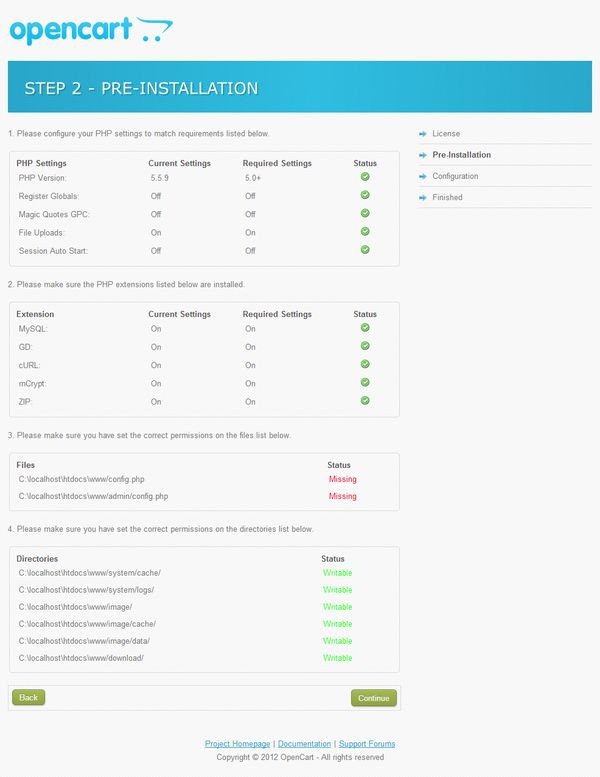
Step 2: This screen helps you check if your host's environment meets OpenCart's requirements. If everything shows up green (which means that all is okay), hit Continue.
If something is written in red, read what changes need to be done, perform them, then go back by hitting the Back button and Continue again. In my case, I had a small error and I had to rename the two config_dist.php files to config.php as seen below.
Step 3: Provide your database credentials as asked. For Database Driver, most hosting providers use MySQL, and for database prefix, pick something unique - this should make your configuration more safe. The rest is given by your hosting company. If you filled out this form with your own data, hit Continue.

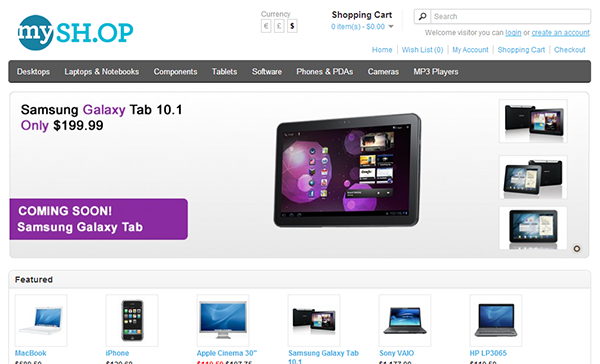
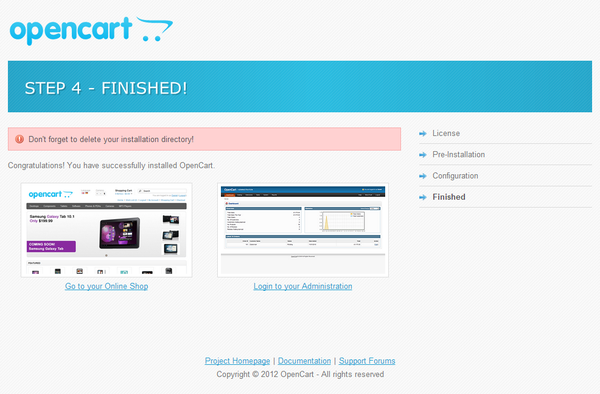
Step 4: We're at the finish line! As the warning says, delete the install directory and continue either to your store front or to the administration. Let's go to the Administration area, where the exciting things happen for the new friends of OpenCart.
The OpenCart Administration Panel
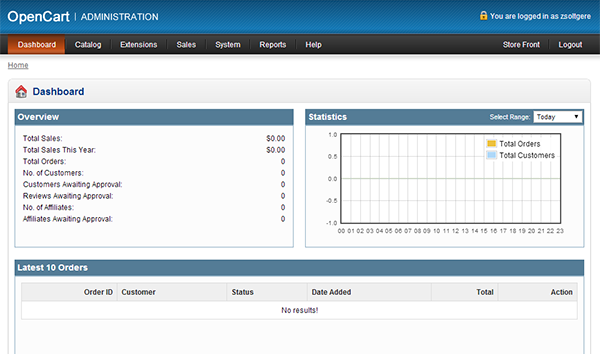
Go to www.yournewwebshop.com/admin and log in to your admin panel. The first thing you see is a dashboard showing an overview of your sales, an order and customer statistics chart, and a list of your latest orders. Now, we will do some basic setting modifications to get you started in the admin area.
General Settings
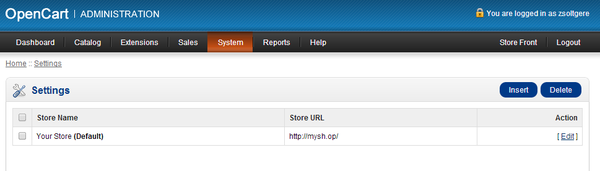
To change the default store information, go to System > Settings > Edit Your Store > General tab. You can change the store name, address, owner's name, and contact details. If you want to change the template and update the meta data go to the Store tab within Settings.
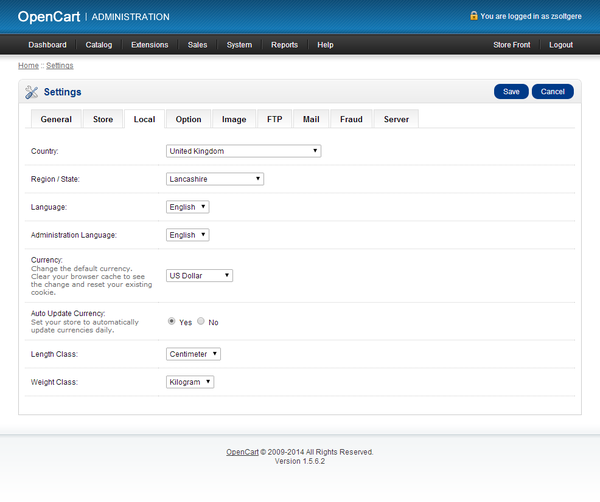
Under the Local tab, you'll find the options for the store's default region, you can choose the front end and backend language, change currency and units.
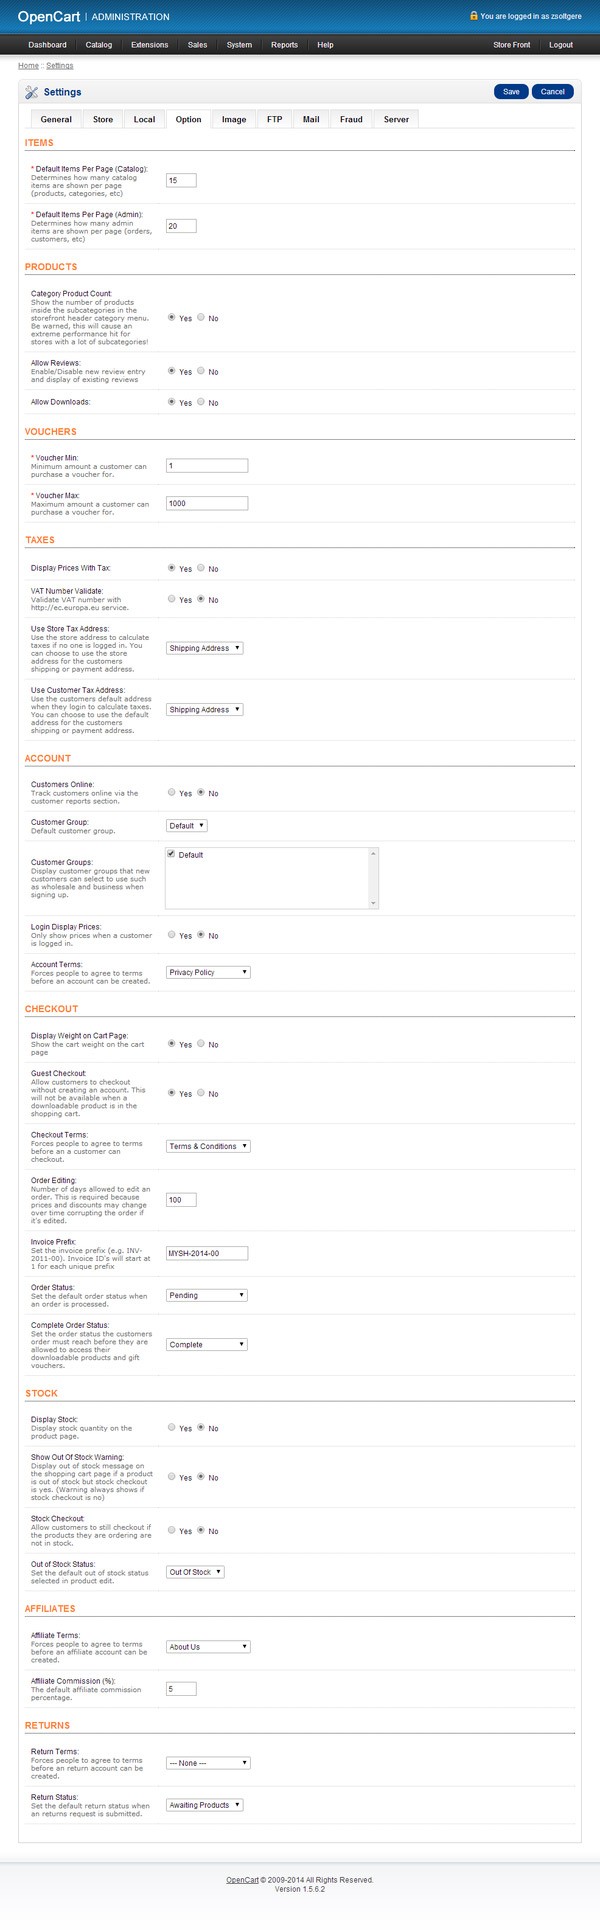
Under Options tab you'll see settings related to products and list view, vouchers, taxes, customer account, checkout, stock and affiliates. For the first try of OpenCart, I wouldn't modify anything under the Options tab.
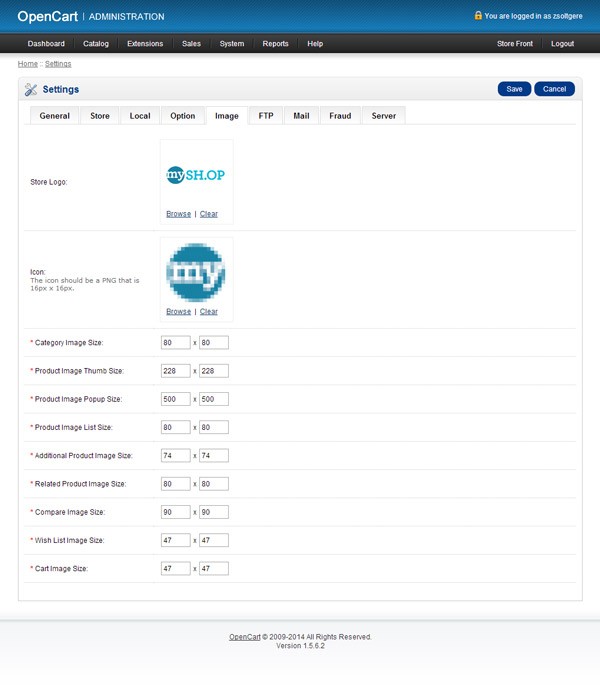
If you want to change the logo and the favicon, and later edit different product image sizes, go to the Image tab.
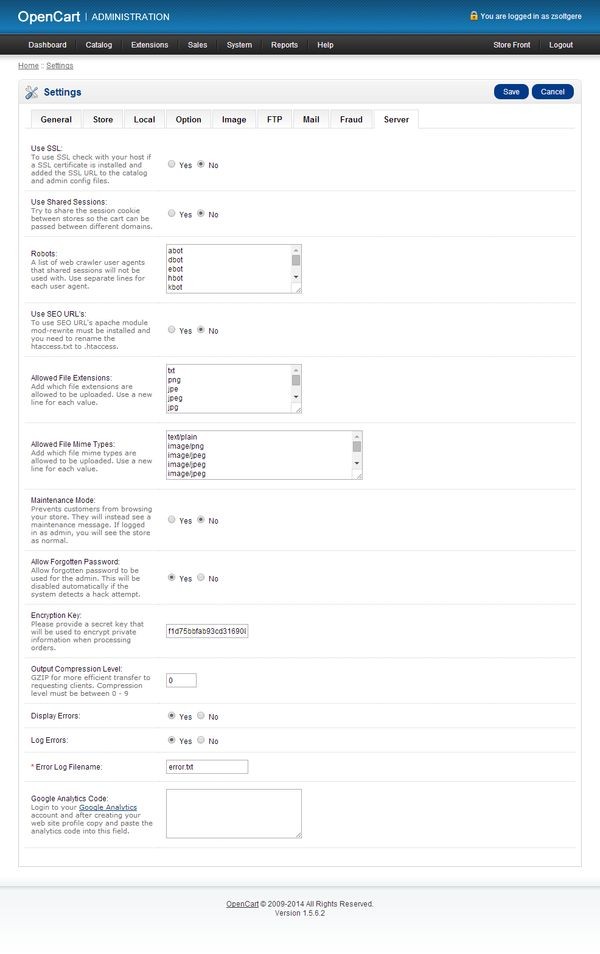
The FTP, Mail and Fraud tabs are used for advanced settings, right now, don't bother with them. If you want to use SEO URL's in OpenCart, go to the Server tab and enable the Use SEO URL's option (don't forget to rename the htaccess.txt to .htaccess in your root folder). Also you can insert your Google Analytics code under this tab, last option.
Managing Your First Categories and Products
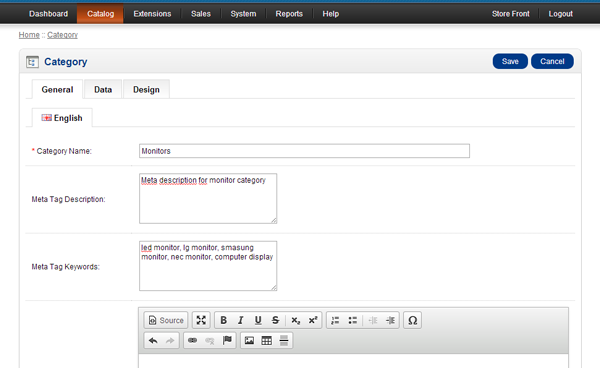
Categories can be added or changed under Catalog > Categories menu. Click Insert to add a new one. Beneath the General tab, type the category name, meta data and description.
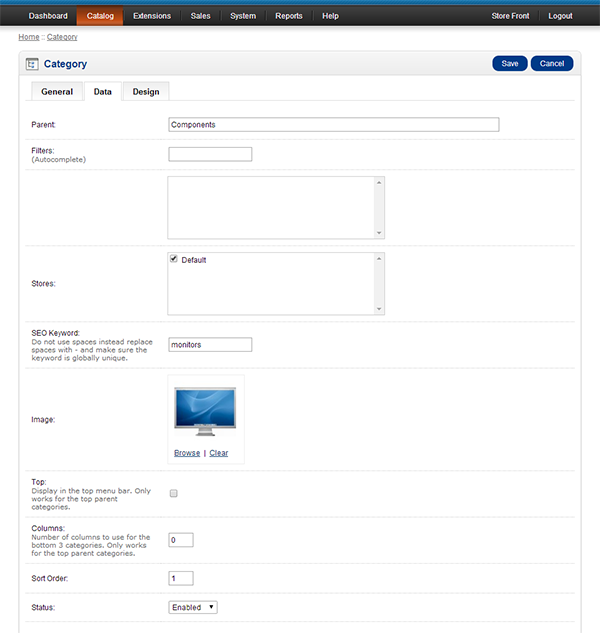
Under the Data tab, the basic options you can edit are choosing a parent category, add SEO url, pick category image, and choose if this category should be in your main menu in the store front. The rest of the options are for advanced users.
The basic product properties can be changed or added under Catalog > Products menu. To add a new one, click Insert. For first time users, only the first three tabs are important to know.
The General tab covers the input fields, for product name, meta data (meta description and meta keywords), product description and keywords.

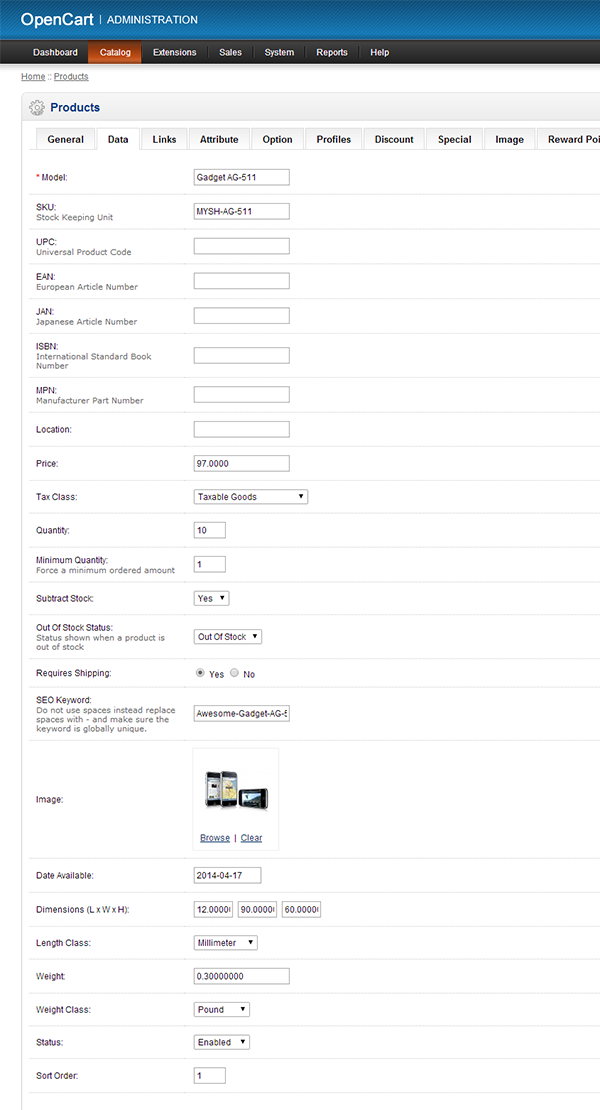
Under the Data tab, you can add a model identifier, SKU, other kinds of product codes (e.g. EAN, ISBN), product location, price, tax class, quantity, stock status, SEO URL, product image, date available from, status, and dimensions.
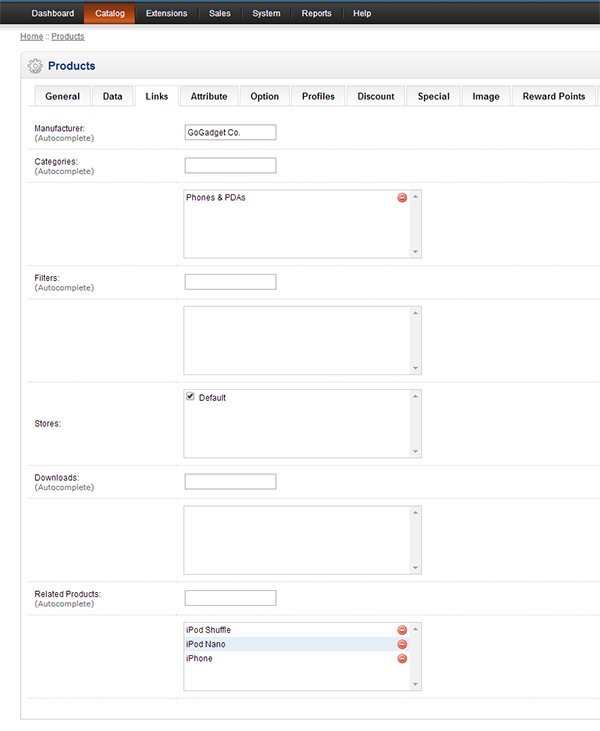
The Links tab holds the options to choose manufacturer, categories and related products. The rest of the product options are for advanced store owners, later to be discussed in a following tutorial part.
What's Up Next?
I hope you see now how easy it is to install OpenCart and tune the basic options for a quick start. You are now ready to move forward.
The next part of this tutorial series will cover the following:
- advanced admin settings with localization
- advanced product and category attributes (e.g. product options)
- advanced marketing with promotion tools
Stay tuned and let me know of any thoughts or questions in the comments!

Comments