In my previous article, I discussed the social settings of Yoast's WordPress SEO plugin. In this tutorial, you will learn the final steps to configuring the WordPress SEO plugin with the ultimate goal of making it as rock-solid as possible for your blog.
In this tutorial, we will cover the following material:
- XML sitemaps
- permalinks
- internal links
- RSS
- import and export
- edit files
If this seems daunting, don't worry! The goal of this tutorial is to make configuration much easier by demystifying many of the features. Throughout this tutorial, I'll first explain a particular setting and then suggest my own approach for setting it up.
Let's get started.
XML Sitemaps
As stated in Wikipedia:
A site map (or sitemap) is a list of pages of a web site accessible to crawlers or users.
WordPress SEO offers XML sitemap-generating functionality, and I consider it to be perfect because of the fact that the generated sitemap can communicate with your SEO plugin. Not all sitemap-generating plugins do this.
Confused? Let me explain!
When you nofollow a post, your post still remains in the sitemap. On one hand, this means that you're asking your SEO plugin to nofollow the page so that Google will ignore it, but on the other hand your third party site map generator put its link inside your sitemap, which instructs Google to index it.
This happens because your sitemap generating plugin doesn't communicate with your SEO plugin. That is to say that the plugin doesn't know if you have set nofollow on a particular post or page.
This can result in an alarming situation: Google can decrease your site's ranking.
To make XML Sitemap generation less complicated, I recommend avoiding using any other sitemap-generation plugins when running WordPress SEO. Additionally, the XML sitemaps by WordPress SEO are readable by humans because of the XSLT stylesheet applied to them.
Configuration
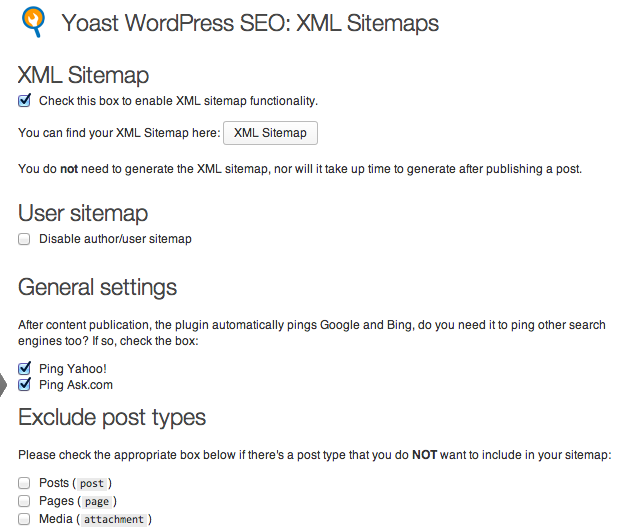
First, under the "XML Sitemaps" menu option, check and enable the XML Sitemaps.
Next, if you want to disable the site maps, check the box under "Disable author/user sitemap." I normally do not disable this as I like to tell Google who has written on my blog—I even have custom author pages. If your authors aren't as important, you should disable the author maps by checking this box.
After that, you'll see the "General Settings." These allow WordPress SEO to ping Yahoo & Ask. It helps in getting your content indexed.
For excluding post types, you can opt to exclude anything you want. This is useful especially if a page type isn't optimized. For example, I care about my posts, so I don't check it. Similarly, my pages are very well-optimized and thus are not excluded.
Next up, we've got the "Media Attachment" pages. As per our first tutorial, we set a nofollow on the media, so if you've been following along, you should check the box of media here to disable the sitemap option for images.
However, if you didn't and if you have images with attachment pages filled with content, then make sure your settings are set to what you see below. (Normally image attachment pages have nothing but a single image—in that case, I recommend that you check the box of "Media" to disable its inclusion into the sitemap.)
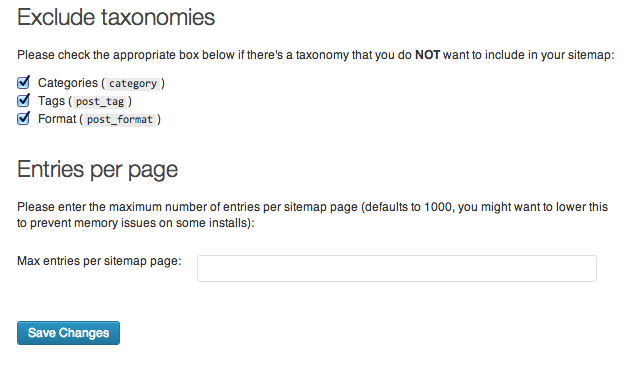
Next up: taxonomies. If you haven't optimized your tags or your category pages, then you should make sure that you exclude them as well.
Ultimately, this tells Google that the most important part of your site is the posts. If categories and/or tags are more important to you, then you should keep these boxes unchecked.
After that, you can look at the entries per page. In short, you can leave it blank, but if you have a specific number, then enter it in the available text box. This is a subjective matter.
Permalinks
According to Wikipedia:
A permalink (portmanteau of permanent link) is a URL that points to a specific blog or forum entry after it has passed from the front page to the archives.
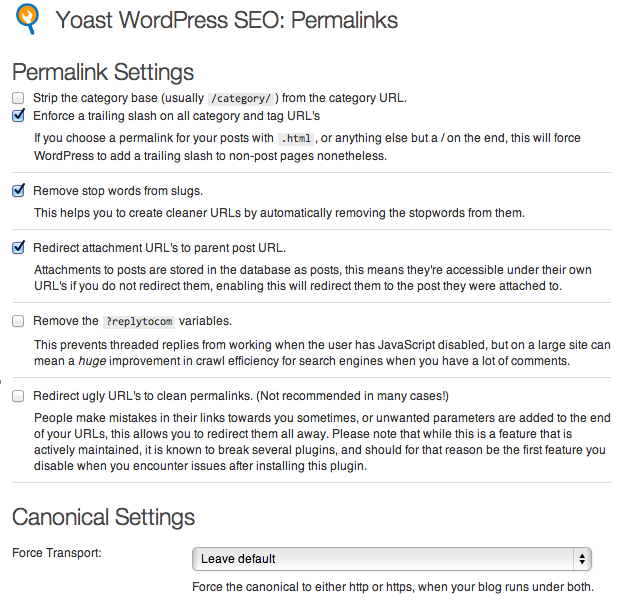
Here, the configuration options are self-explanatory. Configure your settings just like I've set mine in the image below with the exception of "Redirect attachment URL's to parent post URL."
If you set nofollow on the "Media" in the first part of this series, then you should check this box; otherwise, don't select this option.
Internal Links
Internal Links refer to links within your own domain. Here, you can set up breadcrumbs, if your theme doesn't already support them. The settings are quite simple and self-explanatory.
If you want to display breadcrumbs in your theme (and your theme has the proper code to display them), then all you need to check the "Enable Breadcrumbs" element.
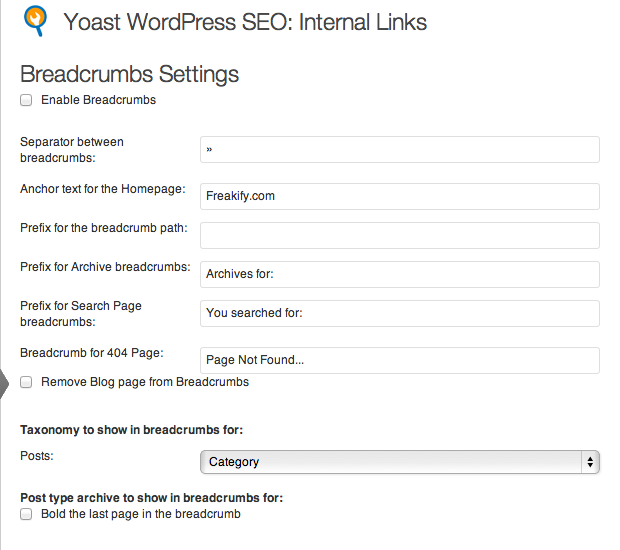
As previously mentioned, your theme must have the code specifically for displaying breadcrumbs.
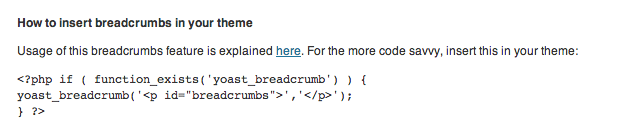
If you enable this option and the breadcrumbs don't appear, then you'll need to add the code to your theme (if you're comfortable doing that). The plugin provides instructions on how to do exactly that:
RSS
From Wikipedia:
RSS (Rich Site Summary) feeds enable publishers to syndicate data automatically. A standard XML file format ensures compatibility with many different machines/programs. RSS feeds also benefit users who want to receive timely updates from favourite websites or to aggregate data from many sites.
When you have people or bots scraping your blog's content to populate their own site, you need to provide some type of protection to indicate where the content first originated.
Luckily, WordPress SEO makes this really easy. All you need to do is put some content at the beginning and/or at the end of your RSS feed to claim your content. WordPress SEO goes a step further and allows you to even add links before and after your feed.

Import & Export
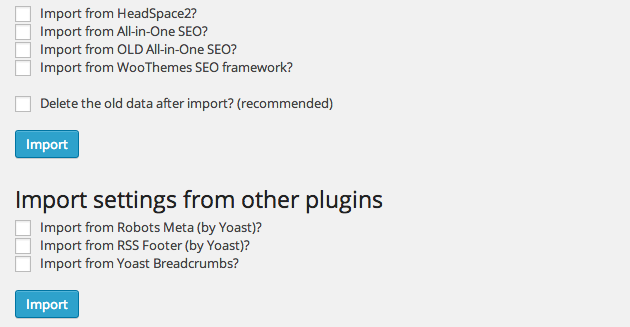
This section helps you to shift from different plugins of SEO to the WordPress SEO plugin, so that you don't lose your rankings, or migrate settings from one site to another.
In case you have a new site, you don't need to use this section, but if you have had been using another SEO plugin, this is where you convert it to a format that's compatible with WordPress SEO. All you need to do is explained by the plugin author:
If you've used another SEO plugin, try the SEO Data Transporter plugin to move your data into this plugin, it rocks!
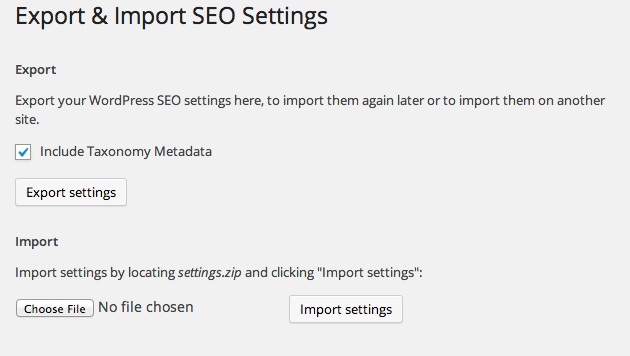
In case you want to export your SEO settings to use them in another WordPress blog, use the export option.
All you need to do is download the exported data from this section, then, in your other site, import the file that you just exported. (If you import like this all the settings will come along, but you might need to set the general settings for homepage of your new site.)
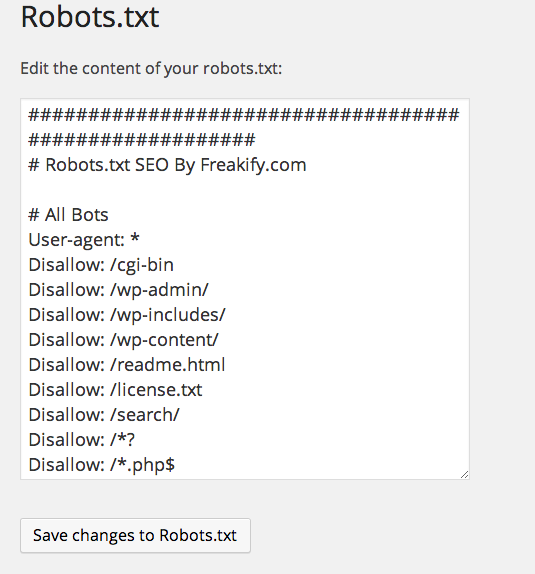
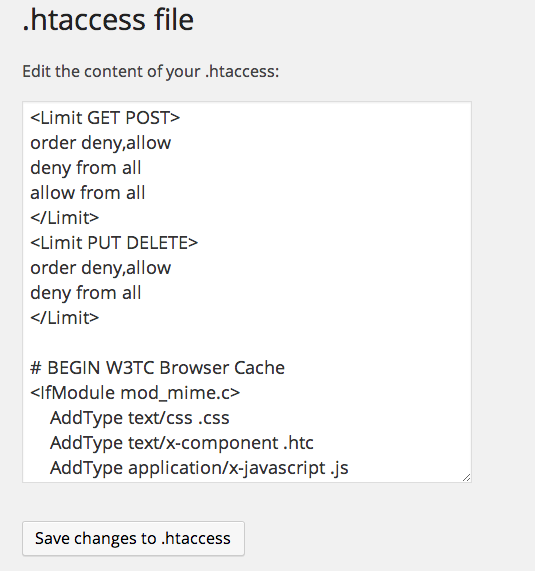
Edit Files
In the Edit Files section, you get to edit the robots.txt file and .htaccess file. robots.txt prevents bots from looking into particular directories or links.
It works likes this: a robot wants to visit a site URL, say http://www.example.com/welcome.html. Before it does so, it first checks for http://www.example.com/robots.txt, if robots file allows to do that, the bot visits the URL; otherwise, it stops and will not crawl that particular page.
From Wikipedia:
An
.htaccess—that is, hypertext access—file is a directory-level configuration file supported by several web servers, that allows for decentralized management of web server configuration. They are placed inside the web tree, and are able to override a subset of the server's global configuration for the directory that they are in, and all sub-directories.
This file is used for redirecting links, manipulating directories and different other optimizations. You should not edit it unless until you know what you are doing.
Feeling geeky? Read more here.
What's Next?
This wraps up our discussion on how to configure your WordPress SEO plugin by Yoast. What's next? If you have any questions, I'll be happy to answer them so leave them in the comments!

Comments