One of the biggest confusion and hindrance in setting any kind of business is to understand the tax structure which will apply on your dealings. Taxation is quite a sensitive issue as far as business is concerned and it needs to be sorted well and in an organized way. Especially when you own an ecommerce business tax issues become even more complicated. As you are dealing with customers from all around the world and the tax rates vary accordingly. So, I am sure being an online store owner you will never want to find yourself trapped in any legal complication due to some tax related issue.
Taxes Report in WooCommerce
A more professional approach towards dealing with taxes is to fully monitor and study tax rates and keep them stacked in some organized way. This way you can check your past tax records whenever needed.
For online store owners all this has been made possible with WooCommerce with which you can easily review your tax status via reports which are displayed in the form of tables. So, let's discuss the section of taxes report in detail.
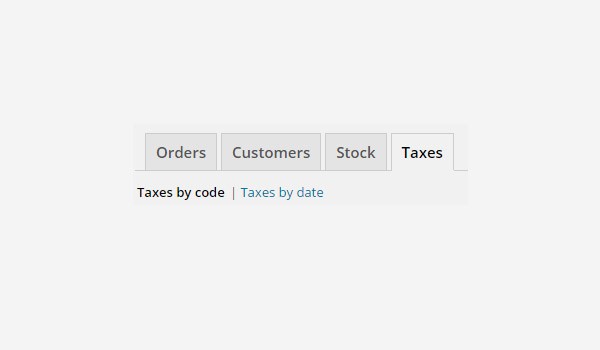
To enter this last section of reports you must follow the path i.e. WooCommerce > Reports > Taxes. This section is further divided into two sub-sections i.e.
- Taxes by code
- Taxes by date
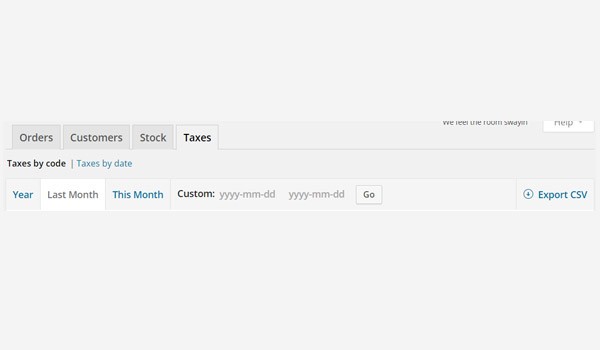
The layout in this section is pretty much similar to the section of Orders & Customers reports. Where the first row displays various time filters according to which the tax reports will be listed. These are displayed on the basis of year, last month, this month & a custom date. Also towards the end of this first row is a button for Export CSV which allows you to download all the tax reports in .csv format.
Taxes by code
I have explained in my previous articles that every new tax rate bears a unique id or more precisely a tax code. So, in the first sub-section the tax details are displayed w.r.t to the tax codes.

Here you will find a table in which different entries are stacked in the form of lists in different columns. These columns are for:
- Tax: This is the first column under which the tax code names are displayed.
- Rate: In the next column the actual tax rate is displayed.
- Number of orders: The total number of orders which are received in a particular period of time.
- Tax Amount: The total tax amount which will be implemented on the total no. of orders.
- Shipping Tax Amount: If you are implementing taxes on various shipping types then this amount is displayed here.
- Total Tax: The sum of Tax Amount & Shipping Tax Amount is shown in this last column.
According to the the figure shown above, this tax report corresponds to the Last Month. Where the stats about the tax code US-US-1 have been shown. In this time span, a total amount of £15.00 tax was applied on 5 orders. Out of which £5.00 was the Tax Amount & £10.00 was the Shipping Tax Amount.
Similarly, you can view tax reports for other time spans as well E.g. year, last 7 days, etc.
Taxes by date
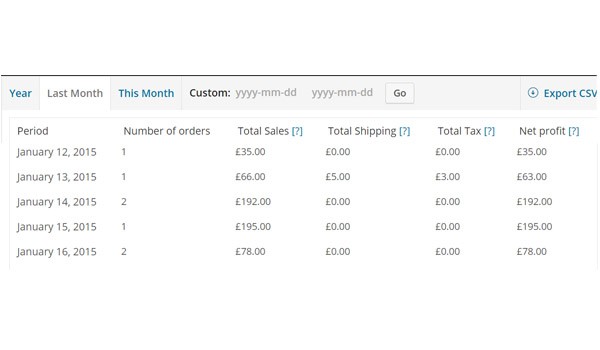
The second and the last sub-section is for the Taxes by date and as its name explains, the taxes are categorized and listed w.r.t to various dates in a particular time span. Once again the tax reports are listed in columns.
These columns are for the following:
- Period: The first column displays the exact date on which tax was applied.
- Number of orders: Lists the no. of orders which were placed on a particular date.
- Total Sales: The revenue which was generated on a particular date.
- Total Shipping: Displays the total amount which was charged for shipping.
- Total Tax: The amount of tax which was applied.
- Net Profit: This amount is calculated by "Total Sales - Total Tax".
Once again the above stats are for the Last Month and you can view for other time filters as well. According to the above figure on January 14, 2015 the online store owner enjoyed a net profit of £192.00 which was gathered from 2 orders.
Conclusion
This ends not only the Taxes reports but also the entire section of reports in WooCommerce. I am sure that after reading all the articles of the reports section you can easily manage your store's Orders, Customers, Stock & Taxes. However, if you have any queries regarding this section you may ask in the comment field below.
It's worth noting that there's an extensive collection of WooCommerce scripts and plugins on Envato Market (including several relating specifically to taxes).

Comments