Improving and increasing the financial status of a business is the aim of every online store owner, and the volume of sales plays a vital role in achieving it. In this article we will explore one of the best ways which WooCommerce offers to reward your customers, i.e. Coupons. Providing customers with discount coupons ensures an increased number of sales, which is a win-win situation. So let's get started.
Coupons
Offering coupons is considered quite encouraging in terms of offering discounts to your customers. At the same time they provide online store owners with a great opportunity to increase their sales with this plugin. So before I start formally with today's post, let's first find what Wikipedia says about a coupon.
In marketing, a coupon is a ticket or document that can be exchanged for a financial discount or rebate when purchasing a product. Customarily, coupons are issued by manufacturers of consumer packaged goods or by retailers, to be used in retail stores as a part of sales promotions.
WooCommerce allows online store owners to control whether they are willing to offer coupons to customers or not. Coupons can be applied on the cart and on the checkout pages. But in order to use coupons with WooCommerce, you will first need to enable them.
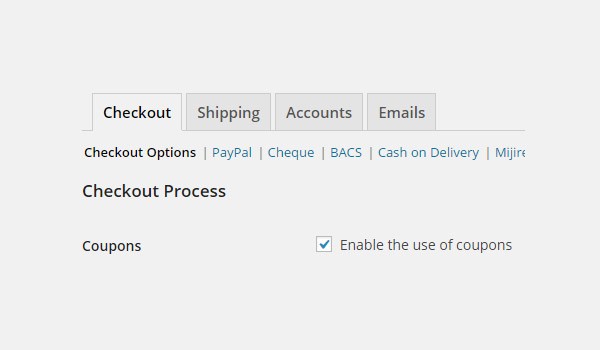
Coupons can be enabled easily from the WooCommerce settings, which I discussed in my previous articles. Still, if you don't remember, here is a quick summary.
Go to WooCommerce > Settings > Checkout > Checkout Options. From here enable the checkbox for Coupons.
Managing Coupons in WooCommerce
Earlier, managing and maintaining coupons was considered to be a tiring task for online store owners. But WooCommerce has made this process a matter of a few clicks. You can find a separate section for coupons, from where you can not only create new coupons but also track them properly.
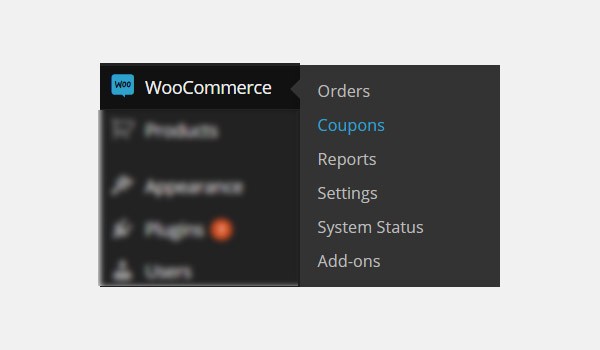
First log in to your website's dashboard account, and then go to WooCommerce > Coupons.
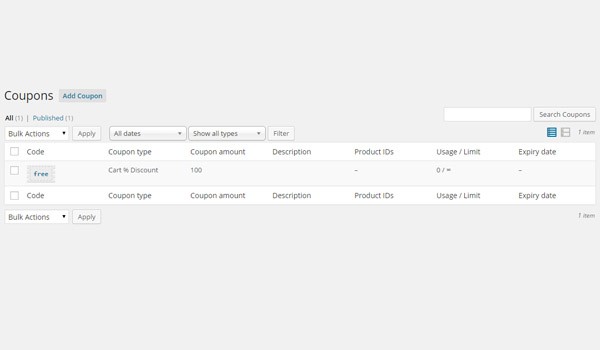
It will direct you to a page similar to the one shown in the figure above. This page looks quite similar to sections which are used to manage posts, categories, products, orders, etc. in WooCommerce.
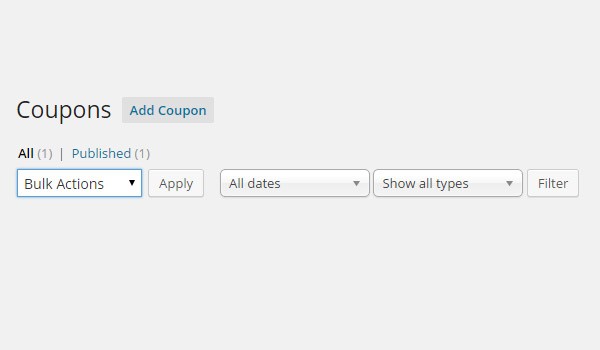
The first row is not new to us. Here you will find certain Bulk Actions like Edit and Move to Trash, along with some Filters which allow you to sort various coupons according to date and type.
Below this row, you can find columns which will contain information about all the coupons, whether published or not. Each coupon is placed in a single row. So let's look at these columns.
Code
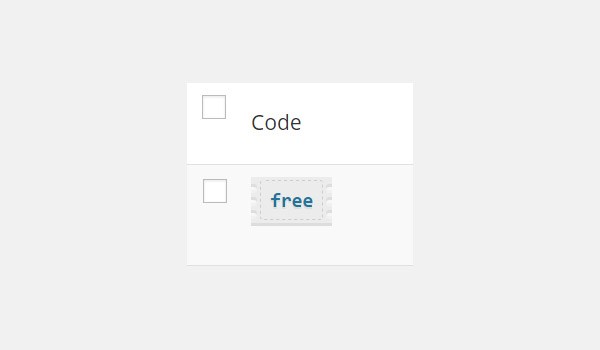
The first column will specify the code or more precisely the name of the coupon. The coupon names are kept in the form of unique codes to avoid any duplication. In this column each coupon code is displayed on an image which looks like a ticket. This is the coupon which your customers will be using to avail themselves of discounts.
Coupon Editing
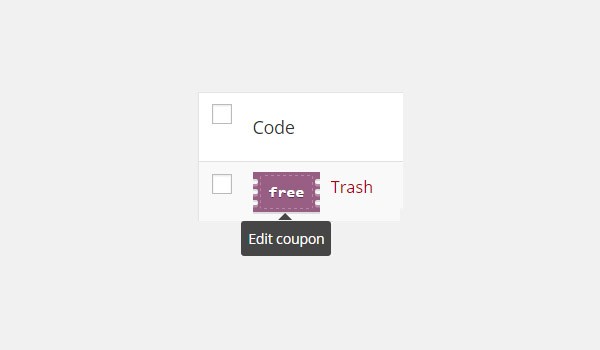
Editing coupons is absolutely possible in WooCommerce, and is done in the same way as you edit your posts, products, orders, etc. But the difference is that when you hover the mouse over any coupon code, it changes its color and a message pops out which says Edit coupon. So, click the coupon title to change the coupon details. Similarly, the option of Trash also appears next to it. Similar to other post types like Posts, Pages, Products you can also trash the coupons.
Coupon type
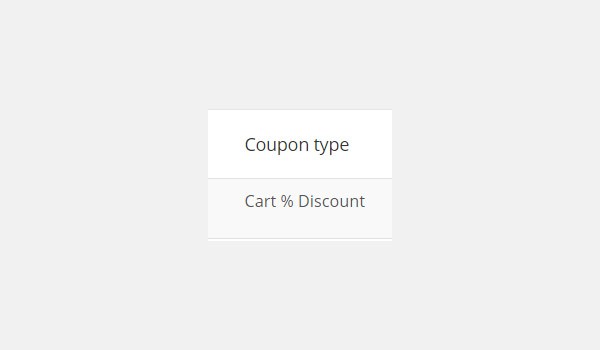
The next column will specify the type of the coupon. Primarily, WooCommerce offers four different coupon types. These are:
- Cart Discount
- Cart %Discount
- Product Discount
- Product %Discount
Store owners can choose any of the above mentioned types. I will explain all four types in detail during the creation of coupons in the next article. For now let's familiarize ourselves with the user interface of coupons in WooCommerce.
Coupon amount
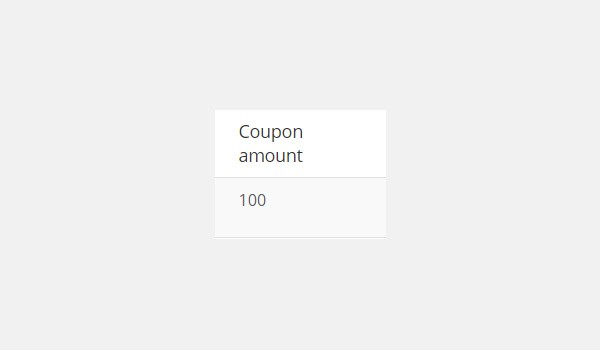
This column will list the value of the coupon. It will specify how much discount you are offering to your customers.
Description
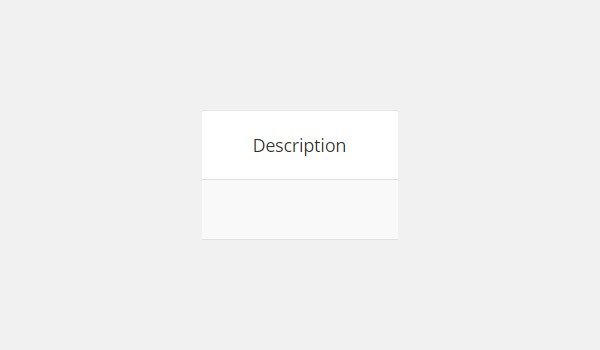
If you have added any brief description about your coupon then it will be displayed in the Description column. This field is optional. However, if you fill it out, you are certainly providing your customers with some extra information guiding them about the coupon details.
Product IDs
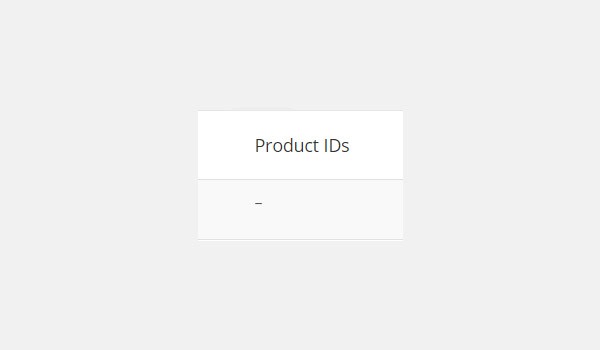
The next column is for Product IDs, and the details in this column are again optional. When you create a coupon specific to one or a certain set of products, WooCommerce displays those products' IDs in this column.
Usage/Limit
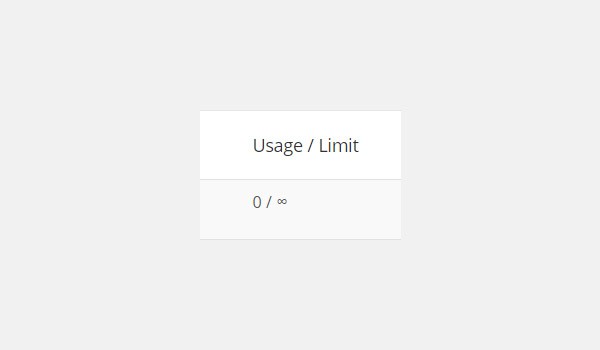
The name of this column is self-explanatory: it specifies the validity and usage of a particular coupon. Usually any customer is allowed to use any coupon only once, after which it is no longer valid for the same customer. But we will see how you can modify this and control the outcome in the next article.
Expiry date
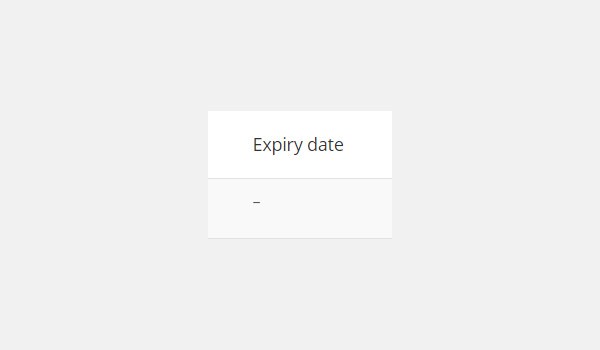
The last column is for Expiry date, i.e. the date when a particular coupon expires and is no longer usable. WooCommerce allows you to set an expiry date. For example, if you are providing some coupons only for Cyber Monday, those coupons should expire when cyber Monday ends.
Conclusion
This was an overview about various options which you will come across while managing coupons in WooCommerce. In my next article I will explain how you can create a new coupon for your customers and how to configure certain settings that are associated with it. If there are any queries regarding this article then you can comment below and ask.

Comments