In my previous articles I explained in detail how to add coupons in WooCommerce and how one can configure coupons usage restrictions. After the two tabs/sections of General and Usage Restrictions, today, I will be discussing the last section of settings which needs to be configured before any online store owner publishes a new coupon i.e. Usage Limits.
Usage Limits
Whenever an online store owner clicks the Add Coupon button (WooCommerce > Coupons > Add Coupon) he is directed to a page where he sees a layout similar to any post page. at the end of this page is the section of Coupon Data where he finds three major sections of settings. These are:
- General
- Usage Restrictions
- Usage Limits
The first two sections have been discussed previously so now let's get started with the third and last section i.e. Usage Limits.
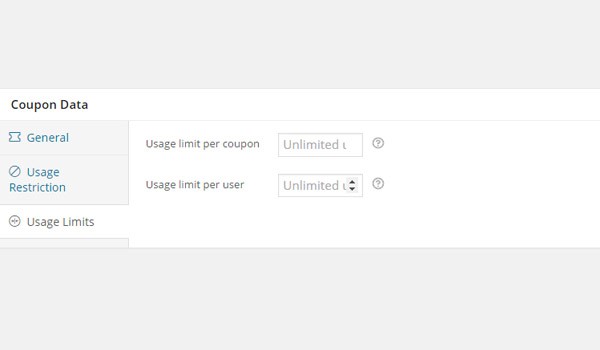
The name of this section explains its meaning and purpose quite well. Online store owners can define and edit various usage limits of the coupon from here. Inside usage limits section there are two fields to be configured i.e. Usage limit per coupon & Usage limit per user. Let's discuss each one of them separately.
Usage limit per coupon
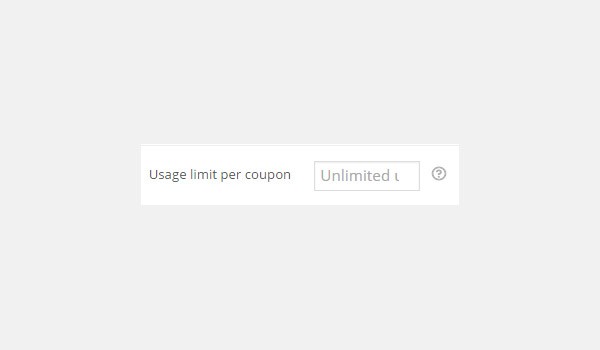
This is a generic option which will apply to the customers who visit your online store. An online store owner will fill this field with a whole number (E.g. 10, 50 etc) of his choice. That many times the coupon will be used.
As a default setting of this plugin, this field is left blank which refers to the point that the coupon becomes invalid after its expiration date but can be used unlimited times. However, online store owners can enter a custom value as well. E.g. A store owner assigns value of this field as "100". It means that the first 100 customers can use this coupon after which the coupon will not be applied.
This setting can be really beneficial for an online store owner as in it helps with increased number of sales, leads convert into sales quickly. It can be used to serve as the common marketing technique which says "First 100 customers can enjoy 50% sale by apply XYZ coupon" which on one side helps a customer get discount and you as an online store owner get to have more number of sales with strong leads of people who buy a few other products at 100% retail price while enjoying 50% discount on a particular one. It's a Win-Win situation for both the customer and the store owner.
Usage limit per user
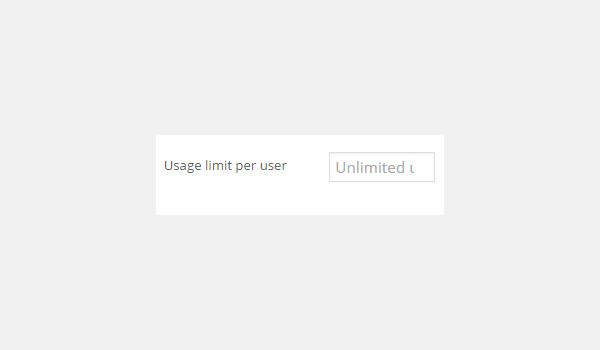
The function of the first option of Usage Limits (i.e. Usage limit per coupon) was meant for multiple customers and they were the varying factor. The next and indeed the last option of this section is Usage limit per user which is meant for a single customer. It specifies that how many times a single customer can use the coupon before it expires.
All you have to do is enter a whole number if you want to limit usage per user basis. If you leave it blank, then a user will be able to use this coupon as many times as he/she wants to, which normally is not a good thing. A coupon should be available for a single user to be used only once. E.g. if you are offering 10% discount coupon for new users on anything they buy, then specify value "1" in Usage limit per user field. Which will mean that a new user will be able to get 10% discount through this coupon only once.
Publishing the coupon
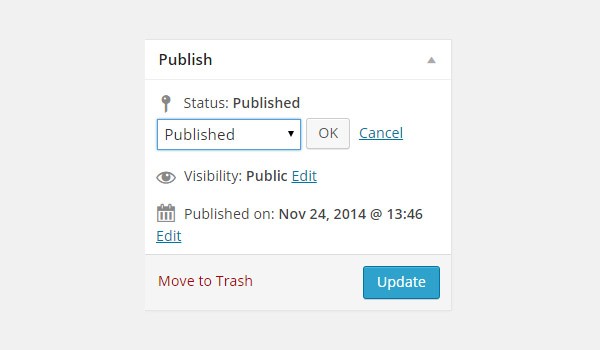
Now once the you have configured all the settings all you need to do is click the button of Publish. This publishes the coupon and it becomes available for your customers.
However, as with normal WordPress posts and pages, the store owners can also leave the status of the coupon as a draft, pending review or can schedule it to get it published at a specific date in the future.
Conclusion
This marks an end to the configuration of the settings that an online store owner will find in the section of coupons in WooCommerce.
I hope that by now creating coupons for your customers will be pretty easy for you people. In the end if you have any queries regarding any section of this part of the plugin you may drop in your feedback in the comment section below.

Comments