In the previous article we added a grouped product as a parent of a simple product and then linked the child with its parent. Today I plan to walk you through the process of adding an External/Affiliate product, which is the third type in the Product Data drop-down. So, let's get down to it.
Adding an External/Affiliate Product
Any product which does not belong to your online store but is displayed merely for the purpose of advertising others' products is called an External/Affiliate product. Or any product which you are not selling yourself is an External product, and if you are getting paid for each sale you bring for that product then the affiliate commission you are earning makes it an Affiliate product.
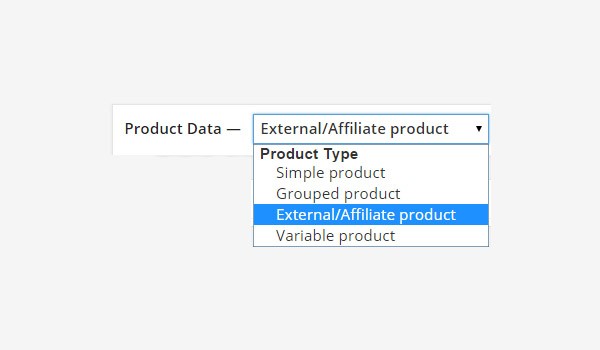
To categorize any product as External or Affiliate, simply select the third option of External/Affiliate product from the Product Data drop-down menu.
Now you will find various settings tabs which are associated with External/Affiliate products. Earlier, in the creation of a grouped product, we observed that some options disappeared.
The External/Affiliate product will have no concern with Shipping and Inventory. So the setting tabs for these two sections will disappear.
All other sections will be displayed. Let's discuss the General tab's settings
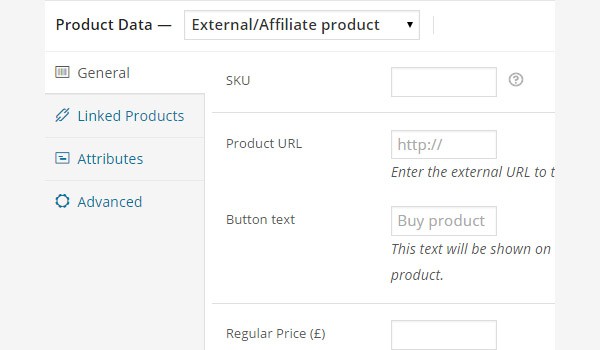
You can find two new options in this section, which are:
- Product URL: Add the external URL of the product, which will link this product to the product on another website.
- Button Text: Edit the text of the button which will be displayed at the front-end. Its default value is set as Buy product.
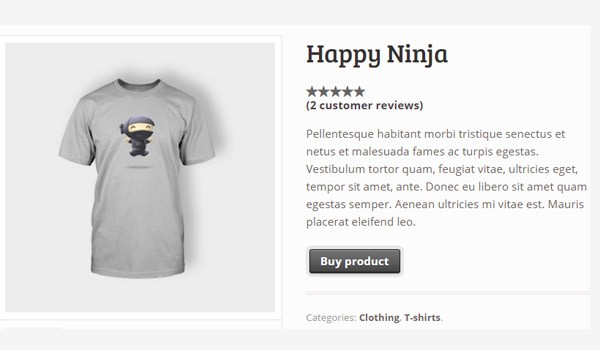
The above figure shows an External/Affiliate product named Happy Ninja. You can see the Buy product button clearly. When customers click this button, they will be directed to an external link from where they'll be able to buy this product. The Add to cart option won't be displayed in this case.
Linked Products

Now you should be quite familiar with the settings in the Linked Products tab. Inside this tab one can recommend additional products, add similar products, and connect the product to its parent.
Up-Sells
Mention the product which you'd like to recommend instead of the present product to the user on the basis of better quality, price, or anything else.
Cross-Sells
Mention all the similar products to achieve more sales by claiming that the people who bought this product also bought/viewed these similar ones.
Grouping
Here in the drop-down you can select a parent Grouped type product in case the present product is a child product for the parent one.
Attributes
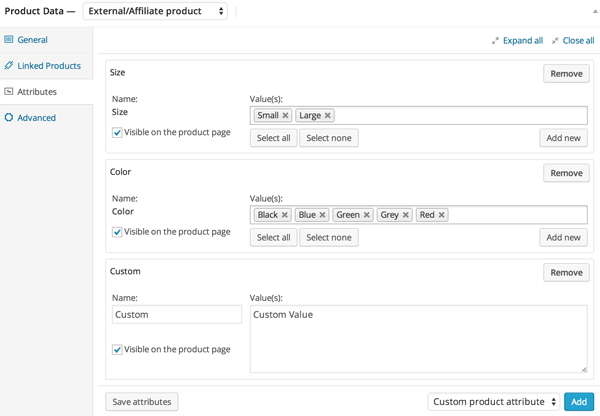
Attributes can also be added for the External/Affiliate type products. As you can see in the above picture, I have added three different attributes, which are:
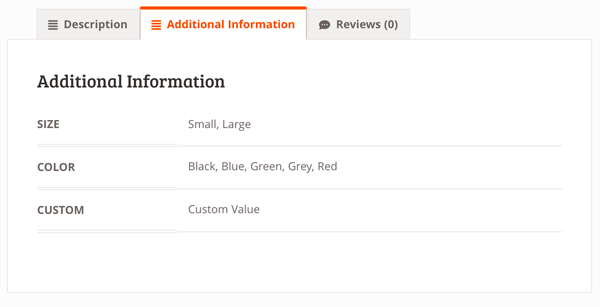
Size
Size is one of the default attributes, which has two values: Small and Large.
Color
Color is another default attribute added, with five different values of color.
Custom
This is a custom attribute with a custom value in its value text area, and is visible to the public through the front-end product page of WooCommerce.
Advanced

In the advanced tab you can find only two options:
Menu Order
Increase the value of integer inside it, and the product will be displayed after products with a lower value of menu order.
Enable Reviews
If you'd like your customers to review the product, you can check this option to enable it.
Once you are done with all the changes and settings, click the Publish button and your product will go live on your online store.
This ends our discussion on the creation of External/Affiliate products. Now we will move to the creation of a variable product in our next article. Till then, if you have any queries, ask in the comments section below.

Comments