In the previous articles we discussed how WooCommerce allows you to add four different types of products, i.e. Simple, Grouped, External/Affiliate and Variable products. Associated with every type of product there were some sections of settings which varied from General to Advanced. In the first part of adding a simple product we configured half of the options. Let's complete the remaining options and finally add a simple product today.
Shipping
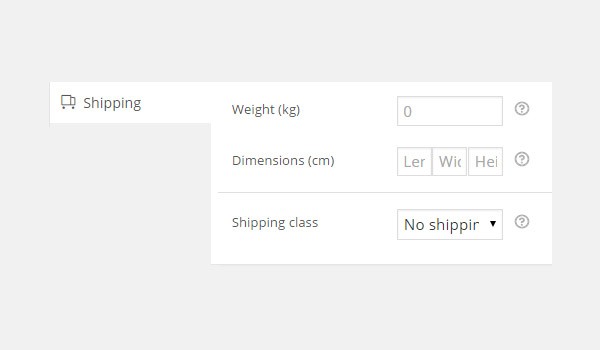
With the help of the Shipping tab you can edit various options which will help WooCommerce to calculate the shipping cost. These options are discussed below:
Weight (kg)
Here you will specify the weight of your product so that when any customer places an order may know how much this product will weigh. As a default the figure you enter will be measured in kilograms (kg).
Dimensions (cm)
The exact dimensions of the product in centimeters (cm) are entered here. Both the weight and dimensions can help you to calculate the shipping cost, because as the size and weight of the product increase, the shipping cost increases, and vice versa.
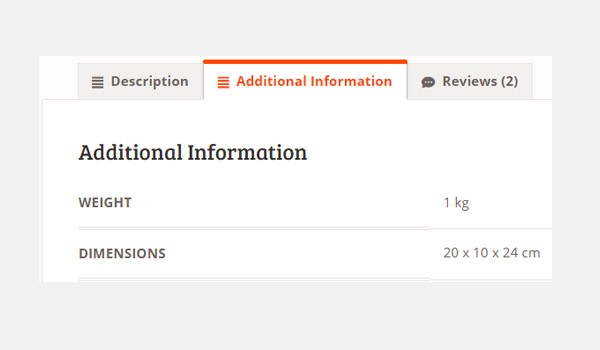
The above figure shows both these parameters for weight and dimensions being displayed in the Additional Information of the product.
Shipping Class
You may associate your product with any shipping class for various shipping methods. This way you can group together products which are similar to each other.
Linked Products

With this tab you can link your product with other products in your store, which can be a good marketing strategy to increase your sales. Here you see three options:
Up-Sells
It is a common observation to find recommended items or posts linked up to an article on a blog or website. This is exactly what Up-Sells is. Here you will enter all those products which you recommend that your customers view in reference to the currently viewed product. Be smart enough to attach better recommended products and you'll be able to secure more sales.
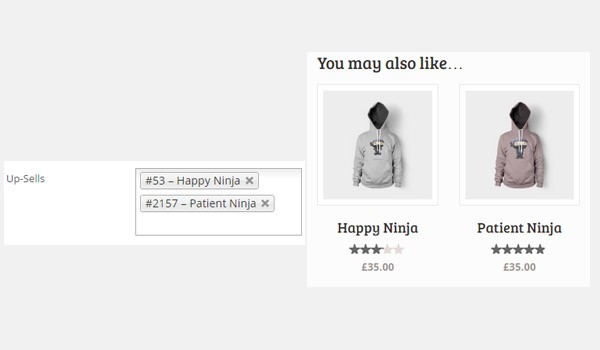
For example, in the above figure, if your currently viewed product is the Happy Ninja hoodie and you add Patient Ninja in the Up-Sells then you will see Happy Ninja as a recommendation on the page.
Cross-Sells
Cross-Sells allows you to add all the products which you want to promote on your online store alongside the currently viewed product.
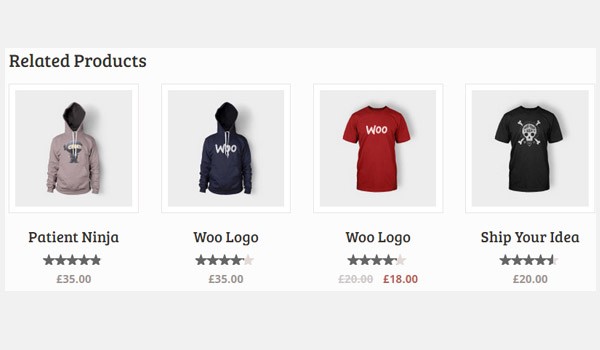
The above figure shows how related products appear as an option to customers.
Grouping
If you want your product to be a part of any group then you may choose the group option in this setting.
Attributes
Users can add additional data for their product in the form of different attributes which enhance the browsing capability.
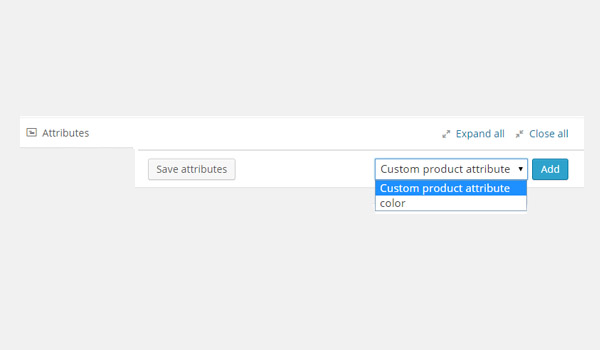
How to Add Attributes?
The figure above shows that you can click the Add button to create new attributes based on the following filters:
- Custom product attribute
- Color
- Size
Custom product attribute

With this option selected you see a field for Name where you will enter the name of your attribute. The next field is for the Value(s) of the attributes. You can also find a checkbox which, when enabled, will make your attribute Visible on the product page.
Once you are done with filling all the fields, click the Save attributes button.
Color
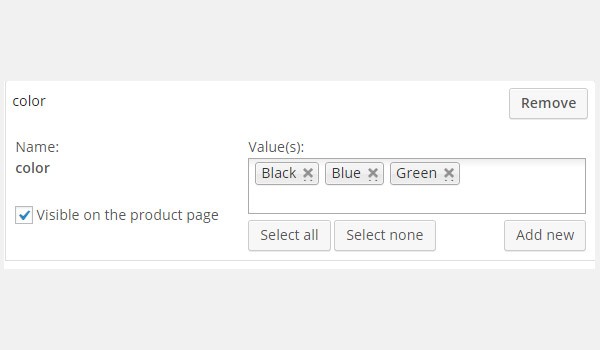
If you choose Color, then a tab like the above figure will appear. Here you will again find the checkbox for Visible on the product page. Next to it we see a box where you can enter the color Value(s). As a default setting, the menu will allow us to add Black, Blue and Green colors. However, if you want to add custom colors then click the Add new button. Click Select all to add all the colors which are available in the list and click Select none to remove all colors from this box. Pretty basic stuff.
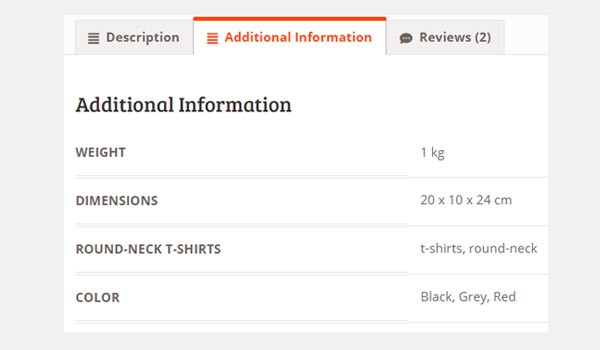
The figure above shows how these attributes will appear on the product page in the section of Additional Information.
Advanced
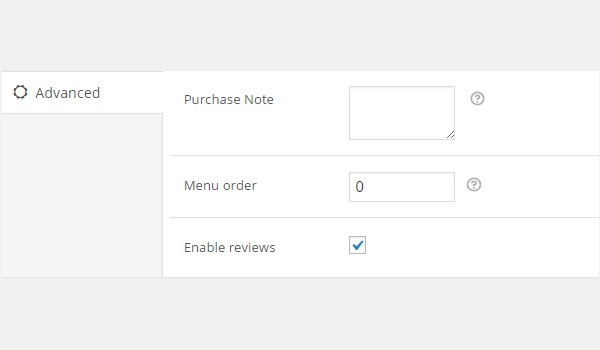
The Advanced tab will allow users to fill the following fields:
Purchase Note
This is a note which is sent out by the store owner every time a customer purchases this product. However, this field is optional.
Menu order
This field will decide the ordering position. As a default its value is set to 0. If you enter a number greater than 0 then this product will appear after all the products which have order = 0.
Enable reviews
The last option is a checkbox for reviews. If you enable it then you will allow your customers to add reviews for the product.
Virtual and Downloadable Products
Right next to the option of Product Data you will see two checkboxes which display Virtual and Downloadable. Associated with these options you can find some changes which will appear in the set of tabs.

Virtual Products
Virtual products are all things which do not have a physical existence, i.e. they are intangible. So obviously these products cannot be shipped. Example of such goods are: Consultation, Support Services, etc.
As Virtual products are not shipped, the Shipping tab disappears from the settings menu.

All other tabs and their options remain intact.
Downloadable Products
Downloadable products refer to items which when purchased appear as a downloadable link. Downloadable products can also be termed as virtual because they are intangible. Examples are downloadable audio, video, software, etc.
With this option enabled you can find changes in the General tab.
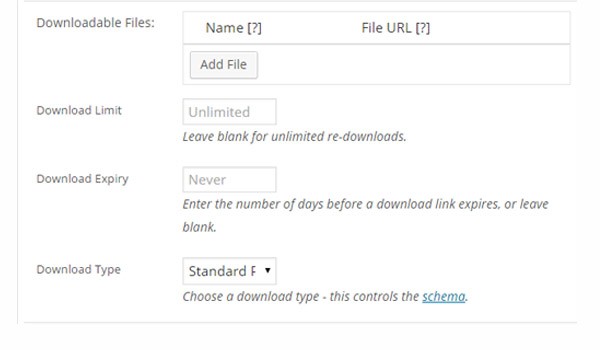
A complete new section of settings for Downloadable Files appears the moment you enable the Downloadable checkbox. Click the Add File button to add the product Name and URL. The next two options are for Download Limit and Download Expiry, which are self-explanatory. The last option decides the Download Type, which can be Standard Product, Application/Software or Music.
Tip
With only Downloadable being checked, we see the section for Shipping, but if we enable both Virtual and Downloadable then the Shipping tab disappears.
This completes our discussion on adding a simple product. To make your product live, simply choose the category, set the product image and click the Publish button. In the upcoming articles I will explain how to add grouped products in WooCommerce.

Comments