In the previous article we discussed how WooCommerce allows you to add four different types of products, i.e. Simple, Grouped, External/Affiliate and Variable products. Associated with every type of product there were some sections of settings which varied from General to Advanced. In this article I will walk you through how to add a simple product and configure its settings.
Adding a Simple Product
Most of the products which are displayed in any online store for sale fall in this type. All simple products are shipped via different ways. However, as far as the creation of a simple product is concerned you will go to Products and then Add Product, where you will add the product name and description. Next you will scroll down the page and select Simple product from the Product Data.
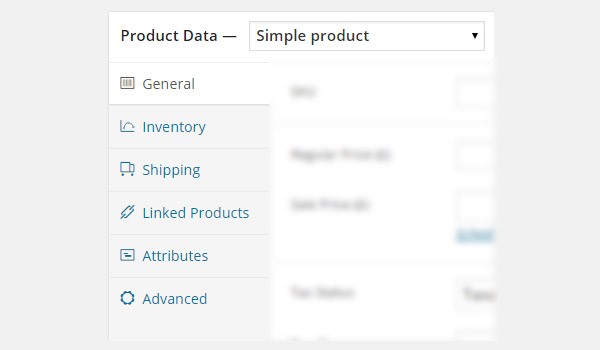
Below the option of Product data you will find a column from where you can edit different settings of the product. Let's discuss every section separately.
General
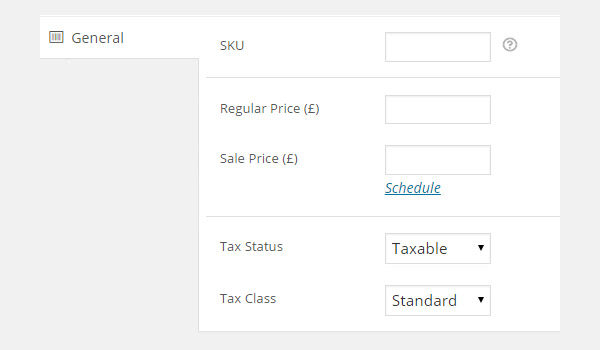
First of all you'll have to configure the General tab. In this tab the options which you will come across are:
SKU
SKU stands for "Stock Keeping Unit" and this is used as a tracking tool to keep a record of every single product which is in stock. Every product or service which your store offers bears a unique SKU so it never gets mixed up with other product identification codes.
Regular Price
This field corresponds to the actual price of your product. This is the amount which a customer will pay to purchase the product.
Sale Price
The sale price corresponds to the amount which will apply in case you are offering a discount on the product. This price will be less than the Regular Price.
Tax Status
This field will decide how the taxes will be applied on your product. Here you see a dropdown menu which displays three options:
- Taxable: It means that all taxes will be applied on this product.
- Shipping only: It means that tax will be applied only for shipping.
- None: No tax will be applied on this product.
Tax Class
We have seen in the Tax Settings that WooCommerce offers some default tax classes which get installed at the time of plugin installation. So from this option you will choose to which Tax Class your product will belong.
Whichever class you choose, all its rates will apply on this new product. The classes which are shown in the menu are:
- Standard
- Reduced Rate
- Zero Rate
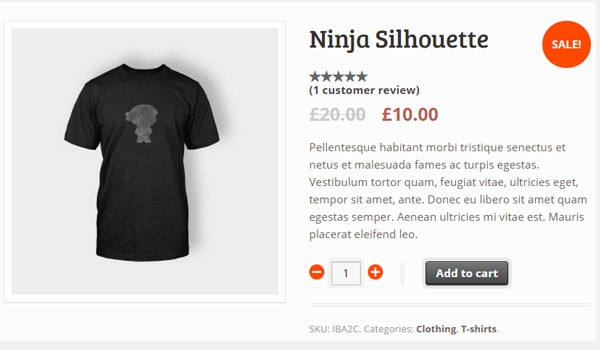
The above figure shows that we have set the value of SKU=IBA2C, Regular Price=20.00 pounds, Sale Price=10 pounds which reduces the new price to 10.00 pounds.
Inventory
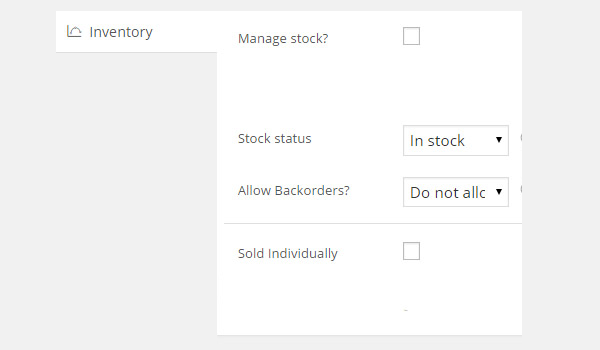
The settings in the section of Inventory will make sure that your product stock is available to your customers and they do not experience any out of stock notifications. The options which are to be configured here are:
Manage stock?
If this box is checked, WooCommerce will start monitoring the stock status of your product. In the portion of Inventory settings (WooCommerce > Settings > Products > Inventory) we discussed how an email will be sent to the store owner in case any product runs out of stock. So this option will work concurrently.
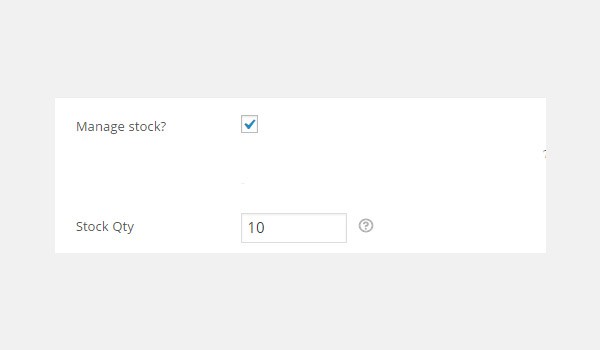
Here you will notice one more thing that when you check this option a new option will appear right below it, which is for Stock Qty (stock quantity). You will enter the number of products which are currently in stock.
Stock Status
This option will display whether this product is available for sale or not. Two options are there in the menu, i.e. In stock and Out of stock. If you choose the latter option then a notification of out of stock will be displayed at the front-end and the customers will not be able to place the order.
Allow Backorders?
If online stores allow backorders then it means that if by chance any product gets out of stock, customers will still be able to place their orders, which may take a while longer than usual ones. So with this option you can control whether or not you will provide this facility. Three options are there:
- Do not allow
- Allow, but notify customer
- Allow
Sold Individually
The last option in this section is again a checkbox, Sold Individually, which will allow a customer to purchase any product in a single order. This means that a customer will not be able to place multiple orders of the product, e.g. a customer can only purchase one T-shirt at one time.
That's all for today, we have configured half of the options to add a simple product—the other half will be discussed in the very next article. Till then, if you have any questions, go ahead and ask in the comment section below.

Comments