Managing and keeping a track of all the orders has now become quite easy with WooCommerce. I have explained in my previous articles how you can not only manage but also create a new order manually. In the previous article I discussed some of the sections which are to be configured in case you are creating the order manually. Today, I will be wrapping up the portion of Orders in WooCommerce by completely adding the manual order.
After dealing with the Download Product Permissions meta box, you will find some meta boxes which are displayed towards the right side of the page. These sections are for Order Actions, Order Totals, and Order Notes. Let's discuss each of these separately.
Order Totals
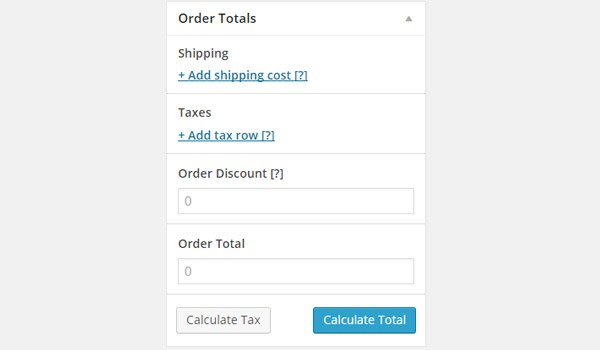
I will explain order actions at the very end. Let's start with Order Totals. When I discussed the section of Order Items in my previous article I explained how this section can be used to add different products in an order, and then I explained how you can edit the various fields of Total and Tax for every added product. So if there are multiple items in an order and different tax rates are being applied, it becomes difficult to calculate the total amount which the customer will have to pay. All of this is maintained by the section of Order Totals. It not only keeps a record of the total price of the order but also calculates the total amount of applied taxes.
There are two ways to find Order Totals:
- The first way is to enter all these rates manually and then click the Calculate Total and Calculate Tax buttons.
- The second way is to click the Calculate Total and Calculate Tax buttons directly once you enter the items. This will automatically sum all the amounts for you.
Apart from the automatic settings there are some fields which can be edited manually. Let's look at these fields.
Shipping
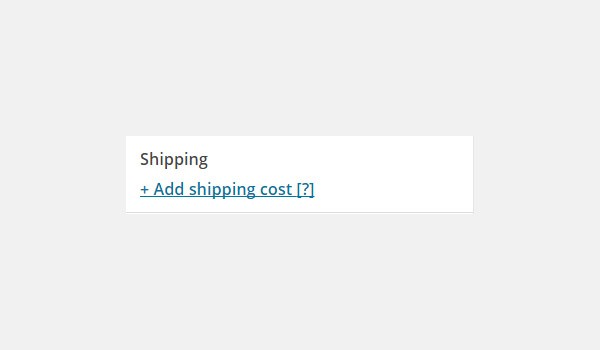
We now know that for any order there are certain shipping costs and handling costs. So if you want to apply any of these then click the option of Add shipping cost.
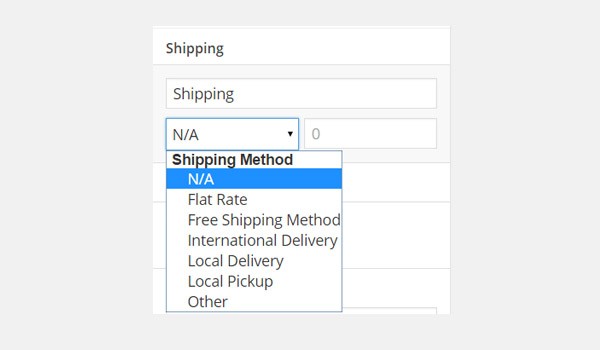
Click it and a sub-section will appear from where you can configure the fields for name of shipping, shipping method and the shipping rate. You can repeat this process to add multiple shipping costs if you want to.
Taxes
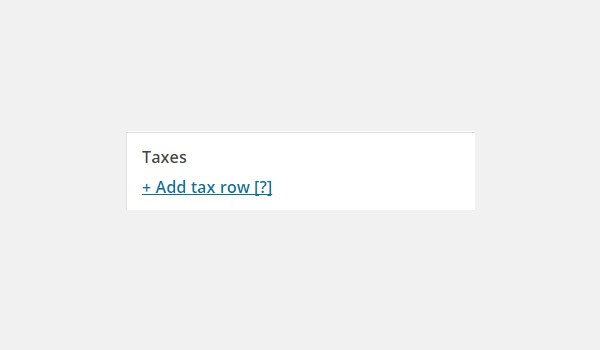
This section allows you to enter taxes which you want to apply on a particular order. Click Add tax row to configure all these fields.

Select the tax rate and fill the fields of Sales Tax and Shipping Tax.
Order Discount

In this field you can enter the discount rate which you will offer to your customers after the applied taxes. For example, if the order total was $75 and I entered 5 in Order Discount, then the total would be $70.
Order Total
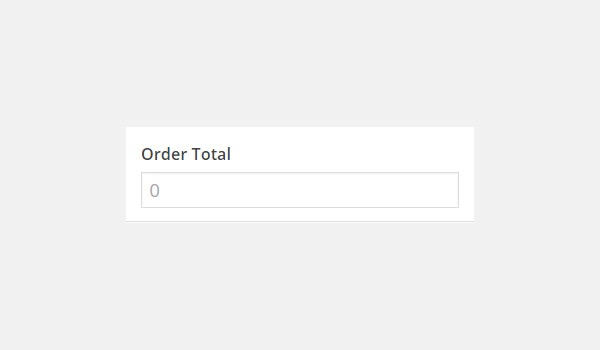
When you click Calculate Total, this field gets filled with the total price of an order with taxes. If you want to enter a custom total amount, enter it manually in this field.
Order Notes
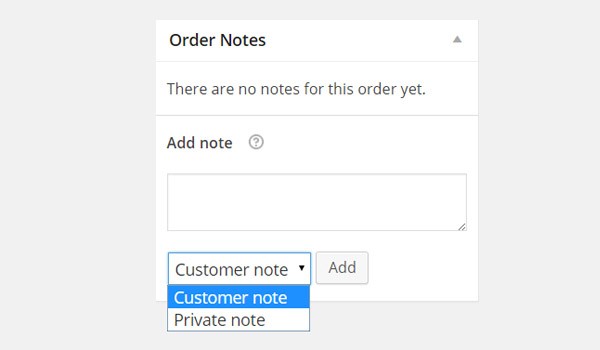
This section allows you to add notes, either for your own personal use or to send as messages to your customers. This can become a swift mode of communication between you and your customers. To add any note, simply choose the type: Customer note or Private note. Then type in the message and click the Add button.
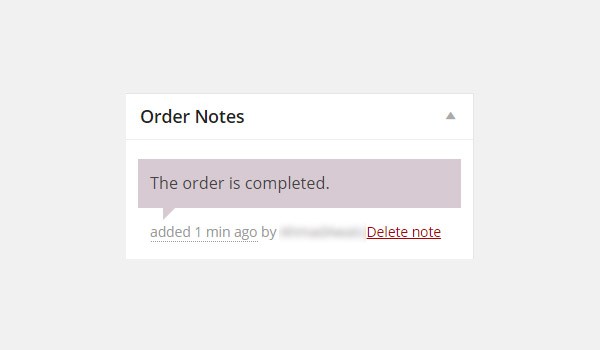
All the created notes are displayed in the form of chat boxes which are purple in color. Customers can view these notes via emails, whereas online store owners can view them directly from the edit order page.
Order Actions
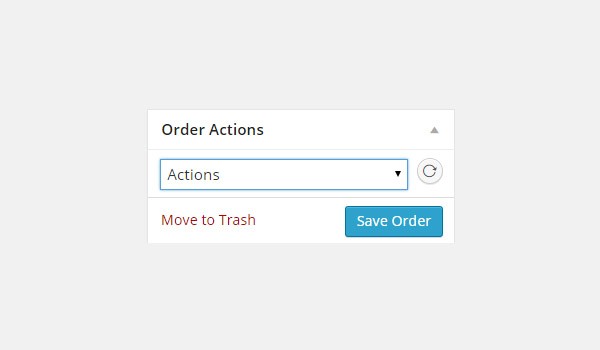
Let's repeat the process before we jump into the explanation of Order Actions. When you click the Add New button to create a manual new order, first you fill out various meta boxes which are for the order's basic details, items/products and custom fields if required. Then you add relevant notes if necessary, set the order status and finally calculate the total. Once you are done with all these tasks, click the button for Save Order, which obviously saves the order, or Move to Trash if you want to discard the order.
After this process you can choose to apply particular Order Actions which are present in the form of a dropdown menu at the top of the right side meta boxes. Whichever action you choose, it will generate an email which is sent to the customer informing him or her about the order and the amount which is due. Let's look at what these actions are:
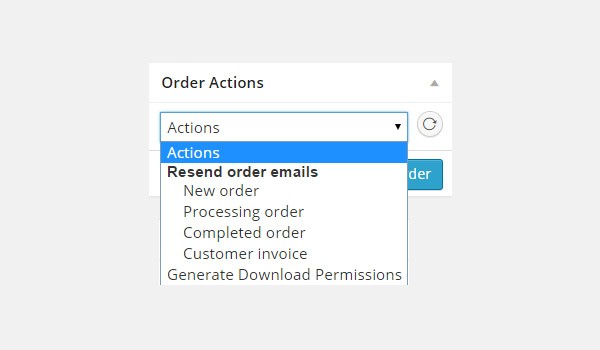
- New order: Generates an email in response to an entirely new order. So when you are done creating an order, manually select the New Order option and click send (circular arrow icon) next to the dropdown.
- Processing order: If the order status is processing then choose this action and click the send button. It will email a Thank You note, informing the customer that the order is being processed.
- Completed order: When the order is complete and you have shipped the order, select Complete order to generate an email and click the send icon. This will send an email to the customer saying that the order has been completed.
- Customer invoice: This option generates an invoice of the order and sends it to the customer via an email.
- Generate Download Permissions: This will send an email containing the downloadable link of the purchased product.
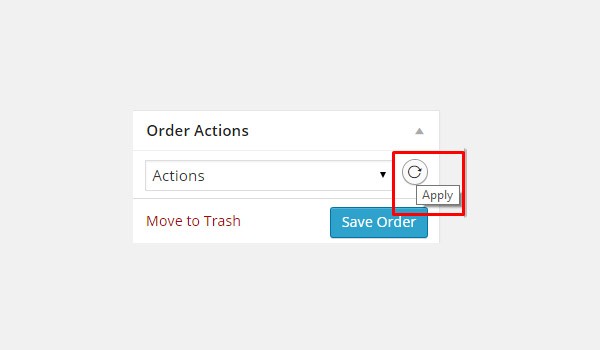
To apply any order action, select the desired action and then click the send icon which is displayed right next to Actions.
Conclusion
With this article ends the section of Orders in WooCommerce. I tried to explain all the tiny settings in this part of the plugin. If you have any problems or queries regarding the management and handling of orders then you may comment in the box below.

Comments