In my previous article I gave an introduction to how online store owners can track and manage orders placed by customers. What if you want to place any order manually? This is the topic of today's article, in which I will explain how one can add a new order in WooCommerce.
Adding a New Order
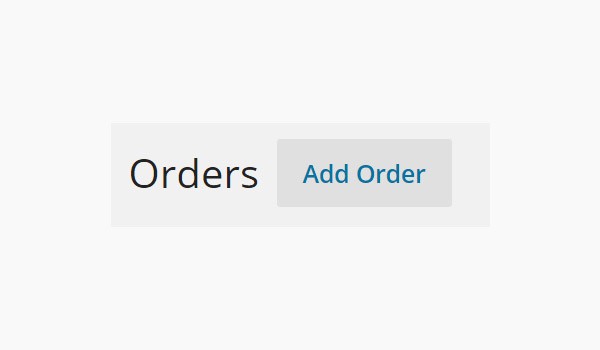
To add any new order in WooCommerce, go to WooCommerce > Orders > Add Order. When you click the button for Add Order you will be directed to a page which is divided into different meta boxes. Each section will offer certain settings which you will configure in order to create a new order. Let's discuss each of these one by one.
Order Details
The first section which you will come across is the Order Details. Here you can see some very simple options which can be configured to specify the basic details and information about the order.
Order number

Order number, also called Order ID, is the first detail which appears right beneath the title of Order Details. This is a unique number exclusively assigned to each order specifically. This is a default value which is automatically assigned whenever a new order is generated, and you cannot change it.
General Details
Next is the option of General Details, where you can manage the settings for order date, status and customer.
Order date
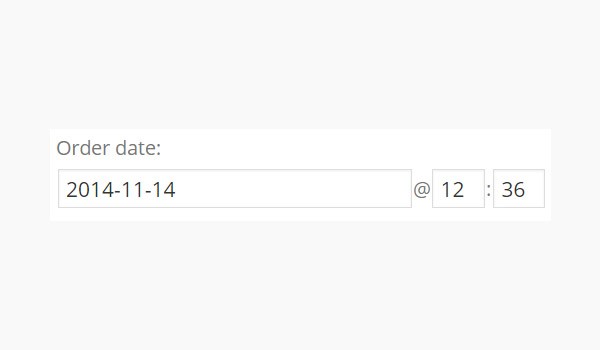
You can edit or manage the date and time of an order from here. Both these fields can be edited to any custom value.
Order status
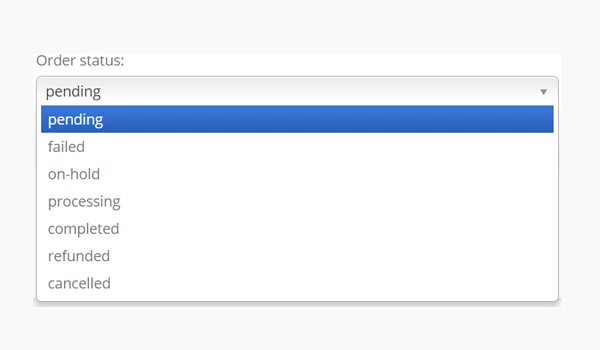
Whenever an order is placed or created, it bears a specific status which explains the current position of the order. For example, an order which has been successfully delivered to a customer has Complete as its status. This field offers a variety of order statuses which can be applied to the order which you are creating. These are:
- Pending: This means the order has been placed but the payment is still pending from the customer.
- Failed: If the payment deposited by the customer has been rejected or declined for some reason, the status is Failed. In other words, it is a failure which is observed due to an unsuccessful transaction of money.
- On-hold: On-hold means that the stock is reduced and also the payment hasn't been confirmed yet.
- Processing: A processing order status means that the payment has been confirmed but due to reduced stock the order is waiting to be fulfilled.
- Completed: When all the actions have been processed and the product has been delivered successfully to the customer, the status is complete.
- Refunded: This status shows that the store owner has refunded the amount back to the customer and no further actions are needed.
- Cancelled: Any order which has been cancelled by the store owner or the customer falls in this category. This status also does not require any further proceedings.
Customer
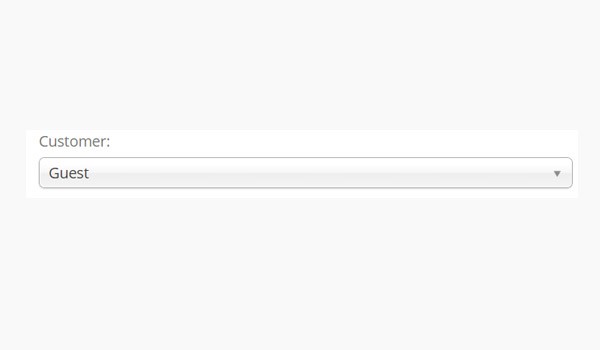
The next field is Customer. In this case as a default setting the customer is specified as a Guest who visits your online store and places an order. That's pretty much it.
Billing Details
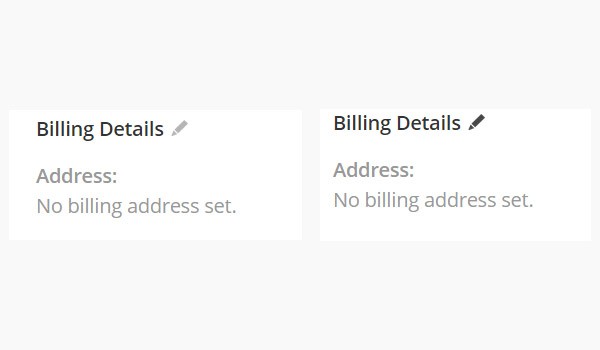
Next in this section is the option for Billing Details. The billing address is the actual address of any customer where he or she is residing currently. The above figure shows that initially no billing address is set. But we see an icon (like a pencil) being displayed next to the Billing Details. When you hover the mouse over it will appear dark grey in color. Click this icon to enter the sub-section for adding a billing address.

As per the figure shown above, to add the address just fill out the fields for First Name, Last Name, Company, Address 1, Address 2, City, Postcode, Country, State/Country, Email, Phone, and Payment Method.
However, if you have selected an old customer you can click Load billing address to fetch his or her address from the database.
Shipping Details
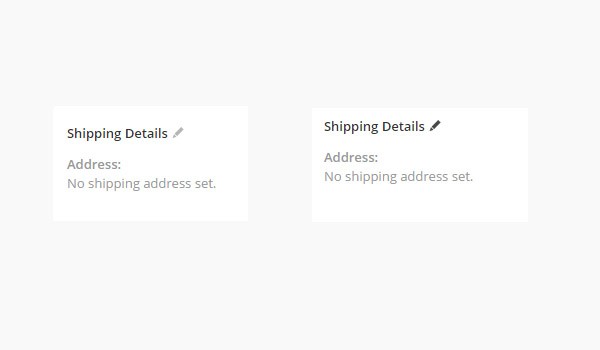
Again click the pencil icon to enter an edit sub-section for Shipping Address. Shipping address is the address where a customer wants to get the product delivered. The billing address and shipping address can be the same.
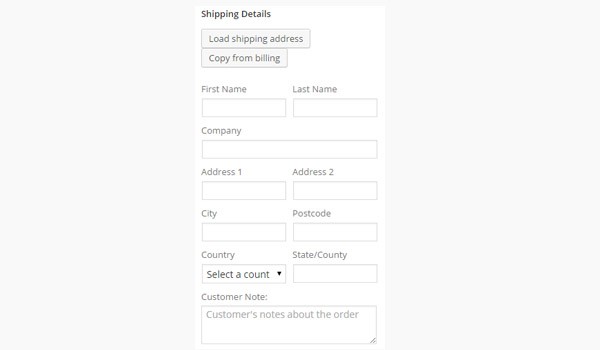
The settings are pretty much the same in this sub-section as in the billing address sub-section. However, you can also add a Customer Note and can click the Copy from billing button if both address are same.
This completes the section for Order Details. In the upcoming articles I will discuss the other meta boxes which a store owner comes across at the time of creating a new order through the dashboard.

Comments