In this quick tip we are going to learn how to customize the output generated by NSLog in order to debug programs more efficiently. Read on!
Problem
By default, NSLog displays output in the following format:
Date Time OurApp[<processid>] NSLog output
A real-world example might look like this:
20130803 00:35:53.038 TestApp[460:c07] Value of result = 20
The default output is good, but it leaves something to be desired. Most of the time, we want to see the following in a log statement:
- Name of the source file where NSLog() was called
- Source code line number where NSLog() was called
- Name of the class and method where NSLog() was called
- Hide date time stamp, application name, and process id info
- Enable/disable log information by changing mode (e.g. debug, release, staging)
In short, we would like NSLog to be more like this:
(ClassName MethodName) (SourceFileName:LineNumber) NSLog output
Solution
Let's first look at how NSLog works unaltered. NSLog is just a C function built into the foundation framework of Cocoa, and behaves just like any other variadic C function. Specifically, NSLog sends error messages to the Apple System Log facility. It does this simply by passing its arguments along to the NSLogv function.
Because NSLog is just a wrapper for NSLogv, we can redefine NSLog with our own custom call to NSLogv. That is exactly what I will show you how to do in this tutorial.
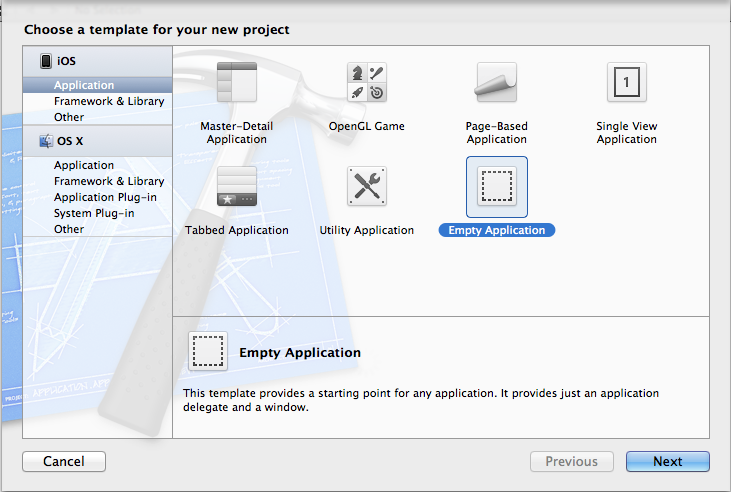
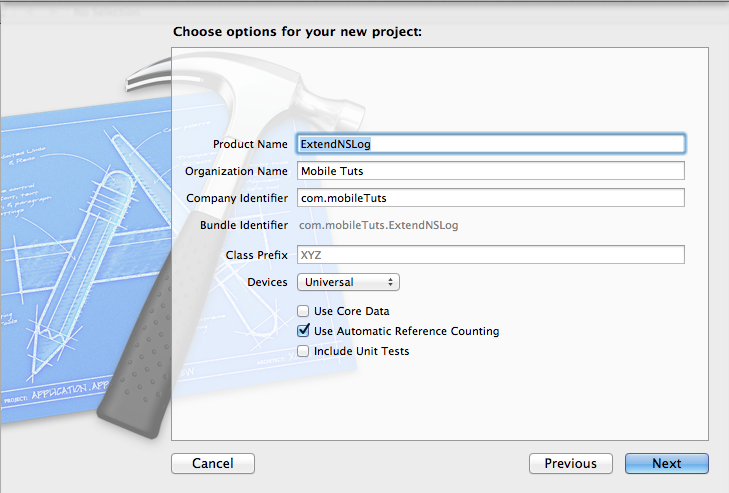
1. Start a New Project
Create a new iOS project in Xcode, with the Empty Application template. Call it ExtendNSLog. Check the option for Automatic Reference Counting, but uncheck the options for Core Data and Unit Tests.
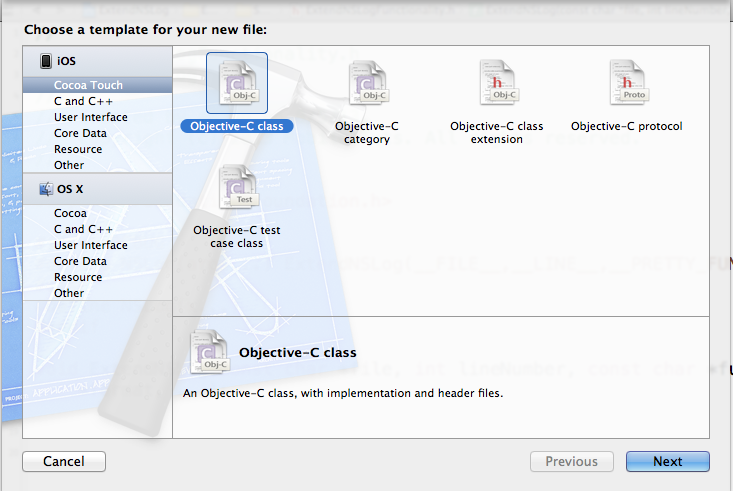
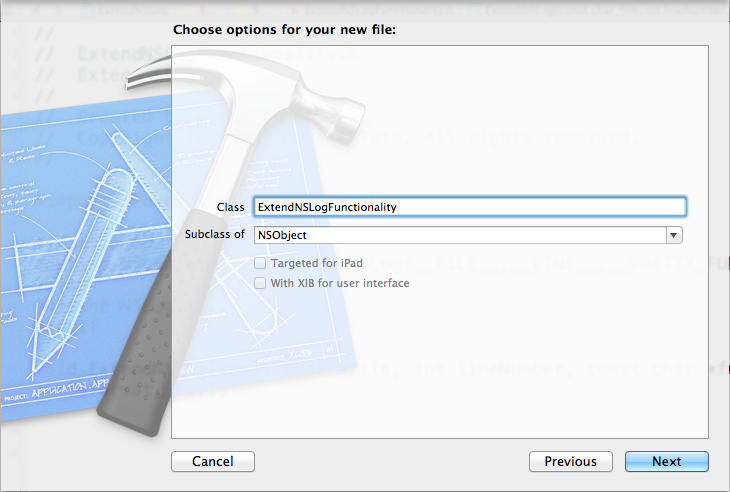
2. Create an Objective-C Class
Now create a header file along with the project. Select New File > Objective-C Class. Set the name of the class to ExtendNSLogFunctionality. which will be a subclass of NSObject.
3. Add Custom NSLog Logic
Step 1
Open ExtendNSLogFunctionality.h and place the following code within the header:
#import <Foundation/Foundation.h>

#ifdef DEBUG
#define NSLog(args...) ExtendNSLog(__FILE__,__LINE__,__PRETTY_FUNCTION__,args);
#else
#define NSLog(x...)
#endif

void ExtendNSLog(const char *file, int lineNumber, const char *functionName, NSString *format, ...);
The above conditional will define an NSLog statement only when DEBUG is defined. When DEBUG is not defined, the NSLog statement will do nothing. The question arises: how do you control when DEBUG is defined? This can be done by assigning DEBUG=1 in the preprocessor settings for your project.
To do so, click on your application target, and select the Build Settings tab. Next make sure that the "All" and "Combined" options are selected. Search for "preprocessing" and locate the section titled "Preprocessor Macros". Next, simply add "DEBUG=1" to the Debug section.

Note that in more recent Xcode project templates, there will already be a DEBUG=1 macro defined for the Debug build configuration in the Preprocessor Macros section. For more information, refer to this post on StackOverflow.
Step 2
With the debug macro defined, our next task is to write the custom version of NSLog. Open ExtendNSLogFunctionality.m and add the following code:
#import "ExtendNSLogFunctionality.h"

void ExtendNSLog(const char *file, int lineNumber, const char *functionName, NSString *format, ...)
{
    // Type to hold information about variable arguments.
    va_list ap;

    // Initialize a variable argument list.
    va_start (ap, format);

    // NSLog only adds a newline to the end of the NSLog format if
    // one is not already there.
    // Here we are utilizing this feature of NSLog()
    if (![format hasSuffix: @"\n"])
    {
        format = [format stringByAppendingString: @"\n"];
    }

    NSString *body = [[NSString alloc] initWithFormat:format arguments:ap];

    // End using variable argument list.
    va_end (ap);

    NSString *fileName = [[NSString stringWithUTF8String:file] lastPathComponent];
    fprintf(stderr, "(%s) (%s:%d) %s",
            functionName, [fileName UTF8String],
            lineNumber, [body UTF8String]);
}
Step 3
Now add the ExtendNSLogFunctionality.h include to the prefix header file Prefix.pch within the #ifdef __OBJC__ section.
#ifdef __OBJC__
    #import <UIKit/UIKit.h>
    #import <Foundation/Foundation.h>
    #import "ExtendNSLogFunctionality.h"
#endif
For a better understanding on prefix headers, have a look at this entry on Wikipedia. Regarding prefix header best practices, check out this StackOverflow post.
4. A Custom Log Example
Now add an NSLog anywhere in your project code. In my case, I decide to add one within AppDelegate.m’s method -(BOOL)application:(UIApplication *)application didFinishLaunchingWithOptions:(NSDictionary *)launchOptions.
int result = 20;
NSLog(@"Value of result : %d", result);
If you build and run the project with the Debug configuration now, you should see something like this:
([AppDelegate application:didFinishLaunchingWithOptions:]) (AppDelegate.m:21) Value of result : 20
Cheers! This output is much more useful than the default implementation. Hopefully you find that this technique will save you a lot of time while debugging your own programs!

Comments