Users who have just downloaded your Android app are going to be a lot happier if you allow them to log in using a popular social networking service instead of asking them to fill out a registration form. In this quick tip, you are going to learn how to enable your users to sign into your app with their Twitter accounts.
Prerequisites
To follow along, you should have the following set up:
- the latest version of Android Studio
- a Twitter account
- a Fabric account
Fabric is Twitter's framework for developing mobile applications. It provides a set of tools to make mobile development easier and more streamlined. It includes crash reporting, beta distribution, mobile analytics, etc. If you don't have a Fabric account yet, you will have to request an invite and wait for a day or two.
1. Register Your App
Any app that needs to interact with Twitter's APIs should be registered using the Twitter Application Management console. Use your Twitter account to log in.
Click on the Create New App button, and fill out the form. Enter meaningful values in the Name and Description fields, because these will be shown to your app's users. We won't be needing the Website and Callback URL for this tutorial, but you can't leave them blank. If you have your own website, you can use its address here. If you don't, you can simply type in http://example.com.
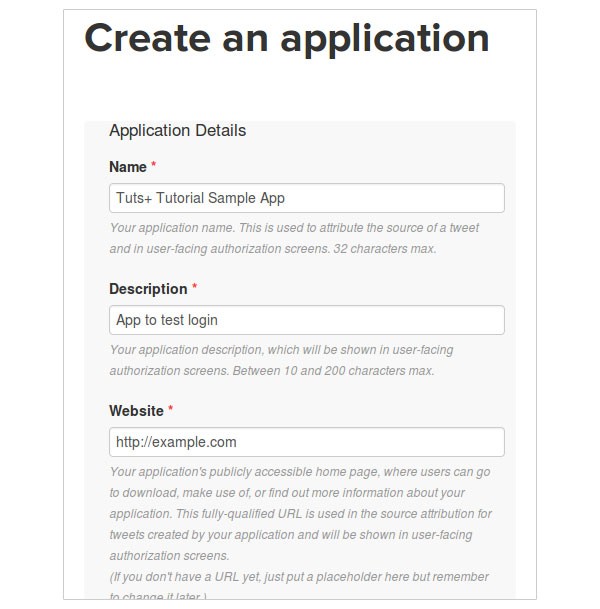
Accept the agreement and submit the form. Your app is now registered.
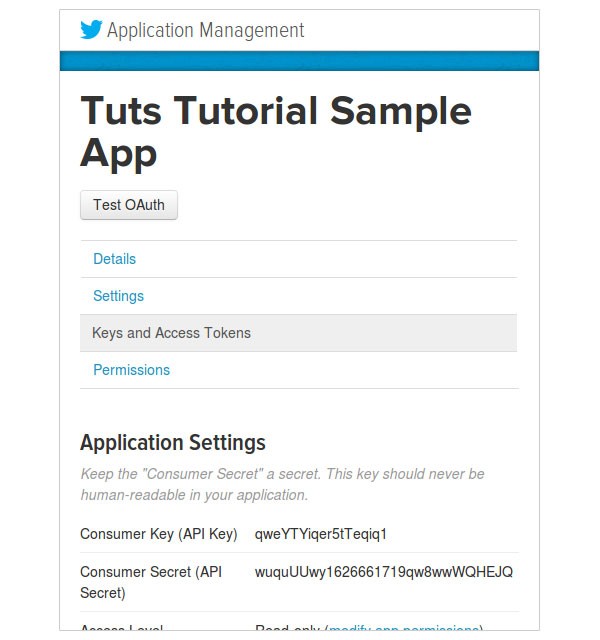
Click on the Keys and Access Tokens tab and make note of your Consumer Key and Consumer Secret. We'll be needing them later.
2. Install Fabric for Android Studio
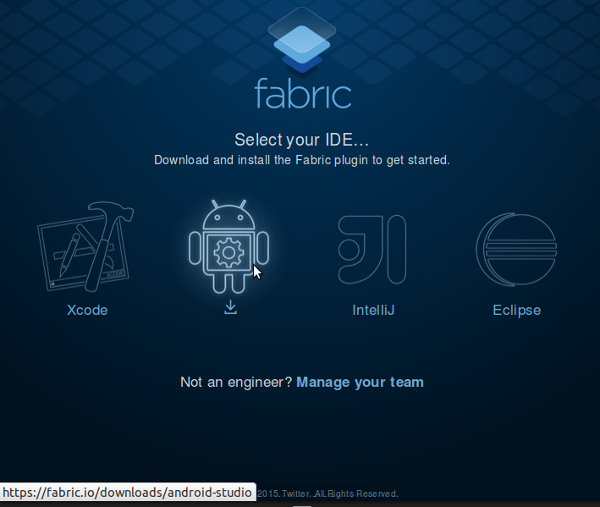
Log in to your Fabric account and download the plugin for Android Studio.
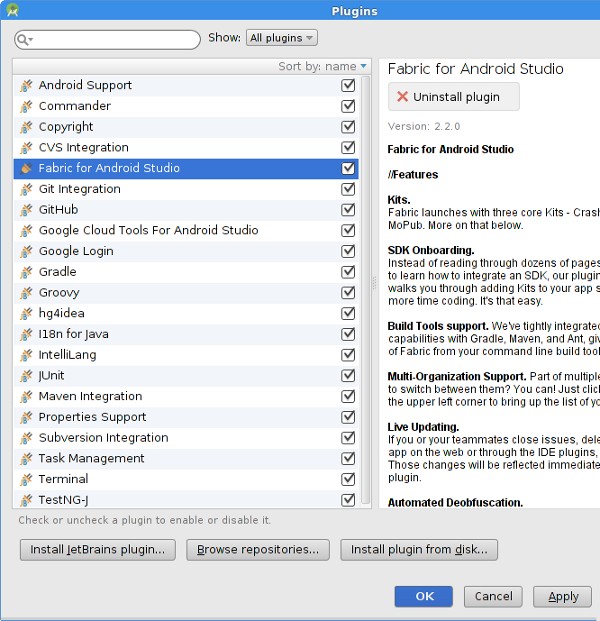
Once the download completes, start Android Studio and select Configure > Plugins.
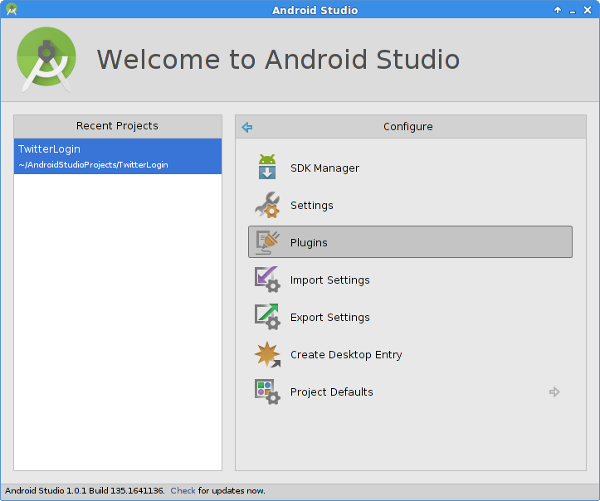
Click on the Install plugin from disk button and select the file you just downloaded. Once installed, you should be able to see Fabric for Android Studio in the list of plugins.
3. Use the Fabric Plugin
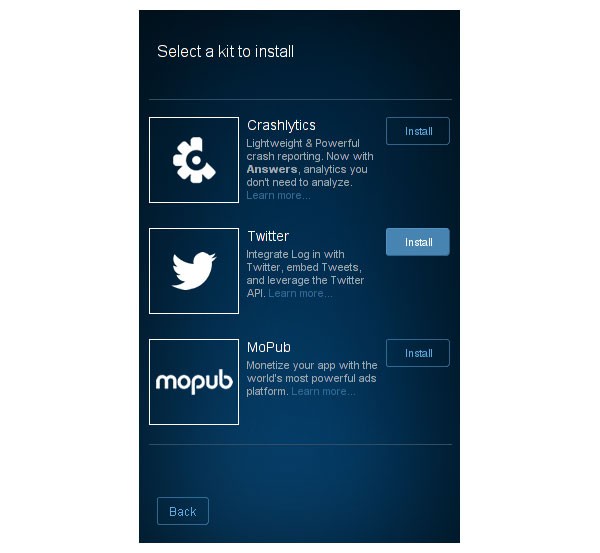
Create a new project (or open an existing one) and click on the Fabric icon. Log in to your Fabric account and select Twitter to install Twitter Kit for your project.
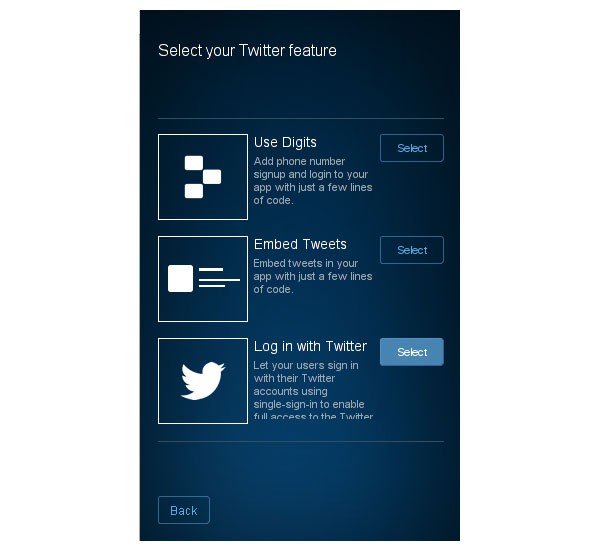
As we will be using Twitter Kit only to log into Twitter, choose Log in with Twitter in the next screen.
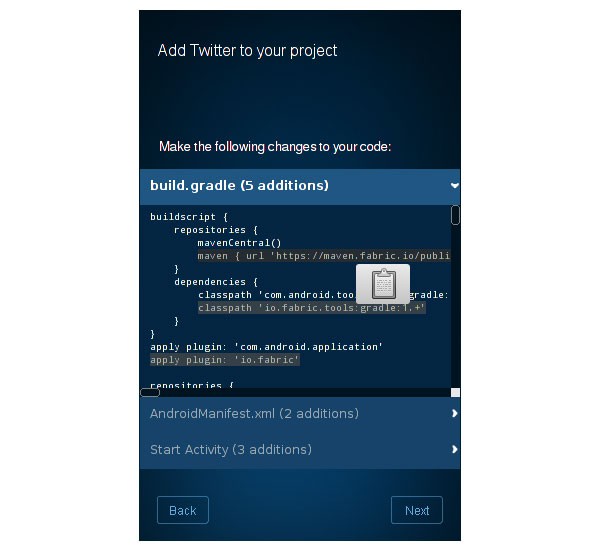
Finally, you will be shown the code changes you need to make in your project. First, you will see the changes you need to make in the build.grade file. You can simply copy and paste these changes.
Next, when you choose the tab for AndroidManifest.xml, you will see that two additions need to be made:
- To interact with Twitter's servers, the
android.permission.INTERNETpermission must be requested. - The automatically generated API key should be mentioned in the form of
meta-data. Again, you can simply copy and paste the code shown by the plugin.

You will see that a new file named fabric.properties has been created in your app directory. Open the file, and add the same API key to it as shown below.
apiKey=21212qu6q5izhayqwywqwz1ghyuiopqwq211wqqwq12341
4. Create an Activity
In this tutorial, we will be creating a very simple Activity that displays a login button and a TextView that displays the result of the login attempt.
Step 1: Define the Layout
Create a new layout XML called login_activity.xml in the res/layout directory. Add a TwitterLoginButton using the following code snippet:
<com.twitter.sdk.android.core.identity.TwitterLoginButton
        android:id="@+id/twitter_login_button"
        android:layout_width="wrap_content"
        android:layout_height="wrap_content"
        android:layout_centerInParent="true"/>
Next, add a TextView to display the results of the login attempt.
<TextView
        android:layout_width="wrap_content"
        android:layout_height="wrap_content"
        android:id="@+id/status"
        android:layout_alignParentTop="true"
        android:layout_alignParentLeft="true"
        android:textSize="20sp"
        />
Step 2: Create the Class
Create a new Java class that extends the Activity class and override its onCreate method. Use setContentView to use the layout XML we created in the previous step.
Retrieve the widgets defined in the XML using the findViewById method. You can leave the TextView blank, but I am going to use the setText method and display a String that says "Status: Ready".
At this point, your class should have the following code in it:
public class LoginActivity extends Activity {

    private TwitterLoginButton loginButton;
    private TextView status;

    @Override
    protected void onCreate(Bundle savedInstanceState) {
		super.onCreate(savedInstanceState);

		setContentView(R.layout.login_activity);

        loginButton = (TwitterLoginButton)findViewById(R.id.twitter_login_button);
		status = (TextView)findViewById(R.id.status);
		status.setText("Status: Ready");
	}
}
When you click the plugin icon again and click on the tab for Start Activity, you will find the code that needs to be added to initialize Fabric. Copy and paste that code in the onCreate method, before the call to setContentView.
TwitterAuthConfig authConfig = new TwitterAuthConfig(TWITTER_KEY, TWITTER_SECRET);
Fabric.with(this, new Twitter(authConfig));
The plugin generates its own values for consumer key and consumer secret. While you can use these values, we will be using the values we got when we registered our application in Twitter's Application Management console earlier. The code to use these values should look like this:
private static final String TWITTER_KEY = "qweYTYiqer5tTeqiq1";
private static final String TWITTER_SECRET = "wuquUUwy1626661719qw8wwWQHEJQ";
Clicking the login button starts an external Activity that returns a result. To capture that result, override the onActivityResult method of the Activity and pass the arguments received to the onActivityResult method of the button:
@Override
protected void onActivityResult(int requestCode, int resultCode, Intent data) {
    super.onActivityResult(requestCode, resultCode, data);
    loginButton.onActivityResult(requestCode, resultCode, data);
}
To process the result of the login attempt, you must create a custom Callback. Create an internal class named LoginHandler that extends Callback<TwitterSession>, and override all its abstract methods.
The names of the methods of this class are very intuitive. In case of a successful login, the success method is called. Otherwise, the failure method is called.
private class LoginHandler extends Callback<TwitterSession> {
    @Override
    public void success(Result<TwitterSession> twitterSessionResult) {

    }

	@Override
    public void failure(TwitterException e) {

    }
}
For the TwitterLoginButton to use this custom callback, in the onCreate method of the Activity, pass an instance of LoginHandler to the button's setCallback method.
loginButton.setCallback(new LoginHandler());
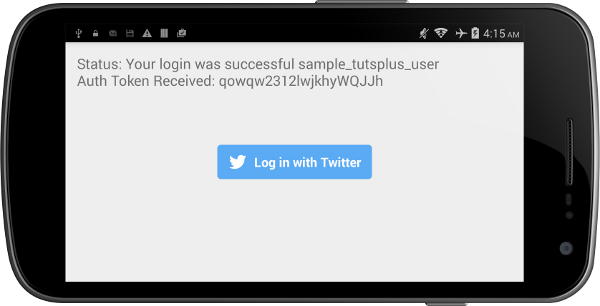
In case of a successful login attempt, display the name of the logged in user and the auth token. Both values are available from the data field of Result<TwitterSession>. To get the username of the logged in user use getUsername. Similarly, to get the auth token use getAuthToken. Add the following code to the success method:
String output = "Status: " +
        "Your login was successful " +
    	twitterSessionResult.data.getUserName() +
        "\nAuth Token Received: " +
		twitterSessionResult.data.getAuthToken().token;

status.setText(output);
In case of a failed login attempt, display a message that says "Login Failed". Add the following to the failure method:
status.setText("Status: Login Failed");
Step 3: Update the Manifest
Define the Activity you just created in your project's manifest. If it is your app's first Activity, create an intent filter so that it responds to android.intent.action.MAIN. Add the following code to your file:
<activity android:name=".LoginActivity">
    <intent-filter>
        <action android:name="android.intent.action.MAIN"/>
        <category android:name="android.intent.category.LAUNCHER"/>
    </intent-filter>
</activity>
5. Build and Run
Your app is now ready to be run. When you build and run it on your Android device, you will be greeted with the following screen:
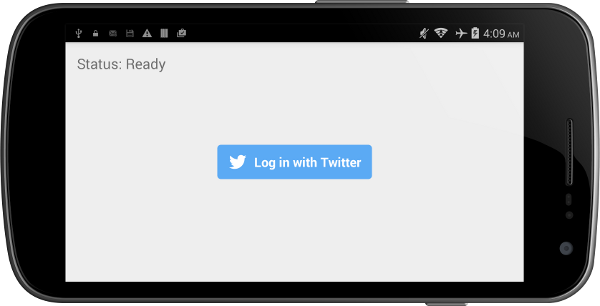
If you tap the login button, you will be redirected to Twitter. Note that the application name and description you specified in the first step of this tutorial are shown on this page.
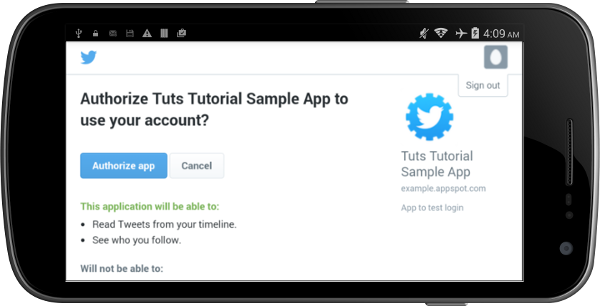
When you tap the Authorize app button, the login attempt is considered successful and you are redirected back to your app. You will see that the TextView is updated to show the username and the auth token.
Conclusion
In this quick tip, you have learned how to enable your app's users to log in using Twitter. You also learned how to install the Fabric plugin for Android Studio and how to use it to add Twitter Kit to your project. To learn more about Fabric and Twitter Kit, refer to the Twitter Kit for Android documentation.

Comments