When I initially planned this series, it was intended to be a 15-article series, in which we planned to develop all the pages of the theme, including the shopping cart, checkout pages, login/sign up pages and the user accounts pages.
But after writing the first 10 articles, I realized that we have already explained, in detail, all the steps required to make the changes in your Magento theme pages, and editing the other pages will be just a repetition of the steps we have already explained before.
Therefore, I'm concluding the series in this article, where we'll finalize the product page from where we left it in the previous article, and I'll give you some tips on how to use the techniques you have learnt in this series to edit the rest of the pages yourself.
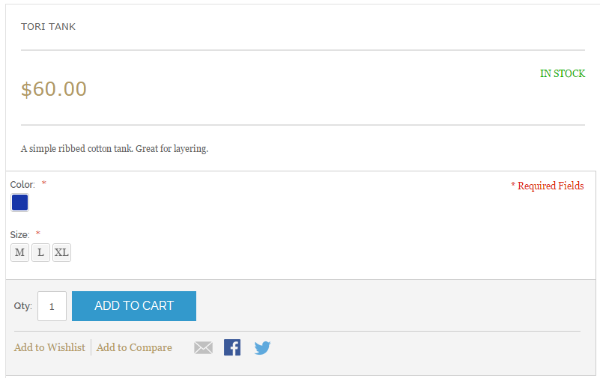
So let's resume the product details page customization. This is how it currently looks:
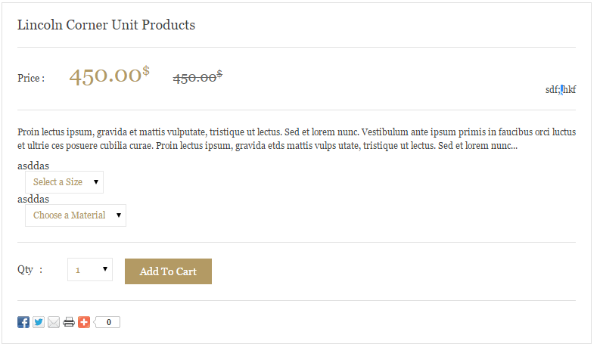
If we compare it with the HTML design we have, this is how it should look:
To make it look like our HTML design, we need to make some font changes in the product heading, price and availability sections. Also, in the 'Add to Cart' section we need to change the background color and borders. Other than that, we need to make some changes with the margins and the padding. We'll do that by adding these lines in our theme.css file:
/***** Product Details Page ***********/
.more-views{margin-top:10px;}
.product-image-thumbs {text-align: center;}
.more-views .product-image-thumbs  a:hover {
    border-color: #b39a64;
}
.more-views .product-image-thumbs a {
    float: left;
    padding: 3px;
    border: 1px solid #cccccc;
}

.products-details{font-family: Georgia, sans-serif;}
.products-description .name {
    font-family: Georgia, sans-serif;
    font-size: 30px;
}
.availability.in-stock {
    font-size: 11px;
}
.products-details .products-description .price{width:50%;font-size: 25px;
    color: #b39a64;
    font-weight: 500;}

.products-description .product-options{
    border: none;
    padding-left: 30px;
}
.product-view .products-description .product-options .swatch-attr label{
    font-size: 11px;
    font-family: inherit;
    font-weight: normal;
}

.products-description .product-options-bottom{
    border:none;
    background: none;
    padding-left:30px;
    font-size: 12px;
    padding: 17px 0 0px 0;
    border-top: 1px solid #ccc;
    margin: 10px 30px 0 30px;
}
.product-view .product-options-bottom .add-to-cart-buttons .button {
    background: #b39a64;
    color: #fff;
}
.product-view .products-description .add-to-cart{
    margin-bottom: 21px;
}
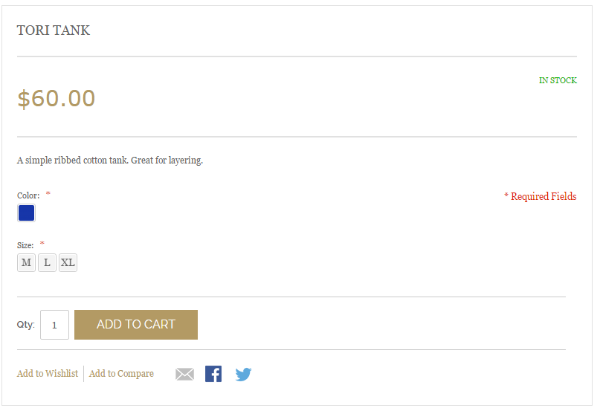
The code should look fairly self-explanatory. After making these changes, the page should look like this:
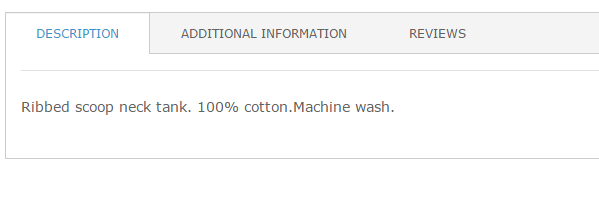
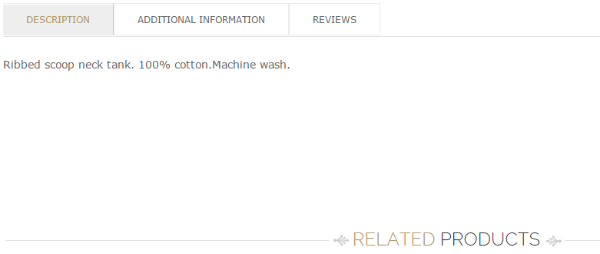
Now we are pretty close to our HTML design requirements. However, if we look at the tabs section of the products page, though it looks fine, it doesn't match with our HTML design requirement. This is how it currently looks:
To make it match with our HTML design, we'll add these CSS lines in our theme.css file:
/***** Tabs Section ***********/
.product-view .product-collateral .toggle-tabs {
    border: none;
    background: none;
}
.product-view .product-collateral .toggle-tabs li.current {
}
.product-view .product-collateral .toggle-tabs li {
    float: left;
    border: 1px solid #ececec;
}
.product-view  .product-collateral > dl > dd {
    padding: 0 15px 15px 0px;
    border:none;

}
.product-view .product-collateral .toggle-tabs li.current > span {
    background-color: #eee;
    color:#b39a64;;
}
We have changed the background color for the tab headings, and the color for the current tab. The padding and border for these are also edited. This is how it should look now:

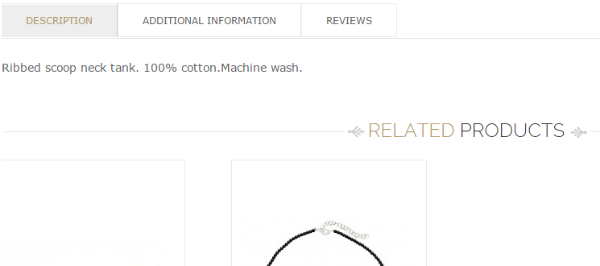
It looks pretty close now. The page should look all good except one small thing: the margin between the tabs section and the related products is way too much and ruins the look of the whole page.
This is because of the min-height property defined for the .tab-box class. We'll fix it with this quick code:
/***** Fixing Margin Bottom Problem ***********/
.product-view .tab-box{
    min-height: initial;
}
The problem is fixed now:
Now our whole product detail page is ready, and is fairly close to our HTML design requirements. With this we have completed the three most important pages of the eCommerce website, which are: homepage, product listing page, and product details page.
As I mentioned at the start of this article, I'll wrap up this article series here by giving you some tips on how you can customize other pages of the theme, by using the skills you have learnt in this series.
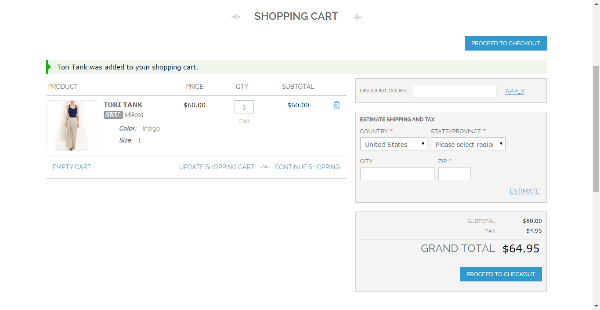
Let's have a look at the cart page. It currently looks like this:
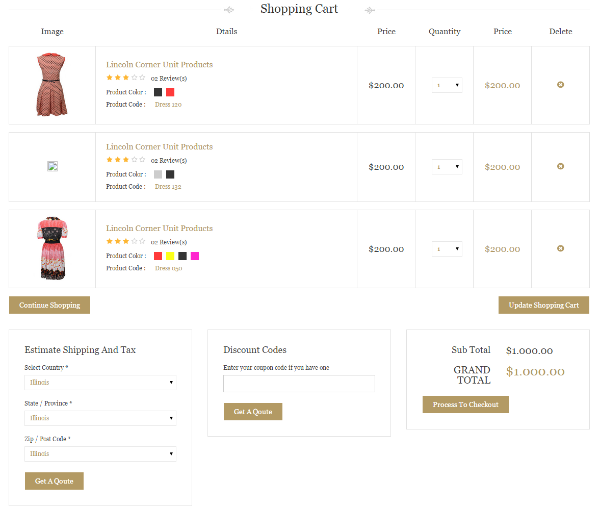
However, if we look at our HTML design, it should look like this:
Now to customize it, we'll use the same procedure of turning on the template hints and figuring our which template files are responsible for rendering this page, and then we'll make changes in those files:
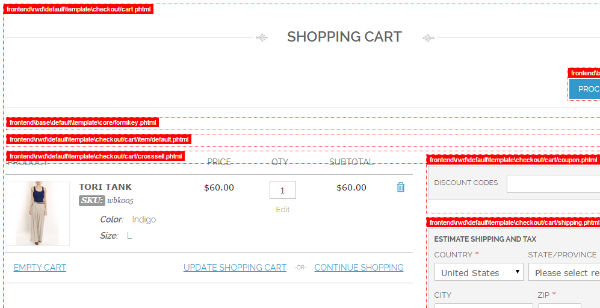
Here you can see that the overall layout of the page is coming from the /template/checkout/cart.phtml file. We need to edit it to place the components in the right position. We'll put the HTML code we have in our HTML file, and start replacing the code with the dynamic code.
Similarly we can see that the product rows are being rendered from the template/checkout/cart/item/default.phtml file. We will need to edit that file too. Other than that, I don't think we'll need to make any other changes in the phtml files, because we can do the rest easily through CSS.
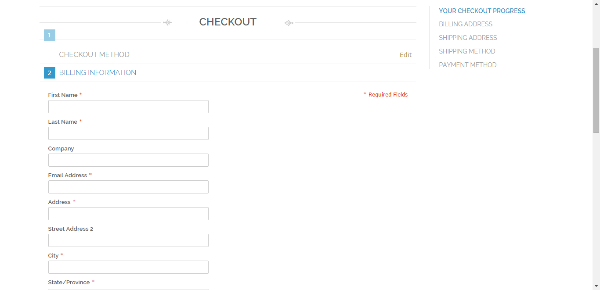
Now let's check the checkout page. It currently looks like this:
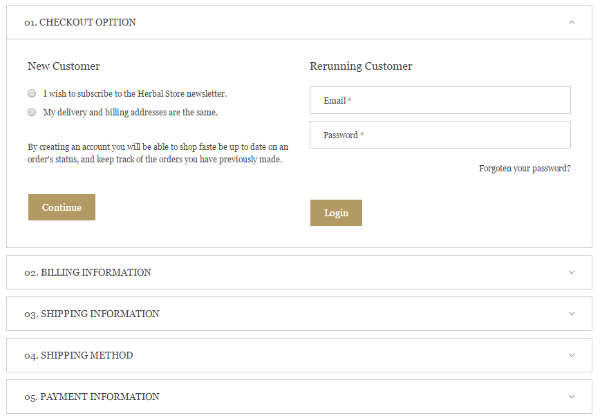
According to our HTML, however, it should look like this:
Lets repeat the same procedure again and find out the phtml files we need to change here. There you can see the main layout is coming from /template/checkout/onepage.phtml. And the progress bar is being populated by this file: template/checkout/onepage/progress.phtml.
We can make changes in these two files by comparing the code with our HTML file. After making the changes in these two files, you can make rest of the changes through CSS. I don't think you'll need to change any other phtml file for this page.
Here let me reiterate that you should not make the changes in the default theme. You should always make a copy of the phtml file you want to edit in your new theme, and only edit it there.
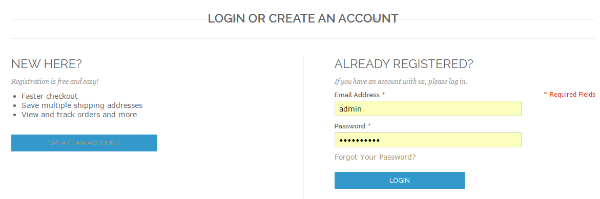
Moving on to the login page, it currently looks like this:
Here we'll again repeat all the same steps, and start by enabling the template hints:
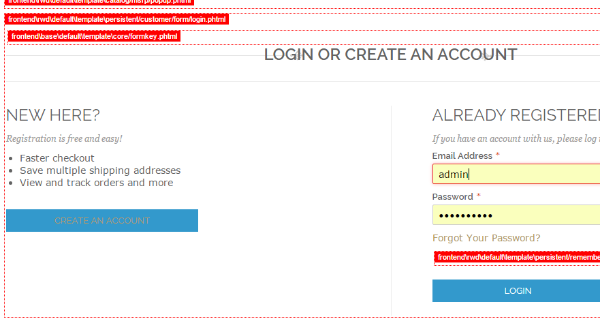
Here you can see the main file you'll need to edit is: template\persistent/customer/form/login.phtml. You can change most of the layout of the page from this file. For the style changes, you can do that through CSS.
Likewise, we can see how to edit the Signup page. First we'll enable the template hints:
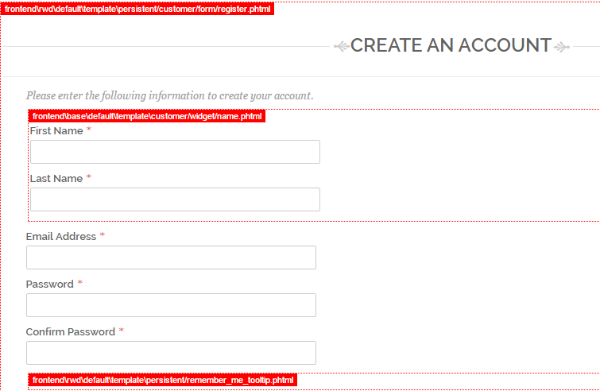
From template hints we can see the overall layout of the signup section is coming from template/persistent/customer/form/register.phtml. You can change it by editing this file.
If you have been following along so far, you should probably know all the steps by heart. You can go on and edit the user accounts pages using the same procedures you have learnt here.
You can formally congratulate yourself now: you can call yourself a Magento theme developer, because you have actually developed a Magento theme and have learnt all the basic methods and procedures required for that.
While writing this series, I have made a great effort to make it easy and clear to follow. I hope this series was a good learning experience for you!
Do provide your feedback about this series in the comments section, and keep coming back to Tuts+ to check out other useful articles. And don't forget to see what extensions are available to extend your work with Magento.
Have a great learning experience!

Comments