I know the previous three articles may seem to be loaded with too much information, and you might have had a hard time following some of the steps. But the good news is that we are done with the difficult part now, and the rest of this theme development series will look relatively easy compared with those previous articles, because we’ll mostly be repeating the same techniques over and over again, which we have learnt in those articles.
We have completed the home page layout so far, and in this last article about the home page we’ll fix some styling issues. If you have followed all the steps of the previous articles, you should have a home page looking something like this:
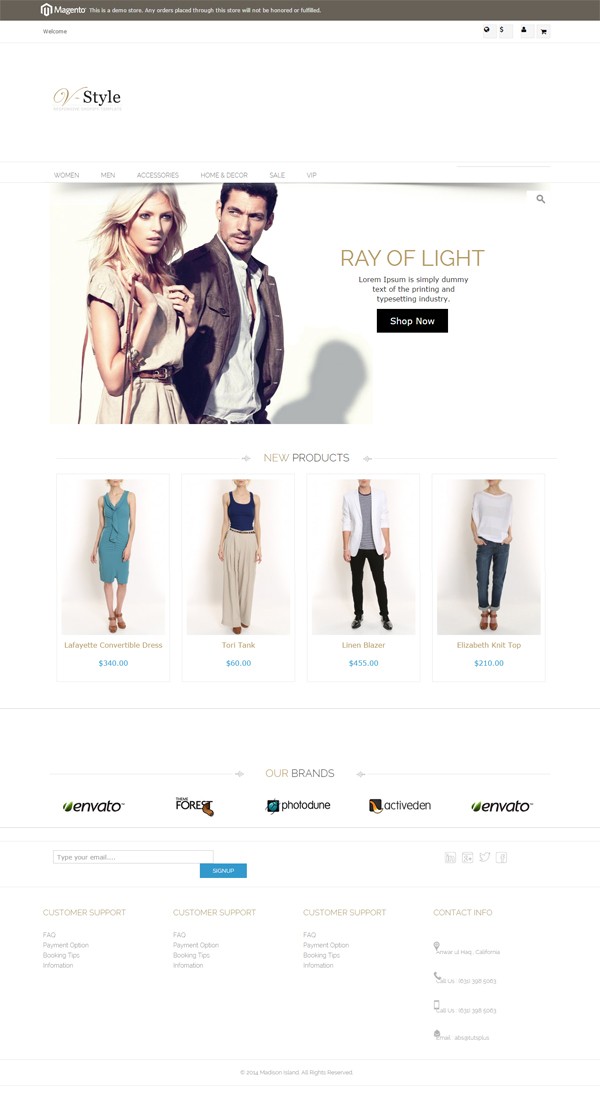
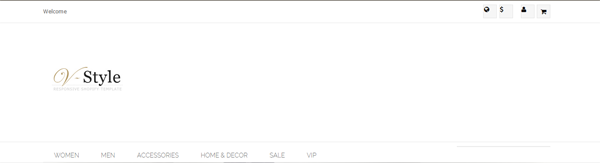
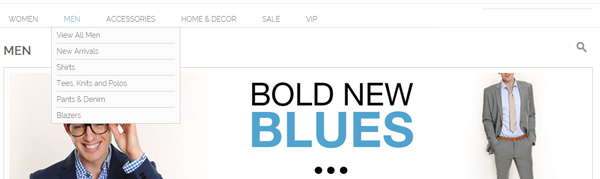
Though it has all the required components in the right places, some styles are off. To start correcting these styles, we’ll begin from the top of the page and fix the header styles first. If you closely look at the current header, you’ll find a couple of flaws.
First of all, the top-left corner icons have some padding issues, the logo is not center-aligned as it is in HTML, and the menu bar needs some further styling. Another thing, which is not a style issue but is needed, is the welcome text at the top-left corner.
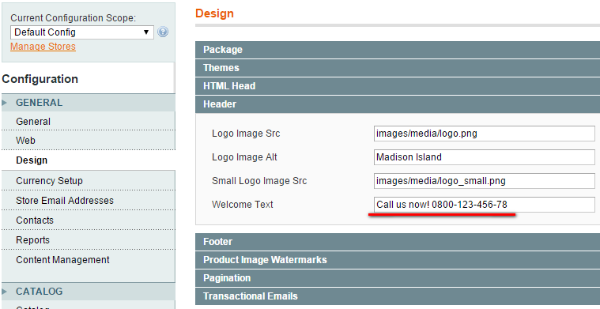
As fixing the welcome text is the easiest one, we’ll handle this one first. To fix this, we’ll be editing the welcome text from System > Configuration > General > Design > Header, and we'll change that Call Us Now text as shown in our HTML.
Next we’ll look at the Chrome Inspector to check the styling of different components one by one, and start editing them.
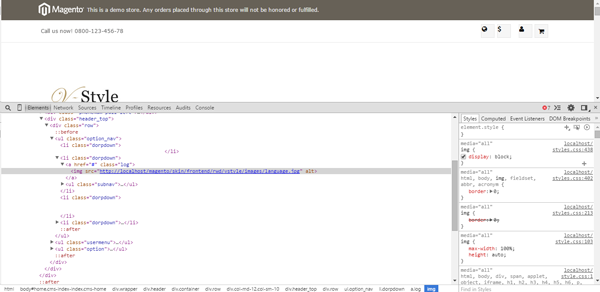
We’ll start by editing the top-right icons, and center-aligning the logo. For that, create a new CSS file, styles.css, link it from the header.phtml file, and start adding these lines of code in it:
/***************** Header Styles ************************/
ul li.dorpdown a img{display:inline; padding-top:3px;}
ul.usermenu li a img{display:inline; padding-top:3px;}
div.logo {margin:0;}
div.logoBox {width:100%; text-align: center; margin:40px 0;}
div.logoBox .logo {display:inline; float:none;}
div.logoBox .logo .large {display:inline;}
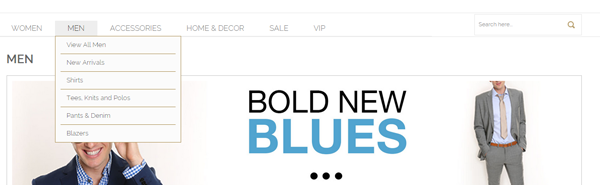
This will fix the icons' padding issue and center-align the logo. Next we need to customize the style of the navigation bar and search box. As you can see, this is how our search bar should look:

But currently it looks like this:
To fix the search box and navigation bar, we’ll add these lines of style in our newly created CSS file.
/***************** Menu Bar Styles ************************/
div.search  { margin:2px 0; }
div.search #header-search { display: block; position: relative; top: 0;  right: 0;  width: auto;  height: auto;  padding: 0;}
.search-button:before {background-image: none !important;}
#search_mini_form .search-button {background: url(../images/searchButton.jpg) center center no-repeat !important;}

.nav-primary li.level0 ul{border: 1px solid #b39a64 !important;}
.nav-primary li.level1 a {border-bottom: 1px solid #b39a64 !important; color: #333; font-weight: 300; line-height: 20px; font-size: 13px;padding: 7px 12px;}
.nav-primary li.level1 a:hover{color:#b39a64;}
.nav-primary li.level0 > a { font-size: 15px; color: #888; text-transform: uppercase;}
.nav-primary li.level0 > a:hover, .nav-primary li.level0 > a:focus{  text-decoration: none;  background-color: #eeeeee;  /* font-weight: bold; */  color: #333;}
.nav-primary li.active > a {  background: none;  color: #000;}
.nav-primary li:last-child > a {  border-bottom: none !important;}
Hopefully, when you’ll add these styles, your search box and navigation bar will look fine now:
Though the home page slider looks fine, if we closely look, there is one little flaw in this slide:
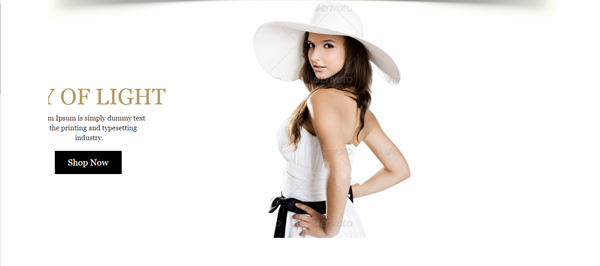
The text is too far towards the left on our home page; it should look like this:
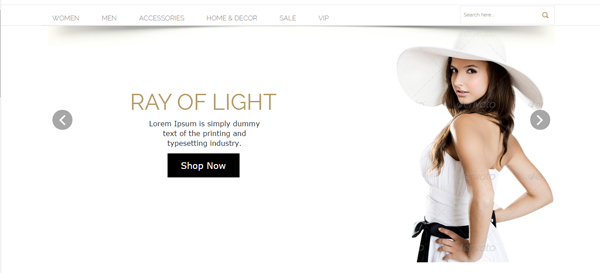
To place the text in the right place, we’ll add these lines of code in our CSS file:
/***************** Slider Styles ************************/
#sequence>.sequence-canvas li .secondSlideText {left: 150px;}
#sequence>.sequence-canvas li .secondSlideImg {float:right;}
Next comes our latest product carousel. Everything looks fine here, except the color of the price, which should be black.
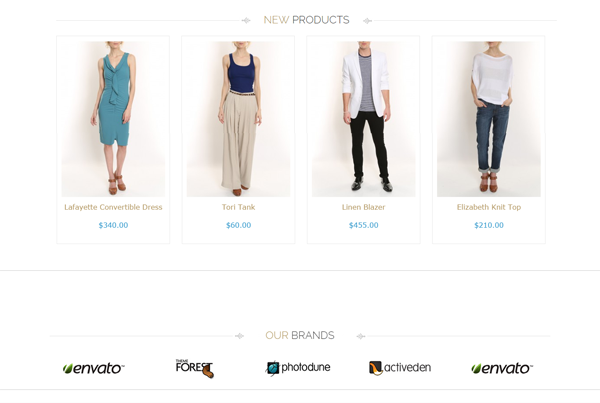
To fix that, we’ll add this line into CSS file.
/***************** Product Slider Styles ************************/
.item .products .price-box .price {color:#000;}
Now the issue should be fixed and we should have a great looking new products carousel. Like this:
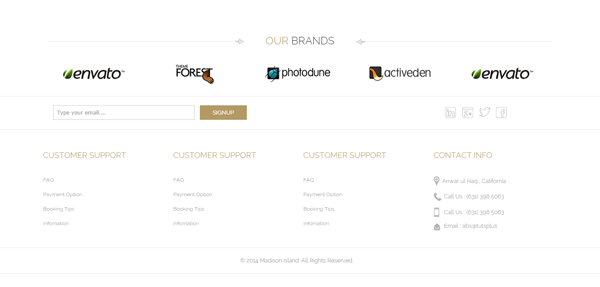
The footer has some styling issues too, especially the subscription box and the links section.
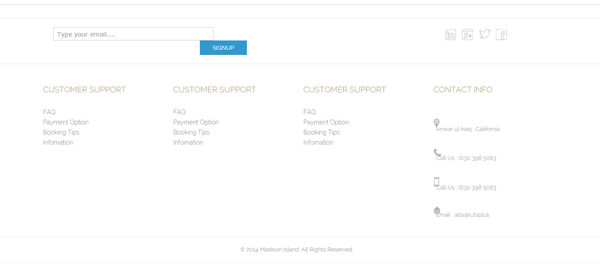
We’ll use these styles to correct these issues:
/***************** Footer Styles ************************/
.wrapper .footer {border-top:none; padding-top:0;}
.featured-products, .our-brand { padding-top: 0 !important;}

.copyright-info .newsletter input[type=text] { width: 322px !important; margin-left: 23px; height: 33px !important; font-size: 12px;}
.footer .copyright-info .newsletter .button {background-color: #b39a64;}
.footer .footer-info p img{display:inline;}
.footer .footer-info .support li { line-height: 28px; font-size: 12px;}
Now it should look like this:
These are all the styling fixes we need to make our home page look as close to the HTML design requirements as possible. If you have followed all these steps, the home page should look like this:
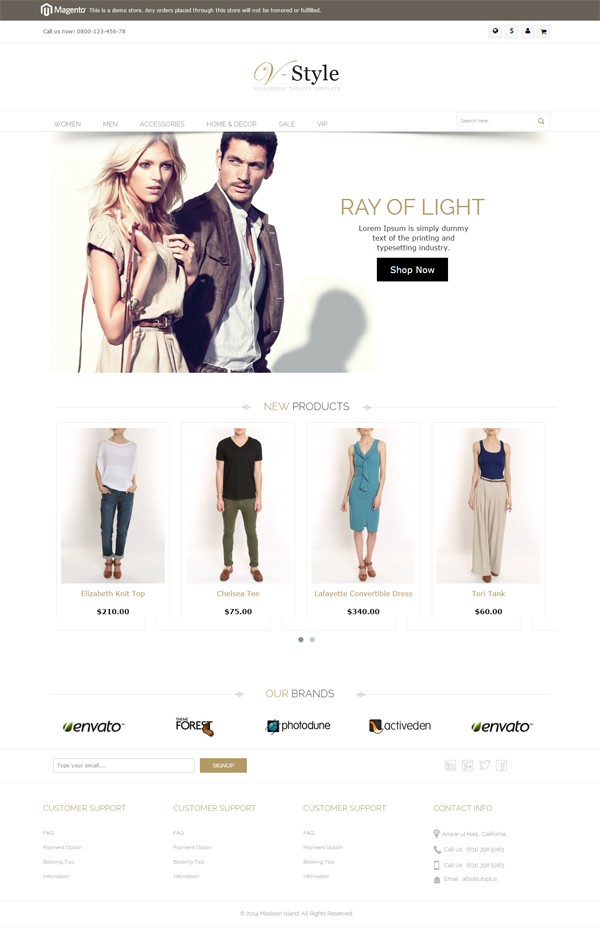
If you have successfully followed all these steps, and have your home page looking like the above screenshot, then congratulations, you have made a significant headway in customizing your first Magento theme.
Customizing the first page is the most daunting task in creating any new theme, as on all the rest of the pages most of the components like header, footer, menubar, etc., will be used, and we would only be changing content section styling. It is therefore much easier to change other pages once you have completed the home page styling.
While styling the home page we have used almost all the techniques we’ll be using to customize the rest of the theme. All these techniques like using Chrome Inspector, determining the phtml file responsible for the layout of a particular part of the page, modifying CSS, PHP, HTML and XML in relevant files, creating new pages and static blocks, and registering those static blocks through XML, should be quite valuable lessons for you.
Next in our theme, we’ll start modifying the category listing page. As we have completed the header, footer and navbar sections, we just need to customize the product listing section and sidebar section. We’ll customize both in two separate articles.
Before you embark on making changes to the category pages, I would strongly advise you to check the code of the category page of our design HTML, and also by enabling template hints, check what files are responsible for the layout rendering of category page in Magento. Try to modify those category page templates on your own, by matching them with the HTML page. Don’t forget to copy those files first in our new theme, and do take backups, as we don’t want to mess with the theme files of the actual RWD theme.
I'll leave you with this assignment for now. Once you are ready, start the actual editing of category pages by following the next tutorial.

Comments