In this quick-tip tutorial, I'll show you how to quickly create a UITabBar application with Storyboards in Xcode 4. Let's go!
Tutorial Preview
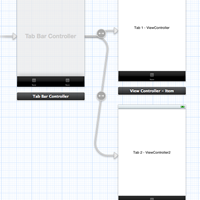
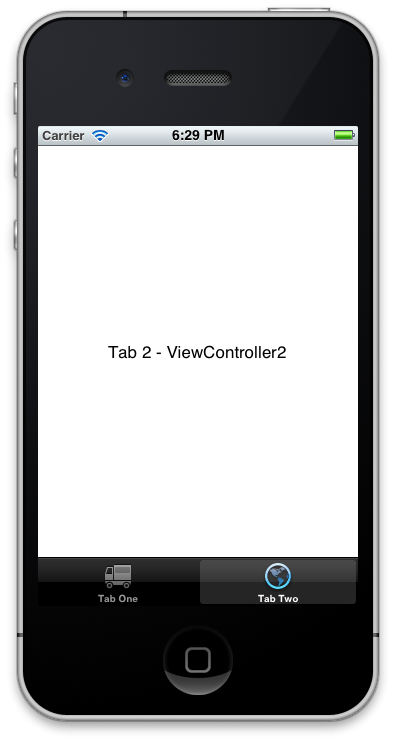
Take a look at what I'll be showing you to create in today's quick tip:
Getting Started
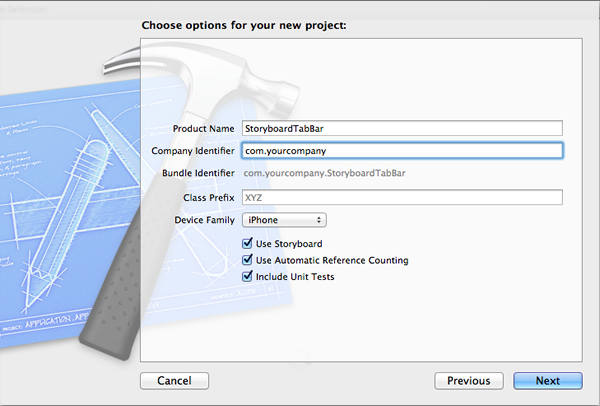
As the title states, in this tutorial we’ll be creating a tab bar application with Storyboards. The project will be a simple two-tabbed application created with Xcode 4.x. Without further ado, fire up Xcode and create a New Project. Select a Single View Application and give it any name you wish. For this tutorial, I’ll call mine StoryboardTabBar. When creating the project, ensure that "Use Storyboard" and "Use Automatic Reference Counting" are selected and then save it somewhere on your hard drive where you can easily find it again later.
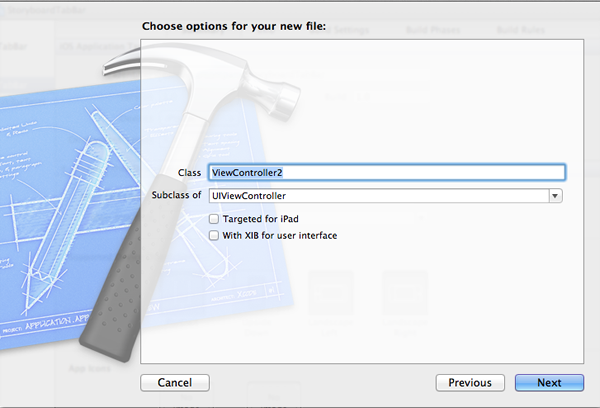
Right now, you have setup an application that contains one view controller and one view. You also have a Storyboard file with your single view controller. We now have to create a new view controller so that we can add another tab. Do this by going to File > New > New File and then selecting a UIViewController subclass and giving it a name of ViewController2 with a subclass of UIViewController. Ensure that "Targeted for iPad" and "With XIB for user interface" are both unchecked before you add it to your project. Now you should have two view controllers. Of course, ViewController2 doesn't actually do anything yet because we haven't associated a view with it.
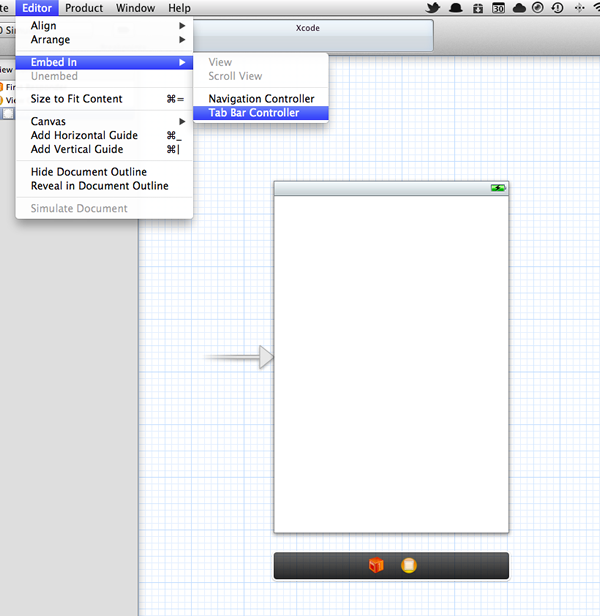
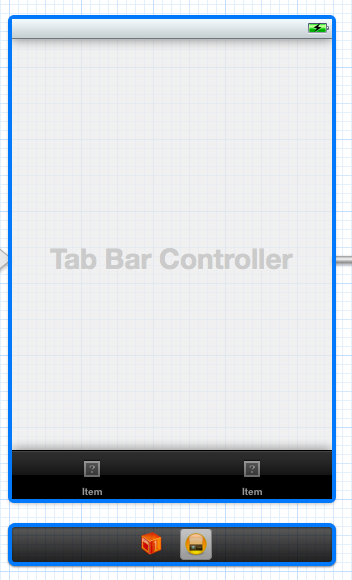
If you haven't already, go ahead and open up MainStoryboard.storyboard in the Project Navigator. The beauty of Storyboards is that you can simply select the current view and go to Editor > Embed In > Tab Bar Controller. This adds the view to a tab bar controller. If it worked, you’ve successfully created a tab bar application! However, it only contains one tab and we need to create another tab. To do this we need to open up the Object Library and search for a View Controller and drag that to your scene/canvas.
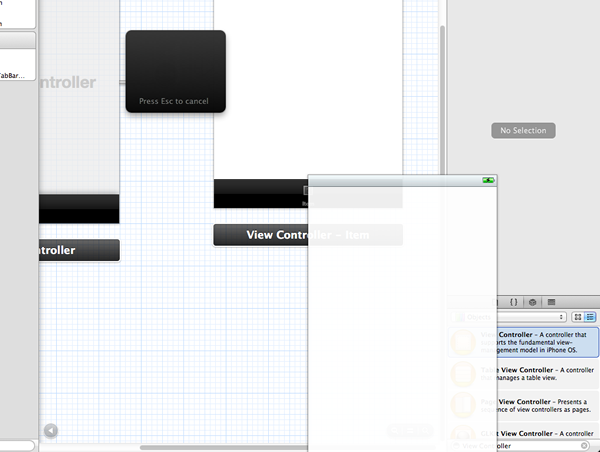
Now we have another view in our Storyboard. However, it’s not a subclass of ViewController2 yet. Go to the Identity Inspector to the right of Xcode with the view controller selected and give it a class of ViewController2. Now you’ve successfully given your view a class of ViewController2, but it still doesn’t actually appear within the tab bar.
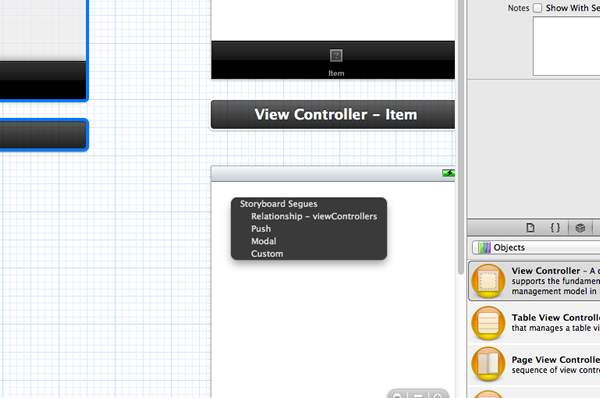
To add the new view controller to the tab bar, you simply Control + Click and drag from the tab bar controller to the new view. This will form a "relationship" and a new tab will appear that will display the view of ViewController2. Next select Relationship > viewControllers from the HUD that appears once you release your mouse from the drag. As if by magic, you’ll see a new tab within the tab bar controller! Now, to make sure that each tab corresponds to the correct view, add a Label from the Object Library into each view and then insert something unique to that view in each label.
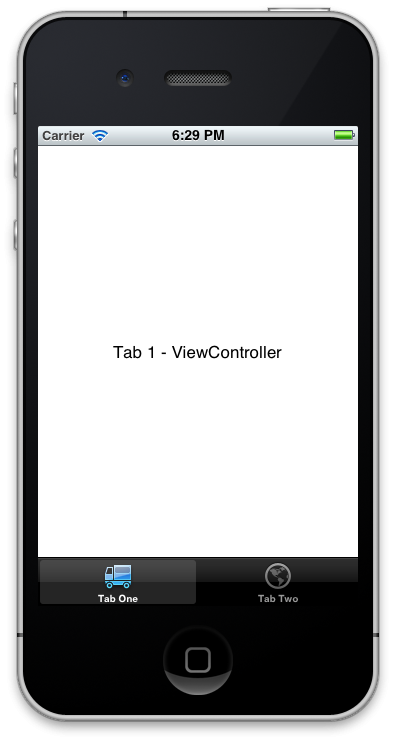
To make sure that everything is working correctly, Run the application in the iOS Simulator (5.0) and you should see that each tab corresponds to the correct view! Sadly, both of the tabs at the bottom look pretty sad and boring. Let’s spice them up with icons and a name! Return to Xcode and open the Storyboard back up if it is closed.
Select the first view and at the bottom there should be a tab bar with just one item in it. Double-click the "Item" text and you will be able to give it a name. Go ahead and name it anything you like and do the same for the second view controller. Now, we can add an icon so you can head over to a website like Glyphish (http://glyphish.com/) and download some pretty kickin' icons from there that you’re able to use within your application, for this tutorial, I’m using alternative icons from App Bits (http://www.app-bits.com/free-icons/) - world.png and delivery.png. Add these to your project by going to File > Add Files to “StoryboardTabBar” and add the files to your project. Once the icons are added, double-click the icon within the tab bar of the view controller and then within the Attributes Inspector, select your image from the drop down menu and do the same for the second view. If you are to run your application, you will see that the tabs have names but also include icons now too!
In this quick tip, you have successful set up a tab bar application and added two views to it, all by using Xcode’s new Storyboard feature. Now, you can use the view controllers to add content to your views as well as customize their behavior. Without Storyboards, this would’ve taken a lot longer to complete and achieve the same outcome - regardless of whether or not you did it using Xcode’s visual Interface Builder tool or by code.

Comments