Introduction
With iOS 9, OS X El Capitan, and watchOS 2, Apple introduced a brand new framework, Contacts. This framework provides an object-oriented approach to working with the user's contact information and replaces the function-based Address Book framework.
In this tutorial, we are going to reimplement the basic functionality of the Contacts app on iOS so that you can learn how these new APIs work.
Prerequisites
This tutorial requires that you are running Xcode 7+ on OS X Yosemite or later. You will also need to download the starter project from GitHub.
1. Accessing Contacts
We're first going to use the Contacts framework to access the user's contacts and display them in a table view. Open the starter project and go to MasterViewController.swift.
If you scroll to the top of the file, you can see that I've already added an import statement for the Contact framework. This gives us access to the classes, protocols, and constants defined in the framework.
import Contacts
In the MasterViewController class, replace the empty implementation of the getContacts() method with the following. Make sure that you also add the retrieveContactsWithStore(_:) method shown below.
func getContacts() {
    let store = CNContactStore()

    if CNContactStore.authorizationStatusForEntityType(.Contacts) == .NotDetermined {
        store.requestAccessForEntityType(.Contacts, completionHandler: { (authorized: Bool, error: NSError?) -> Void in
            if authorized {
                self.retrieveContactsWithStore(store)
            }
        })
    } else if CNContactStore.authorizationStatusForEntityType(.Contacts) == .Authorized {
        self.retrieveContactsWithStore(store)
    }
}
func retrieveContactsWithStore(store: CNContactStore) {
    do {
        let groups = try store.groupsMatchingPredicate(nil)
        let predicate = CNContact.predicateForContactsInGroupWithIdentifier(groups[0].identifier)
        //let predicate = CNContact.predicateForContactsMatchingName("John")
        let keysToFetch = [CNContactFormatter.descriptorForRequiredKeysForStyle(.FullName), CNContactEmailAddressesKey]

        let contacts = try store.unifiedContactsMatchingPredicate(predicate, keysToFetch: keysToFetch)
        self.objects = contacts
        dispatch_async(dispatch_get_main_queue(), { () -> Void in
            self.tableView.reloadData()
        })
    } catch {
        print(error)
    }
}
Let's go through this code step by step. We create a CNContactStore instance and this object is used to communicate directly with the Contacts system on iOS. We then check the authorization status of CNContactStore. If it is undetermined, we request authorization and retrieve the contacts if successful. If the application is already authorized, we immediately fetch the user's contacts.
In the retrieveContactsWithStore(_:) method, we wrap our code in a do-catch statement because two of the methods we use are throwing methods. You can read more about throwing methods and error handling on Envato Tuts+.
In the do clause, we fetch the contact groups on the device. Using the CNContact class, we create an NSPredicate object that matches all contacts within the first of the groups we just retrieved.
We then create an array that contains a number of constant keys. These keys directly relate to the information your app has access too. For any keys you don't specify (for example, phone number) your app won't be able to access that information. When working with the Contacts framework, this is referred to as a partial contact as you don't have access to all of a contact's information.
Using the store object, we retrieve the contacts matching the predicate we created earlier and with the specified keys. We assign the result to the view controller's objects array to be displayed in the table view. We force the table view to reload on the main thread. This is important because fetching the contacts is performed on a background thread.
There are a few key things to take note of:
- The
descriptorForRequiredKeysForStyle(_:)class method used onCNContactFormatteris a convenient way to easily add all of the keys needed to view a contact's name. - The predicate you create doesn't have to be for a contacts group. It can be one of many things, including searching for a matching name for example.
let predicate = CNContact.predicateForContactsMatchingName("John")
- In the Contacts framework, there is no way for your app to directly access every single contact. That is why we use the above code to retrieve the first contacts group rather than all the contacts.
- When retrieving the contacts, we use the
unifiedContactsMatchingPredicate(_:keysToFetch:)method. What does "unified" mean in this context? If a user has multiple contacts that relate to the same person, they can link these together in the Contacts app. When your app tries to access this user's contacts, rather than returning multipleCNContactinstances, the Contacts framework unifies these together into one object so your app can display information correctly and interpret it easily.
Next, we need to display the contact's information in the table view. In the MasterViewController class, replace the implementation of tableView(_:cellForRowAtIndexPath:) with the following:
override func tableView(tableView: UITableView, cellForRowAtIndexPath indexPath: NSIndexPath) -> UITableViewCell {
    let cell = tableView.dequeueReusableCellWithIdentifier("Cell", forIndexPath: indexPath)

    let contact = self.objects[indexPath.row]
    let formatter = CNContactFormatter()

    cell.textLabel?.text = formatter.stringFromContact(contact)
    cell.detailTextLabel?.text = contact.emailAddresses.first?.value as? String

    return cell
}
We make use of the CNContactFormatter class to easily fetch a String value of the contact's name. We also get the first email address for the contact (represented by a CNLabeledValue object) and get its value. A CNLabeledValue object represents any contact information where a piece of contextual information may be needed. These objects contain just one label and one value. In the following example, words in bold represent an item's label and the words in italic represent their value.
- Home address
- Work phone
- Personal email
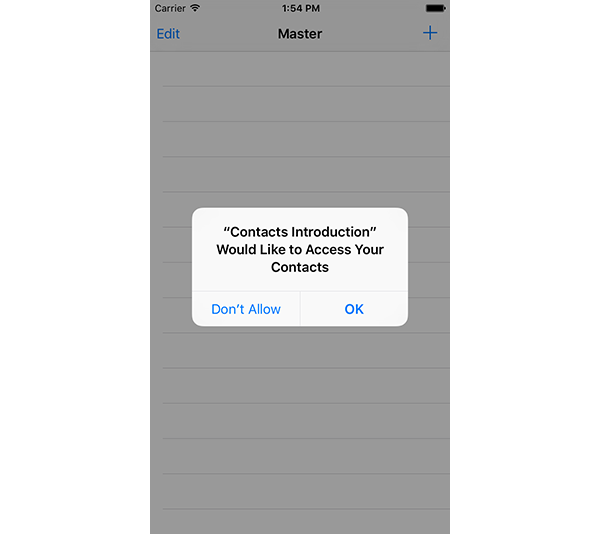
Build and run your app in the simulator. When you run the app for the first time, you should see the following alert.
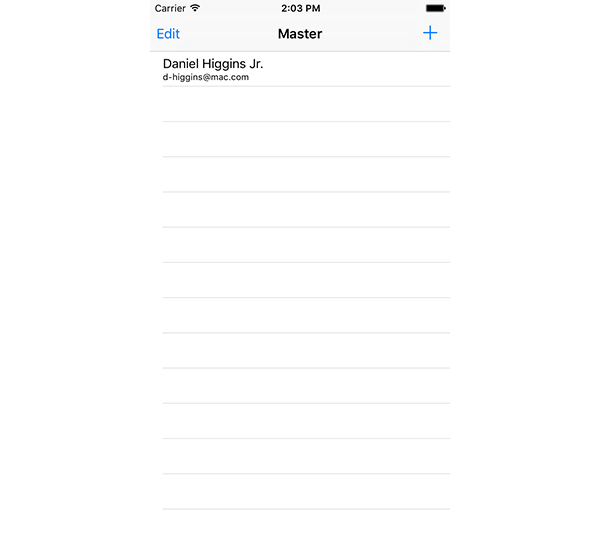
After clicking OK, the table view should display one item as shown below.
It's now time to fill in the detail view when a contact is selected from the table view. When retrieving the contacts, we only fetched enough keys to access a contact's name and email addresses. For the detail view of our app, we also want to display their address as well as a profile picture. To do so, we could add the extra keys in the MasterViewController class when retrieving the contacts. However, we are going to retrieve the same contact again with the keys we need by using the identifier of the contact.
Open DetailViewController.swift and replace the implementation of configureView() with the following.
func configureView() {
    // Update the user interface for the detail item.
    if let oldContact = self.contactItem {
        let store = CNContactStore()

        do {
            let keysToFetch = [CNContactFormatter.descriptorForRequiredKeysForStyle(.FullName), CNContactEmailAddressesKey, CNContactPostalAddressesKey, CNContactImageDataKey, CNContactImageDataAvailableKey]
            let contact = try store.unifiedContactWithIdentifier(oldContact.identifier, keysToFetch: keysToFetch)

            dispatch_async(dispatch_get_main_queue(), { () -> Void in
                if contact.imageDataAvailable {
                    if let data = contact.imageData {
                        self.contactImage.image = UIImage(data: data)
                    }
                }

                self.fullName.text = CNContactFormatter().stringFromContact(contact)

                self.email.text = contact.emailAddresses.first?.value as? String

                if contact.isKeyAvailable(CNContactPostalAddressesKey) {
                    if let postalAddress = contact.postalAddresses.first?.value as? CNPostalAddress {
                        self.address.text = CNPostalAddressFormatter().stringFromPostalAddress(postalAddress)
                    } else {
                        self.address.text = "No Address"
                    }
                }
            })
        } catch {
            print(error)
        }
    }
}
Let's break the implementation down. We get an unwrapped reference to the contact item received from the MasterViewController and we create another CNContactStore instance.
In a do-catch statement, we create another keysToFetch array, this time with the keys for postal addresses, image data, and image data available. We then use the contact store to retrieve a new CNContact instance with the information we need by using the unifiedContactWithIdentifier(_:keysToFetch:) method.
Again, note that we update the user interface on the main thread. We check to see whether or not the contact has image data available to load and turn this into a UIImage object if possible. We populate the fullName and email labels with the correct information.
While not strictly necessary in this example since we know which keys are available, we check to see whether or not our app can access the contact's postal addresses information. Note that this step is just an example but should always be done with contacts if you are unsure about which information you can access.
We retrieve the contact's first postal address (represented by the CNPostalAddress class) and format this into a string using a CNPostalAddressFormatter instance. The CNPostalAddress class functions similarly to the CNContact class but it has different properties, such as street, province, and country.
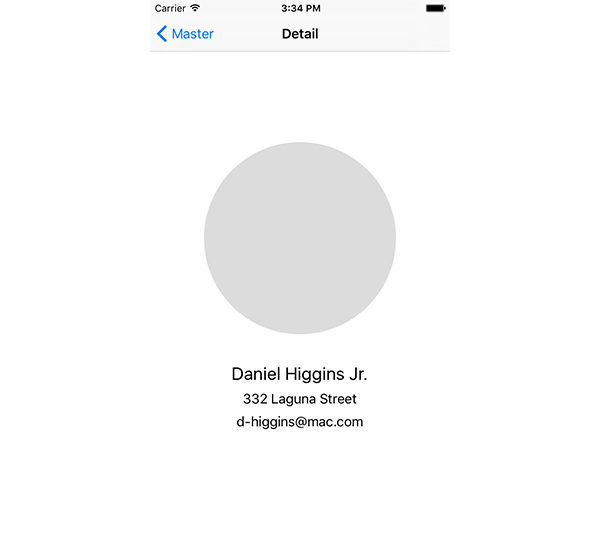
Build and run your app in the simulator and select a contact from the list. The detail view that appears should look something like this:
2. Creating and Updating Contacts
In addition to retrieving contacts, you can also create and update existing contacts using the CNMutableContact and CNSaveRequest classes. Open AddContactViewController.swift and replace the contact property with the following implementation:
var contact: CNContact {
    get {
        let store = CNContactStore()

        let contactToAdd = CNMutableContact()
        contactToAdd.givenName = self.firstName.text ?? ""
        contactToAdd.familyName = self.lastName.text ?? ""

        let mobileNumber = CNPhoneNumber(stringValue: (self.mobileNumber.text ?? ""))
        let mobileValue = CNLabeledValue(label: CNLabelPhoneNumberMobile, value: mobileNumber)
        contactToAdd.phoneNumbers = [mobileValue]

        let email = CNLabeledValue(label: CNLabelHome, value: (self.homeEmail.text ?? ""))
        contactToAdd.emailAddresses = [email]

        if let image = self.contactImage.image {
            contactToAdd.imageData = UIImagePNGRepresentation(image)
        }

        let saveRequest = CNSaveRequest()
        saveRequest.addContact(contactToAdd, toContainerWithIdentifier: nil)

        do {
            try store.executeSaveRequest(saveRequest)
        } catch {
            print(error)
        }

        return contactToAdd
    }
}
We create a CNMutableContact object and assign a givenName and familyName to it. Note that we use the ?? or nil coalescing operator. If the value on the left of the ?? operator is nil, the value on the right is assigned instead.
We create a CNPhoneNumber object to represent the mobile number entered into the text field. We then put this number into a CNLabeledValue object with the constant CNLabelPhoneNumberMobile label. The use of the CNPhoneNumber class is required because phone numbers can be formatted in many different ways in a variety of regions. This class takes a string and creates a phone number value which the rest of the Contacts framework can then work with. The mobileValue is then put into an array and assigned to the mutable contact's phoneNumbers property.
We create a similar CNLabeledValue for the email, giving it the CNLabelHome label. This value is then assigned to the contact's emailAddresses property. We check to see if an image has been assigned to the contact and, if so, assign its raw data to the contact's imageData property.
To save the contact, we create a CNSaveRequest object and call its addContact(_:toContainerWithIdentifier:) method to tell the Contacts framework that we want to create a new contact. By passing nil as the identifier, the new contact will be saved in the default contacts group.
In another do-catch statement, we tell the contact store to execute the save request. Lastly, we return the newly created contact for use in the rest of the app.
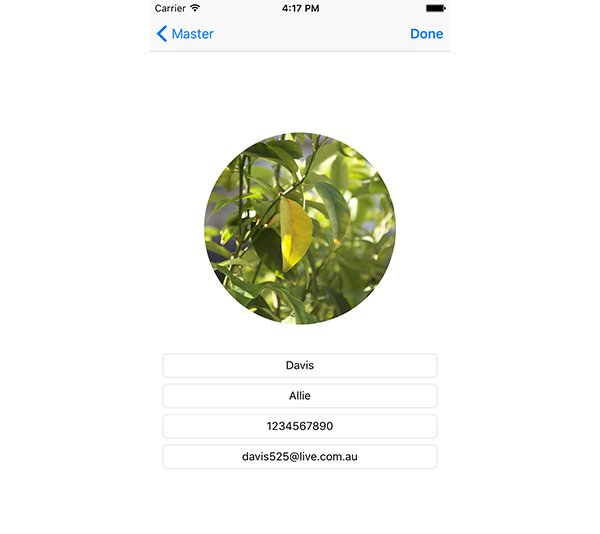
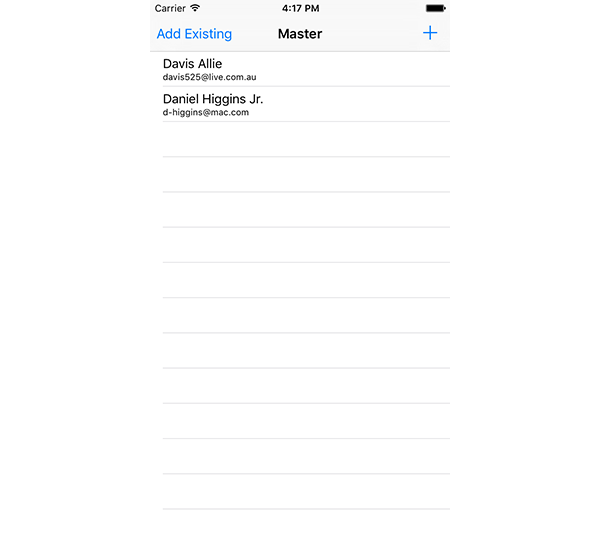
Build and run your app and click the plus button in the top right corner to add a new contact. Fill out the form, add a photo, and click Done. Your new contact should then be added to the table view of the master view controller as shown below.
Updating an existing contact is very similar to creating a new one. While we won't be implementing this in the app, the code for updating an existing contact would be similar to the following:
let contactToUpdate = existingContact.mutableCopy()
contactToUpdate.emailAddresses.append(CNLabeledValue(label: CNLabelWork, value: emailToAdd))

let saveRequest = CNSaveRequest()
saveRequest.updateContact(contactToUpdate)
try store.executeSaveRequest(saveRequest)
3. Contact Picker View Controller
As I mentioned in the first part of this tutorial, the Contacts framework doesn't have an API for directly accessing every contact on the user's device. This is to protect the user's privacy so that apps cannot read all of their contacts and collect information.
Luckily, the framework provides a UIViewController subclass, CNContactPickerViewController, that gives the user access to all the contacts stored on the device.
Revisit MasterViewController.swift and add an import statement at the top for ContactUI.
import ContactsUI
Next, make the MasterViewController class conform to the CNContactPickerDelegate protocol.
class MasterViewController: UITableViewController, CNContactPickerDelegate
Replace the implementation of the addExistingContact() method of the MasterViewController class with the following:
func addExistingContact() {
    let contactPicker = CNContactPickerViewController()
    contactPicker.delegate = self
    self.presentViewController(contactPicker, animated: true, completion: nil)
}
Lastly, add the following method of the CNContactPickerDelegate protocol to the MasterViewController class:
func contactPicker(picker: CNContactPickerViewController, didSelectContact contact: CNContact) {
    NSNotificationCenter.defaultCenter().postNotificationName("addNewContact", object: nil, userInfo: ["contactToAdd": contact])
}
Build and run your app one last time and click Add Existing in the top left corner. A view controller similar to the following should appear:
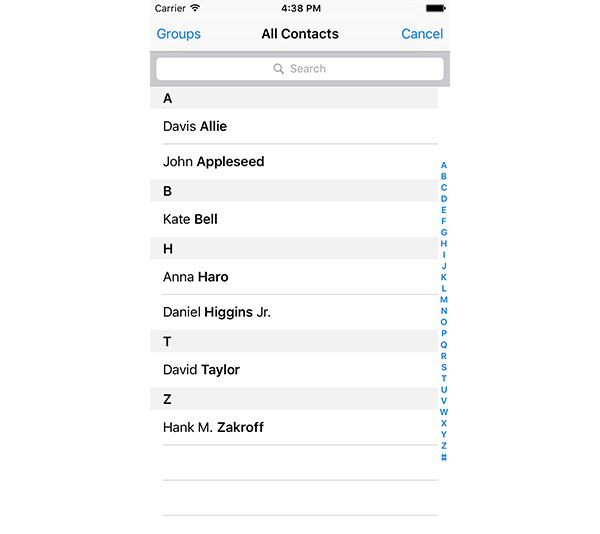
If a contact in the contact picker view controller is selected, the view controller dismisses and the selected contact is added to the table view of the master view controller.
The contact picker view controller also supports multiple selections, depending on the methods that the delegate implements. It can also be customized to access specific properties as well as to filter the contacts it shows based on predicates. For more information, I recommend reading the CNContactPickerViewController class reference and the CNContactPickerDelegate protocol reference.
Conclusion
As you can see, the new Contacts framework in iOS 9, OS X El Capitan, and watchOS 2 is a very well designed and easy to use collection of APIs. You should now be comfortable accessing, creating, and updating contacts on a user's device. As always, be sure to leave your comments and feedback in the comments below.

Comments