Using Node.js, we can create web applications easily. Now, thanks to the node-webkit we can also create desktop apps with it, using a unique combination of HTML5 and Node.
Introduction
The library combines WebKit engine and Node.js in a unique way. Both WebKit and Node share the same context, allowing you to write your code like it's meant to be executed in a browser, but with the addition of all Node's features.
The list of uses is endless. You can create business apps, text and image editors, games, presentations, admin panels, etc. Just name the desktop app that you would like to create, and I can assure you that it will be possible with node-webkit.
In this tutorial, I will show you how to get started by showing you how to create a simple text editor.
Preparation
First, you have to get the library. Download the version appropriate for your operating system (the application itself will run on all of them) from github and unzip it wherever you'd like. Now, lets create a basic folder structure. We will have folders for HTML files (.html) and for JavaScript files (.js). Also, create the package.json file in the same directory that the nw executable is in and a node_modules folder to keep the modules we will create.
Package.json
The first thing to do is to fill the required fields in the package.json file. In the case of node-webkit these are name and main (on Github you can find the full list of available package.json options). The first one is exactly the same as in the case of a plain Node.js app. The second one should be a (relative or absolute) path to the main HTML file that will be displayed upon the application starting. In the case of our example, the package.json file should look like this:
{
	"name": "simple-text-editor",
	"main": "./html/index.html"
}
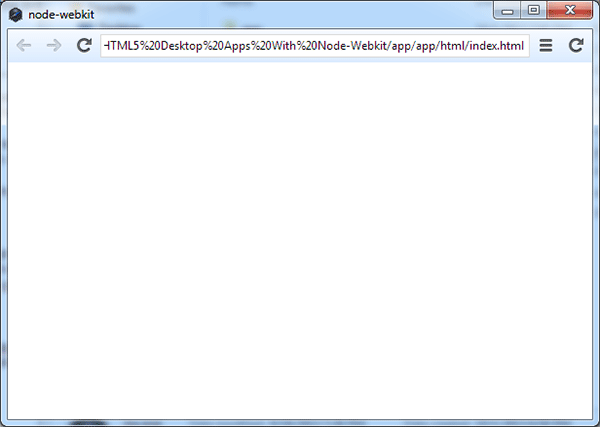
Now if you run your app using the nw executable, you should see a blank screen like this:
The Main File
Creating the user interface using node-webkit is no different than creating a webpage (with the slight difference that you know the rendering engine, so you don't have to provide any fallbacks for older browsers, or use libraries like jQuery - and actually you shouldn't, because they include fallback code that will slow down your app). Let's create an index.html file that we will use:
<!DOCTYPE html>
<html>
<head>
	<title>Simple Text Editor</title>
</head>
<body>

</body>
</html>
Let's also include (and create) the main JavaScript file that we will use, in the body, so it will be executed after the DOM is loaded:
<script src="../js/main.js"></script>
Now the only thing that will change when you open the app will be the title.
Let's Use Some Node
To show you how easily you can use Node.js in node-webkit, let's read the contents of package.json and print it on the screen. Create the js/main.js file and put the following code in it:
var fs = require('fs');

fs.readFile('./package.json', 'utf-8', function (error, contents) {
	document.write(contents);
});
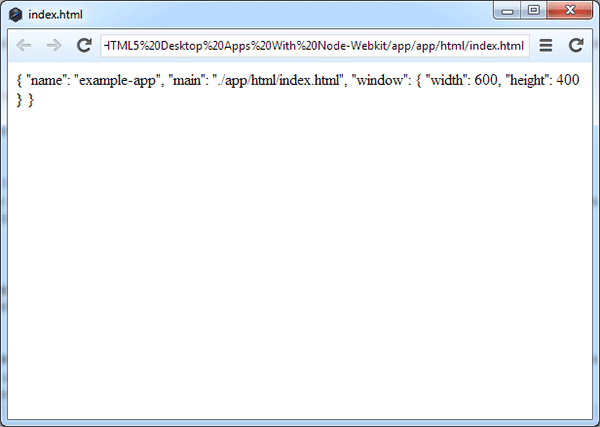
As you can see, the code looks exactly the same as if you were writing it for Node. But then we use document.write to put the file contents on the page. No need to setup any local server.
Now open the app and you should see something like this:
Modules
There is another nice thing about node-webkit; You don't have to include a series of <script> tags in your HTML if you want to split your code into modules. You can do it just like you do in Node.js - using require. Let's create a simple module to read file contents to a textarea or write it to a file. Name the file file.js and put it in the node_modules directory. Now put the overall module structure in it:
var fs = require('fs');

function File() {
	function open(path, document) {

	}

	function save(path, document) {

	}

	this.open = open;
	this.save = save;
}

module.exports = new File;
As you can see this will be a static class with two public methods - one for opening the files and one for saving them.
The open method will look like this:
function open(path, document) {
	fs.readFile(path, 'utf-8', function (error, contents) {
		document.getElementById('editor').value = contents;
	});
}
Pretty simple right? The function accepts the path to the file as the first parameter and puts the file's contents into the element with an id of "editor". We also need to pass the document object to the function because the script is called using Node's require and it doesn't have access to the WebKit stuff directly.
The save method is as simple as the previous one:
function save(path, document) {
	var text = document.getElementById('editor').value;
	fs.writeFile(path, text);
}
Now let's test if everything works. Change the contents of js/main.js to this:
var file = require('file.js');
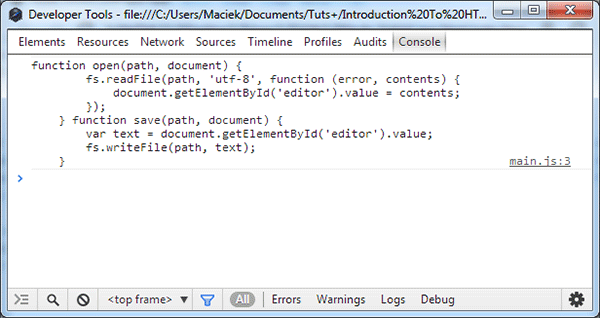
console.log(file.open, file.save);
Now if you go to the developer tools console and click the developer refresh button in the right corner of the window you should see the two functions from this module logged. This is another useful thing in node-webkit - your console.log calls are being displayed in the developer tools console, so it's easier to debug your apps.
Node-Webkit's File Inputs
Let's add two file inputs that we will need later:
<input id="open" type="file" style="display:none" accept="text/*"/>
<input id="save" type="file" nwsaveas style="display:none" accept="text/*"/>
Notice the nwsaveas attribute in the second input. It is a special type of input from node-webkit, that allows the user to select a non-existing file. Both of the inputs are hidden, because we will only access them from JavaScript. In node-webkit, file inputs are modified in a way that allows you to fire a click event on them, so you can open the file dialog without the user clicking on the input (with no need for the workarounds like invisible inputs above the button). Now we can move to the JavaScript.
First, remove the console.log call from the js/main.js file. Now put this code in there:
function clickInput(id) {
	var event = document.createEvent('MouseEvents');
	event.initMouseEvent('click');
	document.getElementById(id).dispatchEvent(event);
}

document.addEventListener('keyup', function (e) {
	if (e.keyCode == 'O'.charCodeAt(0) && e.ctrlKey) {
		clickInput('open');
	} else if (e.keyCode == 'S'.charCodeAt(0) && e.ctrlKey) {
		clickInput('save');
	}
});
This code is responsible for showing the Open and Save dialogs. The clickInput function does the main job here - it simulates the click event on the input element - in a normal browser, this would be impossible from security reasons, but here it's not a security threat at all. Later, there is a normal keyup event handler that checks if the proper key combination was pressed (Ctrl+O or Ctrl+S) and "clicks" on the inputs. Note that this would also be impossible to achieve in a browser - combinations like Ctrl+O and Ctrl+S are reserved for the browser's internal use and no event fires when they are pressed (only Firefox fires events for them).
Now press the developer refresh button and you should see the appropriate dialog when you press Ctrl+S or Ctrl+O. They of course do nothing for now.
Creating the Editor
Now, since we will be creating a text editor, we need something to write on. Add the textarea to the HTML:
<textarea id="editor" style="position:fixed;top:0;bottom:0;left:0;right:0"></textarea>
Next we have to finish the opening/saving code. Let's create the onchange event listeners for the open and save inputs:
document.getElementById('open').addEventListener('change', function (e) {
	file.open(this.value, document);
});

document.getElementById('save').addEventListener('change', function (e) {
	file.save(this.value, document);
});
Thanks to the module created earlier, the code is really simple. This is also possible thanks to node-webkit, because in browsers (again for security reasons) the value of the file input element is set to a fake path - here it's the path which was selected. Now open the app (or press the developer refresh button, if you didn't closed it) and you should have a perfectly working text editor.
Further Enhancements
We can also do a few other things to make the editor a bit more advanced and useful. For example, let's open a new window when a user presses Ctrl+N. First, add this require to the top of the script:
var gui = require('nw.gui');
The nw.gui module is a node-webkit's library related to the user interface (you can read more about this on Node-webkit's Github). Next add this else if to the document's keyup listener:
} else if (e.keyCode == 'N'.charCodeAt(0) && e.ctrlKey) {
	gui.Window.open('index.html');
}
And viola! If you refresh the app, now you can press Ctrl+N to open a new window. This function does differ from the normal window.open though. You can pass various window options as the second parameter. The list of what you can set there is available in the documentation.
Another thing that may be useful in a text editor is an application menu (the one that sits under the title bar in Windows/Linux and on the top of the screen on Mac). In node-webkit it's pretty simple. First, let's create the menu:
var menu = new gui.Menu({ type: 'menubar' });
The type menubar is reserved for the application menu. Now we can add items to it. Let it be a File menu:
menu.append(new gui.MenuItem({
	label: 'File',
	submenu: new gui.Menu()
}));
Now let's add some items to this menu:
menu.items[0].submenu.append(new gui.MenuItem({
	label: 'New',
	click: function () {
		gui.Window.open('index.html');
	}
}));
menu.items[0].submenu.append(new gui.MenuItem({
	type: 'separator'
}));
menu.items[0].submenu.append(new gui.MenuItem({
	label: 'Close',
	click: function () {
		gui.Window.get().close();
	}
}));
menu.items[0] is the first item of our application menu (you can also assign it to a variable when creating it if you want to). We are appending new items to its submenu, and each item gets a click callback to handle the click on it. The gui.Window.get method gets the current window, so we can close it when the user selects the Close option in the File menu.
Finally, we can assign the menu to the window:
gui.Window.get().menu = menu;
Again, we are using gui.Window.get to get the current window, then we are assigning our menu to its menu property. Please note, that even though we can assign a different menu to every window, on OSX (Mac) one app can only have one menu (which is global for all windows), so if you want your app to be used on Macs, you should avoid using different menus on different windows.
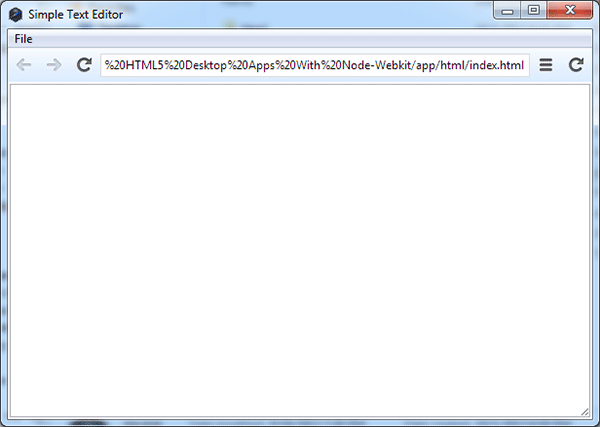
Now if you open or refresh your app, you should see a system menu under the titlebar:
Packaging the App
Now if you would like to share your app with other users, you can package it into one file, so the users can download the node-webkit's executable appropriate to their platform and launch your app with it. First, let's remove the toolbar that makes the window look like a browser - it's nice to have during development, but your users probably don't want to see it. We can achieve this by setting window.toolbar to false in package.json, so it looks like this:
{
	"name": "example-app",
	"main": "./html/index.html",
	"window": {
		"toolbar": false
	}
}
Now if you open the app (nothing will change if you just refresh it, package.json is loaded only on startup), you should see the final result:
Packaging the app is pretty simple. Just create a .zip archive with all your assets (all of the files you created, without the files supplied with node-webkit) and change its extension to .nw. That's all. If a user downloads node-webkit and your package, they only need to put it in the node-webkit's directory and run the nw executable. Detailed descriptions, with a few more tips, are available on the node-webkit's github.
Now your editor is ready to be shipped to your users.
Conclusion
As you can see, node-webkit is a very promising and powerful library. With frequent updates and fixes, and being supported by Intel, there's almost no chance that it will be discontinued, which can sometimes happen with open source projects.
Share your thoughts about this project in the comments below. I personally think it's the best thing out there if you want to create a desktop application using Node.js and HTML.
Also have a look at the selection of useful Node.js and HTML5 scripts and apps on Envato Market.

Comments