Timely and efficient customer service is one of the core components of any successful business. With multiple customer touch points and interaction platforms like blogs, social networks, email etc., keeping track of what your customers are saying about your services is becoming harder by the day. For this reason, managing all your customer communication from a centralised platform has become a mandatory business requirement.
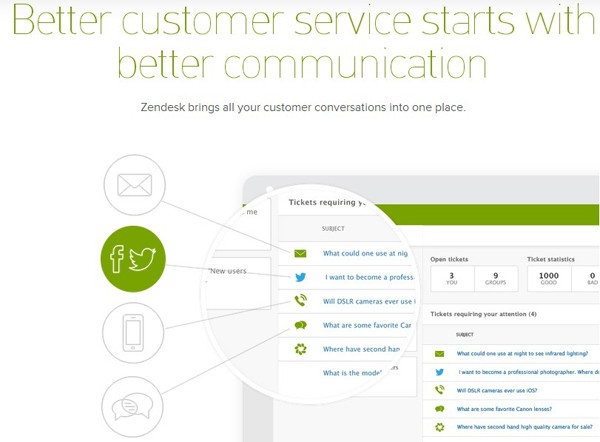
Zendesk is one of the leading web based customer support and relationship management services with more than 40,000 companies as registered clients, including Shopify and Groupon. It integrates all the different customer touch points at a centralised location and helps you address customer issues in a timely manner. It converts customer queries into auto-generated tickets, with unique IDs, that follow the conventional thread format. With Zendesk, you can keep track of customer opinions on social networks like Twitter and Facebook, and address their issues proactively.

Main Features and Benefits
Before we get into the details of setting up Zendesk for WordPress, here's a quick look at some of its main features and benefits.
Voice Calls and Auto Transcription
You can receive voice calls directly on Zendesk or route them to your mobile phone. All the calls and voice mails are automatically transcribed into tickets and added to your central ticketing system.
Email Management
Integrate all your email accounts with Zendesk, store unlimited contacts and send/receive emails using any of your email addresses.
Social Media Management
Connect your Twitter and Facebook accounts with Zendesk and keep an eye on what your clients are saying about your services.
Blog Integration
Integrate Zendesk with your WordPress blog and directly convert any queries, in post comments, into customer service tickets.
Live Chat
Zendesk has its own live chat application, Zopim Chat, that allows you to address urgent customer issues right away.
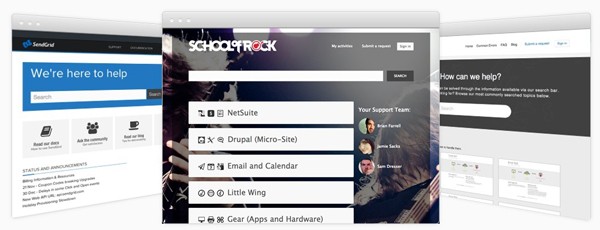
Branding and Customisation
Change the colours, design and looks of your Zendesk account according to your brand so that it seamlessly integrates with your existing website.
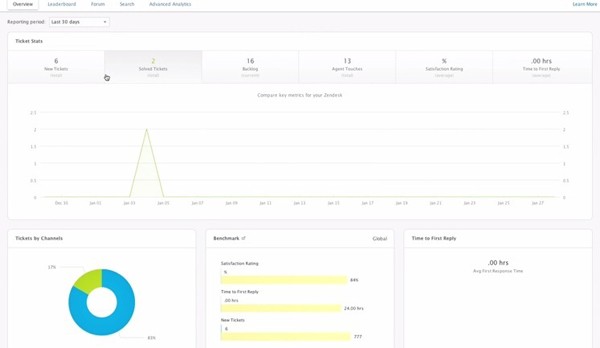
Detailed Analytics and Customer Satisfaction Stats
Zendesk offers comprehensive backend analytics that will help you gauge the performance of your customer services team, details about your clients, customer satisfaction levels, and even measure your performance against industry benchmarks.
Integration With Other Services
Zendesk is supported by more than 100 versatile apps that can be integrated with it, including services like Shopify, Agile CRM, Cart 66 and many others.

Zendesk Signup and Installation
Zendesk can be used separately or as a part of your WordPress website. It has an official WordPress plugin that can be configured to receive customer queries directly from your blog or website. Here's the step by step configuration process.
Step 1
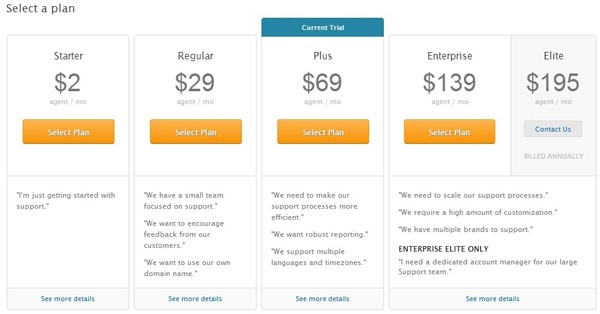
Before configuring Zendesk for WordPress, you'll need to sign up for a free trial account on the Zendesk website.
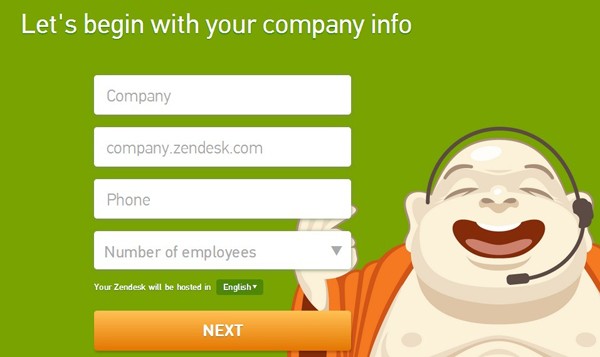
Step 2
Once you submit your sign up details, Zendesk will assign you a subdomain. Your free trial will be valid for 30 days, after which you'll need to pay for their services.
Step 3
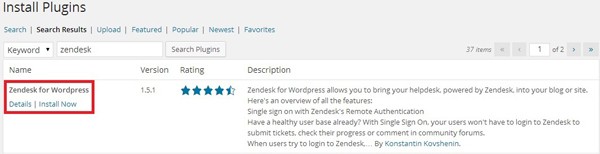
Once you have your Zendesk subdomain, head over to your WordPress site and download the official Zendesk plugin from the WordPress plugin directory.
Step 4
After you install and activate the plugin, Zendesk will appear below the Settings option in the left menu of your WordPress dashboard. The plugin's page will look like this.
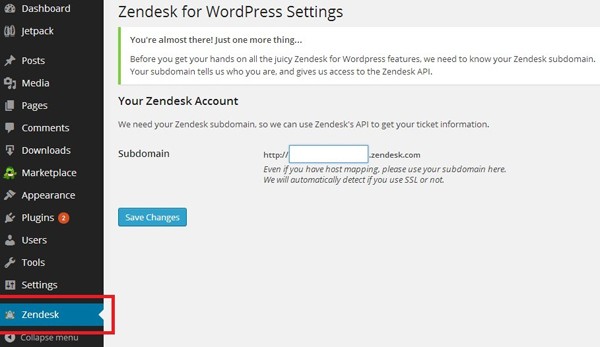
Step 5
As you can see, initially you'll only need to add your Zendesk URL. Once you click the save changes button, you'll see a number of options appear on your screen. Let's take a look at each of them separately.
WordPress Options for Zendesk
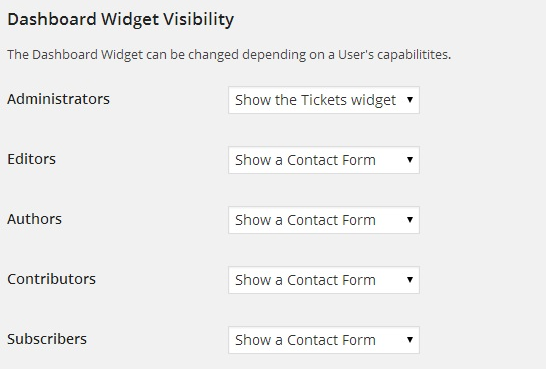
Dashboard Widget Visibility
This section allows you to configure the dashboard view for the administrators, editors, authors, contributors and subscribers of your blog. The drop down menu against each role has the following options:
- Show the tickets widget
- Show a contact form
- Don't display anything
Depending on the nature of your website, you can choose any of these options. The changes will be reflected in the main WordPress dashboard, where you'll need to sign in, in order to access the selected options.
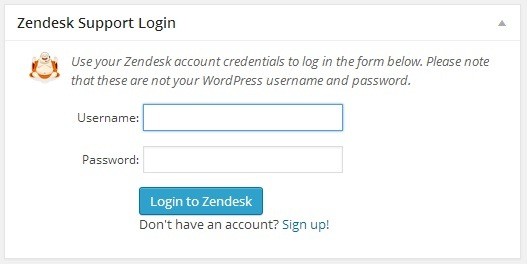
Remember, you'll need to enter your Zendesk login information, not your WordPress account details. Once you're logged in, you'll see the option assigned to your role by the website administrator (Ticket Widget, Contact Form, and Don't Display Anything).
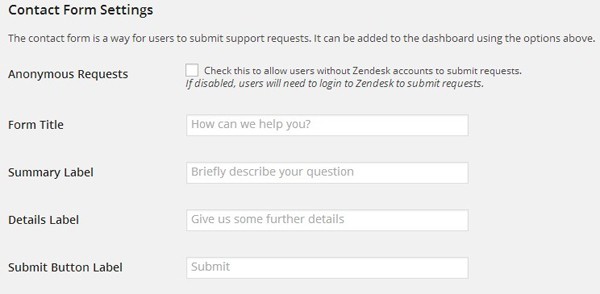
Contact Form Settings and Dashboard View
This is the contact form that will be displayed in the main WordPress dashboard of the user roles that the administrator assigns. You can enter a form title, a brief question or message, a text box label and a submit button label.
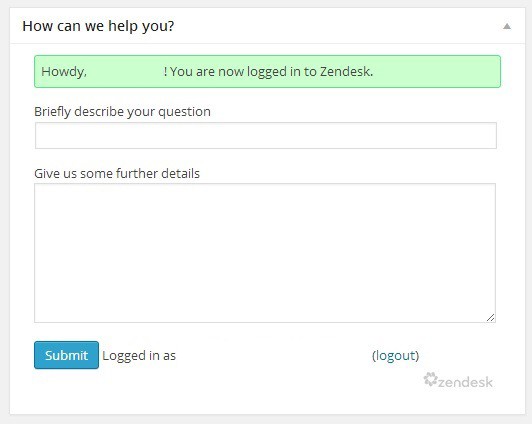
This is how it will appear in the WordPress dashboard of the users who are logged in to their Zendesk accounts. You can also check the option above the contact form, to allow unregistered user queries.
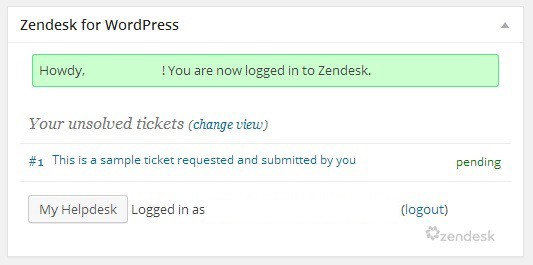
If you choose the Show Ticket Widget option, a list of your pending or unresolved tickets will appear in your main WordPress dashboard.
Once you complete these settings, you'll see a Convert to Zendesk Ticket option when you hover your mouse over any comments on your blog. When you click on this link, you'll be able to respond to the comment, and at the same time, convert it into a ticket on Zendesk that will be added to the central ticket list.
Dropbox Settings
Zendesk dropbox allows users to display a support tab in the corner of your screen that users can click to contact you, through a pop-up form. You can configure its visibility from the drop down menu, but, just in case you want to display the dropbox on selected pages only, you'll need to add the dropbox code from the dropbox configuration page on the Zendesk website.
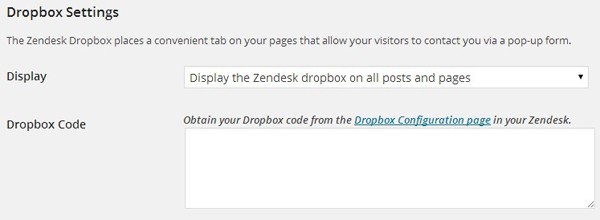
The process is not very complex, and only requires you to enter some basic information about your dropbox pop-up. Once you have the code, copy and paste it into the dropbox code area.

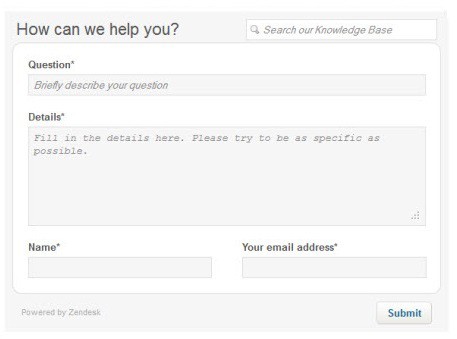
You can now activate the dropbox popup for selected pages by using the template tag on those pages. Here's what the popup will look like:
Summary
There are several other options in Zendesk that allow further customisation of its services, and allow you to brand it according to your business' needs, and I've intentionally limited this tutorial to the integration and configuration of the Zendesk WordPress plugin.
But, even with its most basic options, Zendesk is an effective tool to create more engaging customer touch points, gather more comprehensive customer insights, and develop the overall customer services division of your business into a more meaningful unit that can add direct value to your products and services.

Comments