Did you know you can use Gravity Forms to sell items on your WordPress site? If you already have the developer's version of Gravity Forms, or if you were looking for a reason to buy it, Gravity Forms might be a good eCommerce solution for you.
What Is Gravity Forms?
If you're not familiar with Gravity Forms, it's a paid plugin that allows you to make incredibly complex forms with simple drag and drop functionality. There are so many really good free plugins out there that I rarely promote paid plugins, but Gravity Forms is one of the few that I feel is completely worth the cost, especially if you will be creating several forms. The time you save pays for the cost of the plugin.
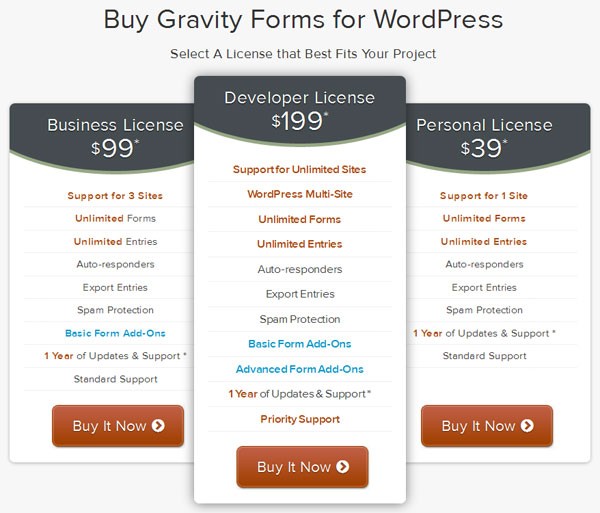
You can purchase Gravity Forms at www.gravityforms.com. There are three levels to choose from, ranging from $39 to $199, which includes one year of support and updates. Your form will still work on your site after that year, but if you need to make changes to your form or add new forms in the future, you may need a new license. The good news is that you can renew your license for 50% off the regular rate. I have also had good luck finding coupons for Gravity Forms at RetailMeNot.
If you want to be able to accept online payments, you will need the developer license that comes with the Advanced Form Add-Ons.
Is Gravity Forms the Right eCommerce Solution for You?
Gravity Forms isn't a replacement for a full shopping cart functionality, but it could be the right solution if you want to:
sell tickets for an event that requires registration
accept donations of different amounts online
sell something that requires users to fill out a form
have just one or two items to sell, even if those items have several options
Gravity Forms is great at creating purchasing forms. If you need advanced order management or inventory tracking, you are probably better off using a full eCommerce shopping cart solution like WooCommerce. Gravity Forms also works with Easy Digital Downloads.
How to Use Gravity Forms to Create Products
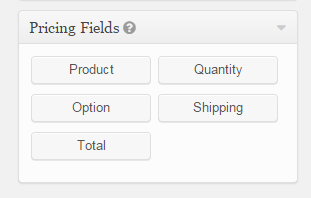
To set up the item you want to sell with Gravity Forms, you need to create a new form. Along with the usual form fields like name, address, email, phone number, etc., Gravity Forms also has Pricing Fields, which you will use to create your product. I'm going to go over each field so you can see all the options that each one offers for customizing your product.
Product Field
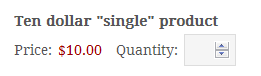
This field has a lot more options than it first appears. When you choose this field, your first option is a Single Product, which will show the product name and a price. You can choose to show or hide the quantity field. This is how it will look on your form:
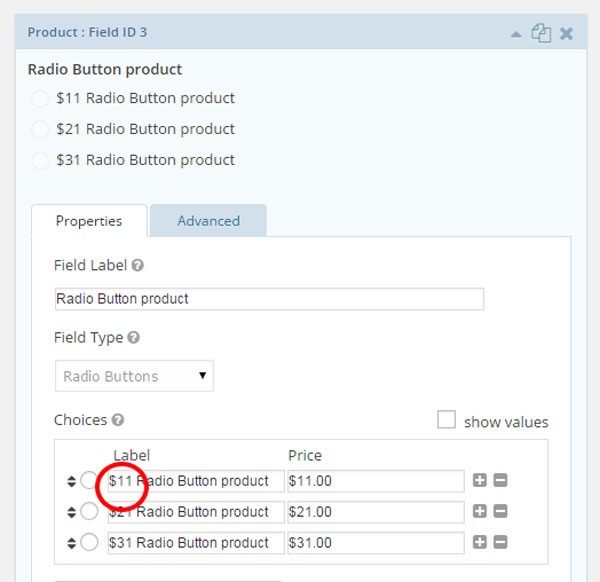
You also have the option of choosing a Drop Down Product or a Radio Button Product. As you can see, this allows you to use different pricing for the same product. This option is good for charging more for different item choices or offering different levels of a donation or subscription.
You should note that on all of these I have written the price in the name field so that it shows up. Otherwise, only the name would show up and not the price. This is how it looks in the back end.
Finally, you can also set up a product with a User Defined Price. This might come in handy if you want a supporter to be able to choose the amount of their donation. It looks like this in your form:
Quantity Field
The Single Product field has the option of having the quantity with it, but if you are going to be using one of the other types of product fields, like the drop down or the radio button, and you want to allow customers to be able to select a quantity, just add this field. Once you choose this field, simply select which product you want it associated with in the drop down field. This is what the back end looks like:
Once you choose the product that it will be associated with, you will see that the next choice is an option for Field Type. Instead of allowing the customer to type in the quantity number, you can use a drop down to limit the number they can purchase, or perhaps have them only purchase in multiples that you specify.
Option Field
Next we have the Option Field which can be used to add options onto your product. They can be options that do not change the cost, like color or size, or they can be options that change the price, like adding on a vase to go with the flowers you ordered, or perhaps an option for gift wrapping.
Just like the quantity field, you will need to associate the option field with a particular product field.
Shipping Field
For this field, you have the option of offering a single price (or flat
rate) shipping. You could also use it to confirm that you have
free shipping by leaving the price at $0. The other options are drop down or radio buttons, but this assumes that there will be one shipping
price per method, so no additional shipping charges will be calculated
by adding additional quantities or options by default.
You can use the drop down or radio buttons to let customers choose between ground shipping and priority, or whatever options you have. However, if you do want the shipping to be dependent on the quantity ordered or some other factor, you will need to use the one Product Field that I didn't mention before: the Calculation Product Field.
Calculation Product Field
This is another option with the Product Field we talked about in the beginning. It can be used to calculate totals and discounts. This little gem can make your cart much more robust. Once you choose calculation as the product field type, you can use the formula to add, subtract, multiply and divide to get the total you want.
You can see from the demonstration above that the field will allow you to insert any field that you have created before and add it, multiply it, etc., with any other field. You can add hidden fields to have the exact equation you want. In the example above, I have multiplied the shipping cost by the quantity, but the possibilities are limitless.
Total Field
Finally we have the Total Field, which simply shows the customer the total of what they are ordering. No need for any calculations here—Gravity Forms will add everything up automatically.
Payment
Gravity Forms has payment add-ons that come with the developer license. They include Authorize.net, three kinds of PayPal, and Stripe. If you choose PayPal Payments Standard, you will not need an SSL certificate for your site because the credit card input will be handled on PayPal's site. But if you want to handle payment directly on your site, you must have that certificate. If you don't have the GF developer's license, there is also the option of using the free Gravity Forms + Stripe plugin. For the sake of this tutorial I will be using the PayPal integration.
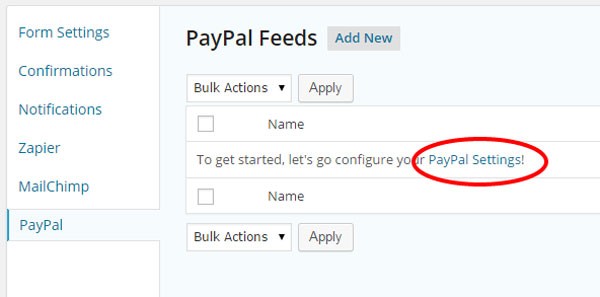
Once you activate the add-on, you will need to go to the form you are creating, and under Form Settings, use the drop down to choose Paypal. You will then need to authorize Paypal to accept funds from your website forms. Click on the PayPal Settings link to get started.
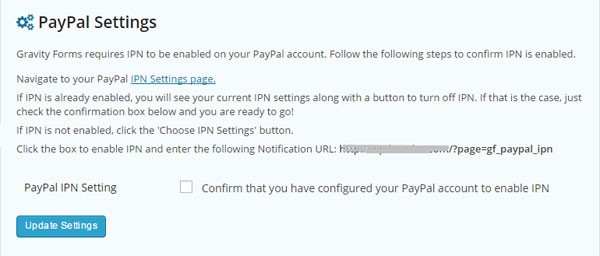
You will then see this page:
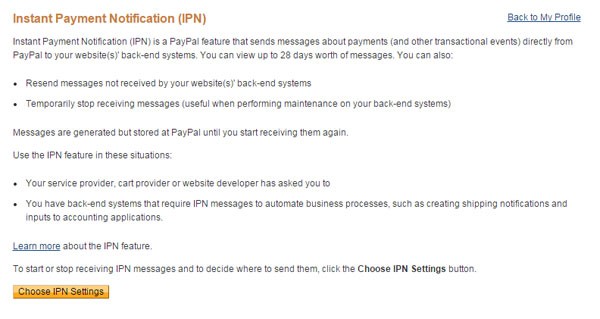
Copy the notification link that it generates for you here and then click on the link for IPN Settings page. You will then be asked to sign in to your PayPal account and will be taken to this page:
Once here, click the yellow button to choose your IPN Settings and paste in the link you just copied from Gravity Forms. Then change the button from "Do not receive" to "Receive" IPN messages and click Save.
Then, navigate back to your Gravity Forms settings and check the box to confirm that you have configured your PayPal account to enable IPN, and then click the big blue Update Settings button.
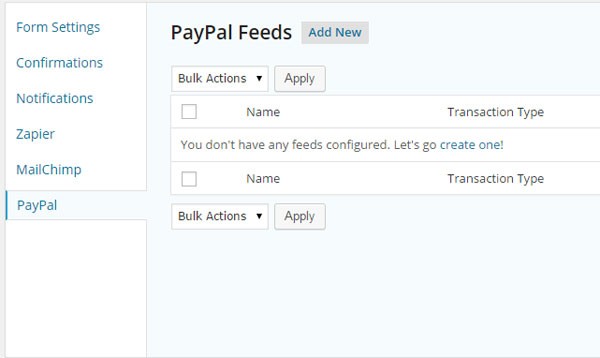
Once this setup is complete, you will need to navigate back to the form you are using and find PayPal under the form settings so that you can create a PayPal feed. Click the create one link.
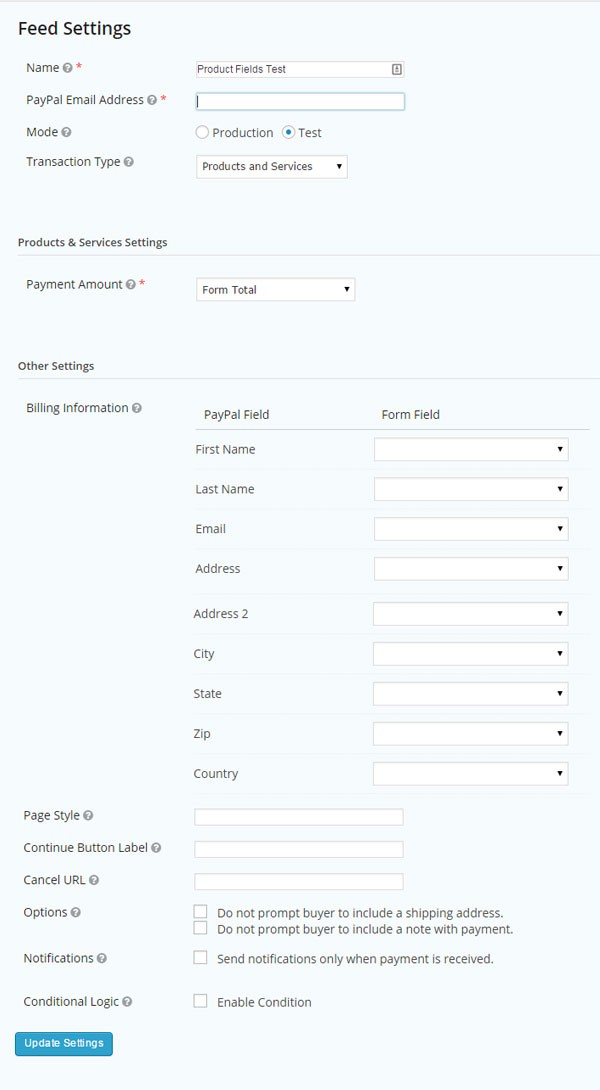
Within the form, if you have asked for the user's name, address, etc., you will be able to map that to the PayPal payment so Paypal will not need to ask them again. You also have the option of using the form in test mode to make sure everything is working correctly before sending the form live.
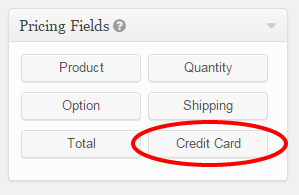
Then, once you go back into your form editor, you will see that you now have a new choice under the Pricing Fields: Credit Card.
Don't be confused by this. You don't need to use it. Once you have set up your PayPal feed for this form, your form submit button (which is automatically added by Gravity Forms) will take customers to the PayPal page where they can make their payment.
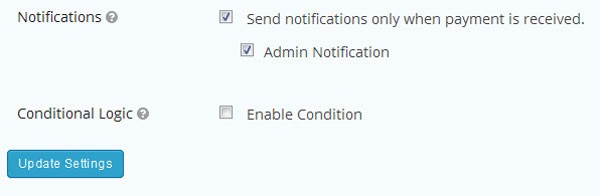
As I mentioned, I am using the simple PayPal Add-On so I don't need an SSL certificate on my site and customers are redirected to the PayPal page when they click the submit button for secure payment. I recommend that you enable the Conditional Logic so that you will only receive a notification when users actually complete the PayPal payment. You can set this up by simply checking the box under Form Settings > PayPal.
Let's Review
Gravity Forms could be the right eCommerce solution for you if have one or two products, even if they are complicated.
It could be a good solution for you if need to get information from users, for example, if they are signing up for a class or event. It could also be a very good solution if you want to accept donations and want to offer more than one standard donation amount or to allow them to choose the amount they wish to give.
Although Gravity Forms doesn't have order or inventory tracking, it does keep track of all the entries you get for each form. For security reasons, by default, Gravity Forms will only store the last four digits of the credit card number in the back end, so don't plan on accessing those credit card numbers later.
Are you planning to use Gravity Forms to sell on your site? I'd love to hear about it.

Comments