RenderScript is a scripting language on Android that allows you to write high performance graphic rendering and raw computational code. Learn more about RenderScript and write your first graphics app that leverages RenderScript in this tutorial.
The RenderScript APIs were formally introduced to the Android SDK in API Level 11 (aka Android 3.0, Honeycomb). RenderScript provides a means of writing performance critical code that the system later compiles to native code for the processor it can run on. This could be the device CPU, a multi-core CPU, or even the GPU. Which it ultimately runs on depends on many factors that aren't readily available to the developer, but also depends on what architecture the internal platform compiler supports.
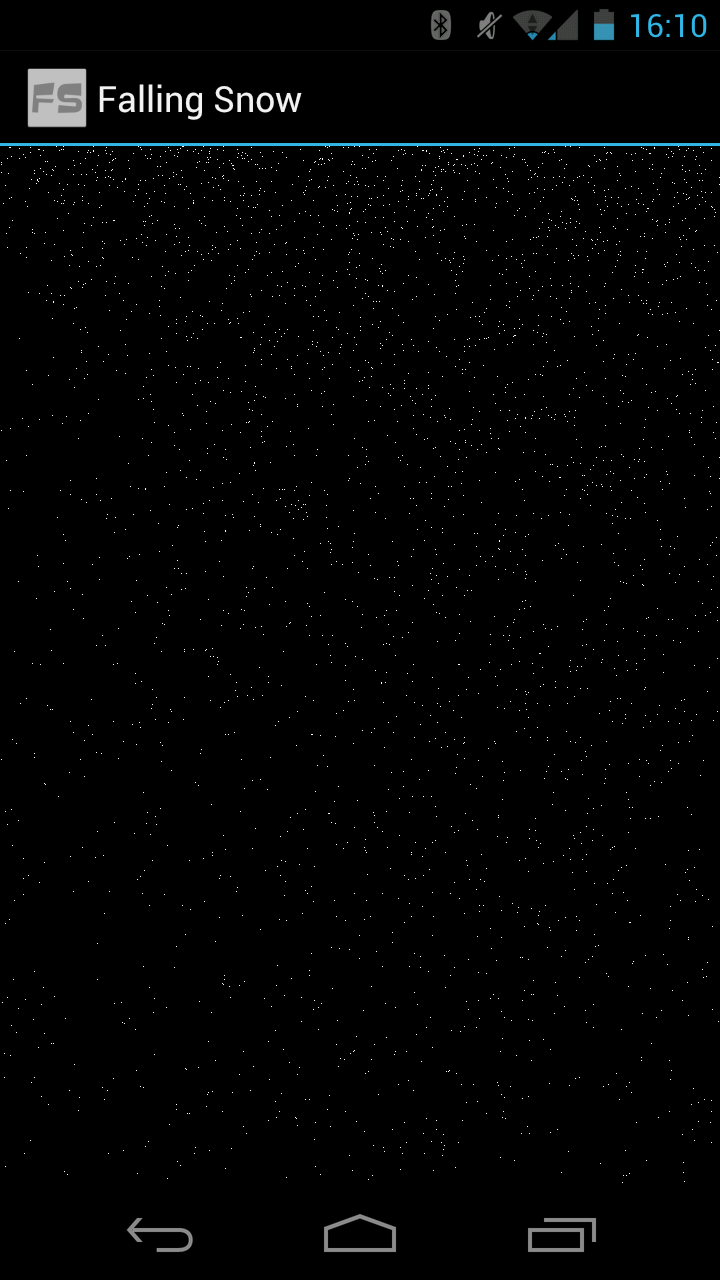
This tutorial will get you started with a simple rendering script we're calling "Falling Snow". It's a particle system where each snowflake is represented by a point that falls, accelerating down the screen. Wind and some other randomness create a mild swirling effect.
Step 0: Getting Started
RenderScript is based on the C programming language. If you're not familiar with C, we recommend that you get familiar with it first before trying to use RenderScript. Although RenderScript is not OpenGL, nor does it require that you use it for graphics rendering, the concepts for using it are similar to OpenGL concepts. Therefore, familiarity with OpenGL and 3D graphics terminology will help.
The open source code for this tutorial is available for download. We recommend using it to follow along. The code listings in this tutorial do not include the entire contents of each file.
Step 1: Creating the Rendering Script
Let's start with the most detailed step and work up to using the script from within a typical Android Activity.
Create a new project file called snow.rs in your src tree, under the package you'll be working in. At the top, define the version of RenderScript you're working with:
#pragma version(1)
Next, set the Java package that this script belongs to, for example:
#pragma rs java_package_name(com.mamlambo.fallingsnow)
We'll use some functions from the RenderScript graphics API, so include that header:
#include "rs_graphics.rsh"
Now, define two functions, root() and init():
int root() {
 // TBD
}

void init() {
 // TBD
}
The root() function will be the entry point of this script. The return value defines whether the script runs once (return 0) or at N-millisecond intervals (return N). If the hardware can't keep up with the requested frequency, then root() runs as often as it can.
The init() function is called once when the script loads and is a good place to initialize variables and other state parameters.
Create a mesh variable that will be initialized on the Android side and create a simple struct to hold information about each snowflake. While you're at it, create a couple of variables to hold wind and gravity values.
rs_mesh snowMesh;

typedef struct __attribute__((packed, aligned(4))) Snow {
    float2 velocity;
    float2 position;
    uchar4 color;
} Snow_t;
Snow_t *snow;

float2 wind;
float2 grav;
Initialize the wind and gravity in the init() function:
	grav.x = 0;
	grav.y = 18;
	wind.x = rsRand(50)+20;
	wind.y = rsRand(4) - 2;
Initialize the snow in its own function:
void initSnow() {
    const float w = rsgGetWidth();
    const float h = rsgGetHeight();

    int snowCount = rsAllocationGetDimX(rsGetAllocation(snow));

    Snow_t *pSnow = snow;
    for (int i=0; i < snowCount; i++) {
        pSnow->position.x = rsRand(w);
        pSnow->position.y = rsRand(h);

        pSnow->velocity.y = rsRand(60);
        pSnow->velocity.x = rsRand(100);
        pSnow->velocity.x -= 50;

        uchar4 c = rsPackColorTo8888(255, 255, 255);
        pSnow->color = c;
        pSnow++;
    }
}
Before we move on, let's talk about the initSnow() function. To start, the width and height of the drawing area are retrieved. Then the script needs to know how many snowflake structures we’ll create. It does this by getting the dimensions of the allocation, which is referenced by the snow pointer. But where is the pointer being initialized and what is an allocation? The pointer is initialized from the Android code. An allocation is one of the means by which memory is managed by the Android code, but used by the script. The internal details aren't important at this time. For our purposes, we can think of it as an array of Snow_t struct objects.
The loop iterates over each structure and sets some random values so the starting scene looks natural.
Now, let's implement a simple root() function that draws the scene without animation. We'll use this to get the rest of the system in place:
int root() {
    rsgClearColor(0.0f, 0.0f, 0.0f, 0.0f);
    rsgDrawMesh(snowMesh);
    return 0;
}
When you save the script project file in Eclipse, the builders will automatically create a file called snow.bc in the /res/raw directory. This automatically generated file should not be checked into source control, nor should it be modified. In addition, some Java files are created in the /gen folder. These are the interface files used for calling into the script from Android.
Step 2: Initializing the Script
Now that the script is created, we need to initialize it for use from within your Android classes. To do this, we've created a helper Java class called SnowRS. In it, we allocate the memory for the snowflakes, initialize the script, and bind the mesh and snowflake allocation to it. This class also uses a RenderScriptGL object. This object is created in the next step as part of the View class we'll make.
public class SnowRS {

    public static final int SNOW_FLAKES = 4000;
    private ScriptC_snow mScript;

    protected int mWidth;
    protected int mHeight;
    protected boolean mPreview;
    protected Resources mResources;
    protected RenderScriptGL mRS;

    public SnowRS(int width, int height) {
        mWidth = width;
        mHeight = height;
    }

    public void stop() {
        mRS.bindRootScript(null);
    }

    public void start() {
        mRS.bindRootScript(mScript);
    }

    public void init(RenderScriptGL rs, Resources res, boolean isPreview) {
        mRS = rs;
        mResources = res;
        mPreview = isPreview;
        mScript = (ScriptC_snow) createScript();
    }

    public RenderScriptGL getRS() {
        return mRS;
    }

    public Resources getResources() {
        return mResources;
    }

    public ScriptC createScript() {
        ScriptField_Snow snow = new ScriptField_Snow(mRS, SNOW_FLAKES);
        Mesh.AllocationBuilder smb = new Mesh.AllocationBuilder(mRS);
        smb.addVertexAllocation(snow.getAllocation());
        smb.addIndexSetType(Mesh.Primitive.POINT);
        Mesh sm = smb.create();

        ScriptC_snow script;
        script = new ScriptC_snow(mRS, getResources(), R.raw.snow);
        script.set_snowMesh(sm);
        script.bind_snow(snow);
        script.invoke_initSnow();
        return script;
    }
}
In particular, let's look at the createScript() method. The first section creates the structure array with 4,000 entries (SNOW_FLAKES = 4000). It then uses this to create a mesh object, used for rendering. The rendering construct is set to POINT, so each snowflake will show up as a pixel on the screen.
Next, we initialize the script itself, using the raw resource entry created by the Eclipse builder. Then we assign the mesh and the array allocation into the script via the calls set_snowMesh() and bind_snow(), respectively. Finally, we initialize the snow with a call to the initSnow() function we created earlier by calling invoke_initSnow().
The script does not start running at this point, but the init() function has been called. To get the script running, call bindRootScript() on the script object, as seen in the start() method.
Step 3: Rendering to a View
The Android SDK provides just the object we need for output of the RenderScript: the RSSurfaceView class. Implement a class called FallingSnowView that extends this class, like so:
public class FallingSnowView extends RSSurfaceView {
	private RenderScriptGL mRSGL;
	private SnowRS mRender;

	public FallingSnowView(Context context) {
		super(context);
	}

    @Override
    public void surfaceChanged(SurfaceHolder holder, int format, int w, int h) {
        super.surfaceChanged(holder, format, w, h);

        if (mRSGL == null) {
            RenderScriptGL.SurfaceConfig sc = new RenderScriptGL.SurfaceConfig();
            mRSGL = createRenderScriptGL(sc);
            mRSGL.setSurface(holder, w, h);
            mRender = new SnowRS(w, h);
            mRender.init(mRSGL, getResources(), false);
            mRender.start();
        }
    }

    @Override
    protected void onDetachedFromWindow() {
        if (mRSGL != null) {
            mRSGL = null;
            destroyRenderScriptGL();
        }
    }
}
The surfaceChanged() method creates a RenderScriptGL object from the SurfaceHolder passed in, as needed. Then our SnowRS object is created and rendering is started.
Step 4: Completing the App
Everything is in place to use the FallingSnowView class within an Activity class. The onCreate() method of your Activity class could be as simple as this:
    public void onCreate(Bundle savedInstanceState) {
        super.onCreate(savedInstanceState);
        snowView = new FallingSnowView(this);
        setContentView(snowView);
    }
Step 5: Animating the Snow
But wait! That's just a static image. Not very interesting, is it? Let's return to the snow.rs file and edit the root() function. For some simple pseudo-physics-style simulation, you'll want to iterate over each snowflake and apply its current velocity and wind to its position. Then adjust the velocity based on gravity acceleration. Finally, check to see if any snow has fallen off the bottom of the screen. The complexity level and efficiency of coding here will impact what sort of frame rate you'll ultimately get. We’ve tried to keep it really simply for this tutorial.
Here's what we've done:
int root() {
    // Clear to the background color
    rsgClearColor(0.0f, 0.0f, 0.0f, 0.0f);

    // time since last update
    float dt = min(rsGetDt(), 0.1f);

    // dimens
    float w = rsgGetWidth();
    float h = rsgGetHeight();

    int snowCount = rsAllocationGetDimX(rsGetAllocation(snow));

    Snow_t *pSnow = snow;

    for (int i=0; i < snowCount; i++) {

        pSnow->position.x += ((pSnow->velocity.x +wind.x) * dt);
		pSnow->position.y += ((pSnow->velocity.y +wind.y) * dt);

		if (pSnow->position.y > h) {
			pSnow->position.y = 0;
			pSnow->position.x = rsRand(w);
			pSnow->velocity.y = rsRand(60);
		}

		pSnow->velocity.x += (grav.x)*dt;
		pSnow->velocity.y += (grav.y)*dt;

        pSnow++;
    }
    rsgDrawMesh(snowMesh);

	if (rsRand(32) == 1)  {
		wind.x = 0-wind.x;
	}

    return 30;
}
And here it is in motion:
Step 5: Advanced Topics
This tutorial has just scratched the surface of what RenderScript can do (Haha, get it? Surface?). You can use a RenderScript compute script to apply graphical effects to bitmaps. You can add shaders to leverage device graphics hardware to draw the scene differently. You can set up transformations to draw in a 3D space. You can configure textures to draw. There’s a lot more you can do with RenderScript.
While RenderScript is more limiting than using OpenGL ES in the 3D rendering area, the addition of compute-only RenderScript adds some welcome capabilities. Drawing a quick 3D scene using RenderScript may be more efficient, coding-wise, than using OpenGL. Using RenderScript for heavy computation or image manipulation may be faster to develop, and perform better than similar NDK solutions (due to automatic distribution across hardware cores). Unlike when developing with the Android NDK, you don't have to worry about the underlying hardware architecture.
The main downside of RenderScript is the lack of portability of existing code. If you already have OpenGL code or computational functions in C that you want to leverage in your Android apps, you may want to just stick with the Android NDK.
Conclusion
This tutorial has given you a taste of using RenderScript with your Android applications. You learned the basics of writing and initializing a script, and rendering to the screen. All of this was done in the context of a simple particle system simulating pixel-sized snowflakes.
Let us know what cool RenderScript apps you build in the comments!
About the Authors
Mobile developers Lauren Darcey and Shane Conder have coauthored several books on Android development: an in-depth programming book entitled Android Wireless Application Development and Sams Teach Yourself Android Application Development in 24 Hours. When not writing, they spend their time developing mobile software at their company and providing consulting services. They can be reached at via email to [email protected], via their blog at androidbook.blogspot.com, and on Twitter @androidwireless.
Need More Help Writing Android Apps? Check out our Latest Books and Resources!


Comments