Anyone who has read my tutorials knows that I'm a big fan of Gravity Forms. I don't often promote paid plugins because there are just so many good free plugins out there, but when it comes to forms, there is just no easier, more flexible way to create the exact form you need than with Gravity Forms.
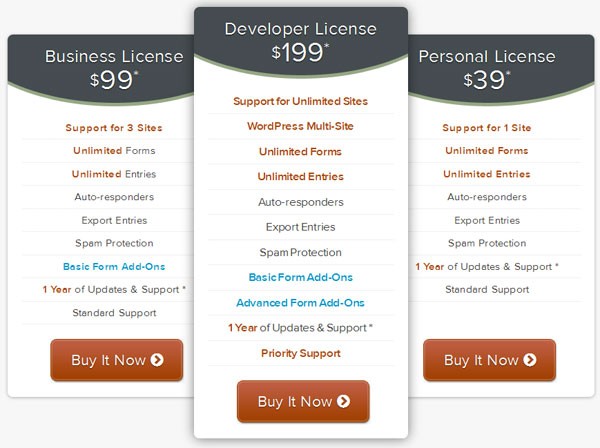
Because I use Gravity Forms on almost all the sites I create, I use the developer's version, which has some really important features. In order to integrate your Gravity Forms with Zapier, the $199 Developer License version is required with the Advanced Add-Ons.
But I've heard feedback from clients and other developers who have a hard time with Gravity Form's export feature, which only allows you to export to a .csv file. While the CSV file can usually be easily converted to an Excel spreadsheet, this can sometimes cause problems and complications. One way to get around this problem is to export the answers straight to a Google Docs spreadsheet, which can easily be converted to Excel. Enter Zapier.com.
Zapier actually has 80 different ways to integrate Gravity Forms with other common apps including Salesforce, Zendesk, SugarCRM, etc, but today, I'd like to talk about how it can integrate with Google Spreadsheets.

Before we begin, you need to sign up for a Zapier account. If have a small website, they even offer free accounts. If have a bigger website, it may well be worth the price to make your life easier. For the purposes of this tutorial, I am using a free account.

You'll notice each level allows a certain number of "zaps". Zaps are like triggers - when one thing happens (in our case, someone submits a form), then something else happens (here - that form submission will be added to our Google Spreadsheet). So, we will be setting up one "zap".
Each time someone submits a form, that is one task. The free version allows for 80 people to submit forms per month. Once you learn all the other integrations Zapier can create, you may want to set up more zaps.
Once you signup for you Zapier account, you will be taken to this screen to make your first Zap.
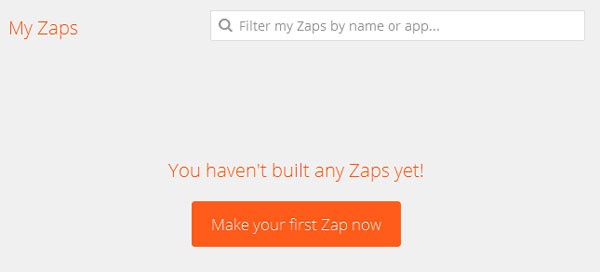
Step 1: Click on the "Make your first Zap now" button and you will be taken here:
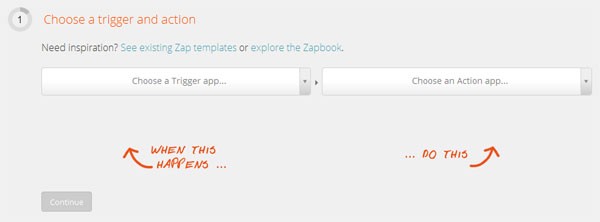
For this example, I have a sign-up sheet for a class I am offering. I want to be able to share the sign-ups with other people involved in the class. So my trigger will be the Gravity Form I am using for sign-ups. Use the handy search feature since there are so many apps to choose from.
Then choose the action - what you want to happen when a new form is submitted. For this case, it doesn't specifically say Google Spreadsheet, so we will choose Google Docs.
Step 2: Once you've made your selections, simply press the Continue button and you will be taken to this page:
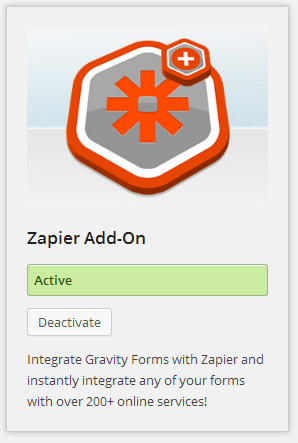
You will now need to make sure the Zapier add-on is activated with your Gravity Forms installation. As I mentioned earlier, you will need the Developer version of Gravity Forms. Find it under Forms > Add-Ons and click the Install button to easily activate it.
Once the Add-on is installed and activated, find the form you want to use and go to Form Settings > Zapier
Then you will be taken to this page where you can set up your feed.
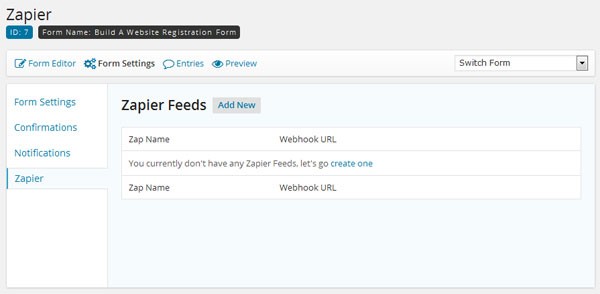
Click on the "create one" link you see in blue. Then you will be asked to create a Zap Name. This name is for you so you will remember what the Zap is for, so name it whatever you like. I'm going to name mine "Registration Form".
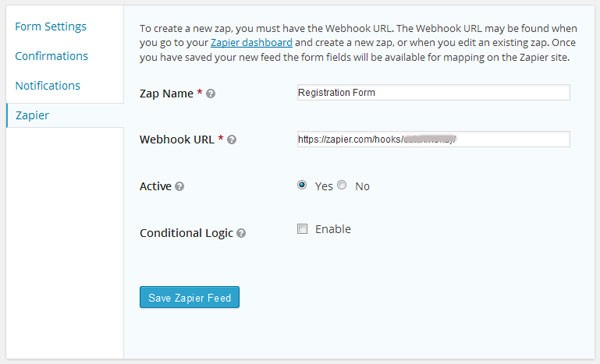
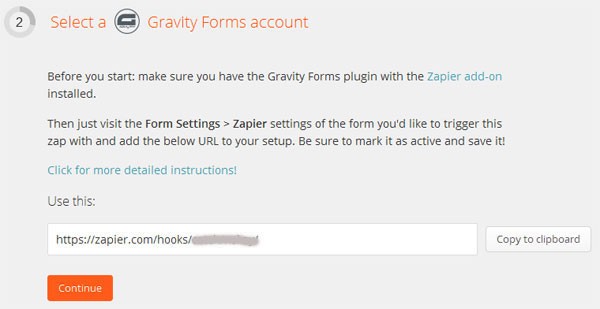
The Webhook URL is the URL you were given back on the Zapier page, so go back there and copy and paste it here. It should be active by default and click the blue button to save your Zapier feed. Once this is done, go back to your Zapier page and click Continue.
Step 3: Then you will be asked to select a Google Docs account.

When I pressed this "Connect a Google Docs Account" button, I got this pop-up:
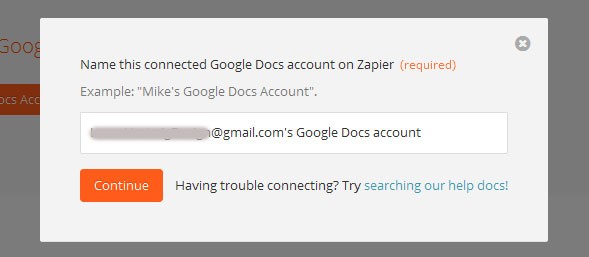
Note: The label that you see here is just a generic label. It had automatically given me the name of my gmail account that I had logged in with on that browser; however, I was actually logged into a different Gmail account than the one I wanted to use, so when I clicked on the Continue button, it first connected me to the wrong account.
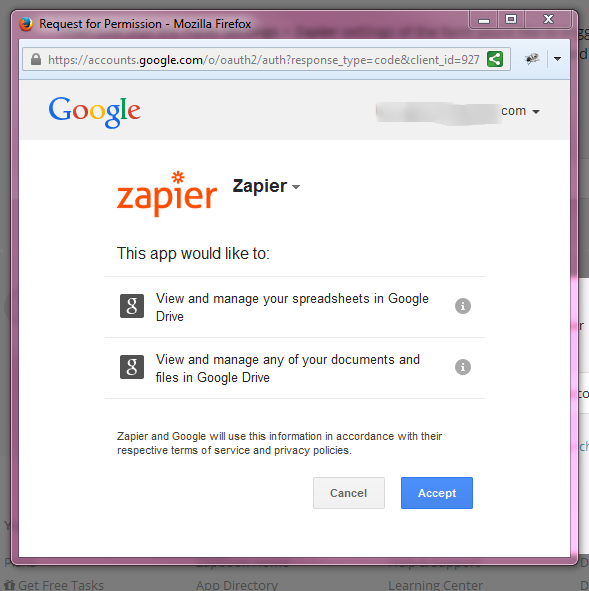
I had to log out and log back into the correct account. Then I got this next pop-up. At the top right of the pop-up, you can log out and log into the account you want, but to simply things, I recommend that you be logged into the account you want before you do this step. Once you are happy that you have the correct account, click the Accept button.
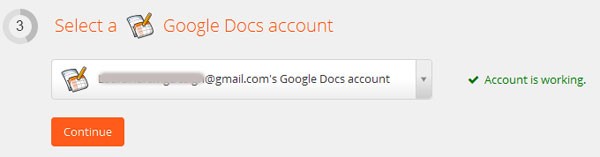
If you've done it correctly, you will see the "Account is working" note in green to the side. Then you can click the Continue button.
Step 4 is where it gets a little confusing.
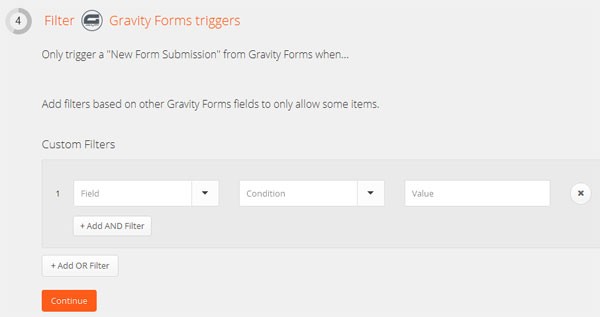
I went to add my first filter field and I got this pop-up:
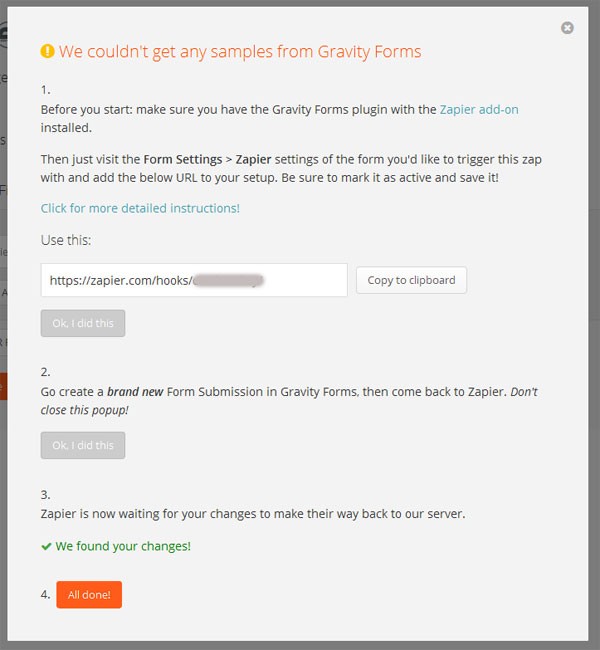
I had already set up the Zapier add-on, but for some reason, Zapier wasn't picking it up. At first I thought #2 was saying that I needed to create a new form, which I didn't want to do because I already had the form set up, but then I realized that the form just needed a new submission.
So I went to where the form was on my site and entered test values in all the fields and clicked submit. Once I did that, Zapier was able to find my form and connect. A special note here: I actually did not have my form live when I was trying to connect it, so that might have been part of the problem. Hopefully you won't run into this problem at all, but if you do, it's easy enough to fix.
So, I was finally able to click the All Done button and the drop downs were now mapped to my form. You will need to select one of your fields and then choose a condition. Here you can see the fields from my form and the test answers that I submitted.
For the condition option, I ended up choosing the last option which was "Exists", then clicked Continue.
Step 5: Then it was time to match up my form to my Google Docs spreadsheet Row. Before you get to this step, you need to actually create your spreadsheet in Google Drive.
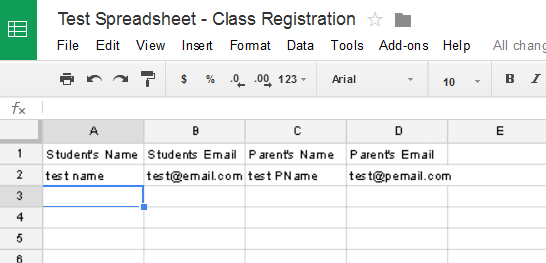
I called my spreadsheet "Test Spreadsheet - Class Registration". As soon as I created it I was able to find it in the drop down in part five on Zapier and select it. For the Worksheet selection, I'm planning on my spreadsheet having only one page, so it brought up that worksheet and I selected it.

I simply created my spreadsheet but I had not yet formatted it, so Zapier asked me to do so.

I added the headers and a test row so it looked like this:
Then I refreshed the page to update the info. A pop-up appeared asking me if I wanted to leave the page and I went ahead and accepted. Once the refresh of the Zapier page was done, my headers showed up.
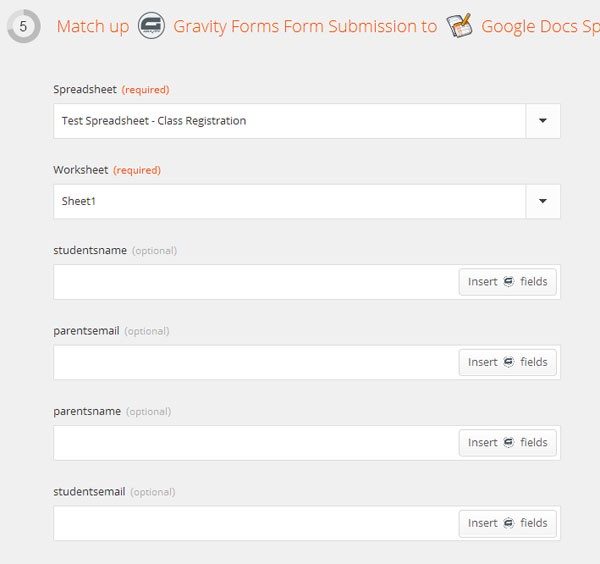
Then I was able to align the columns I had created to the correct fields in my form.
Step 6: At last, I was able to test the form trigger.
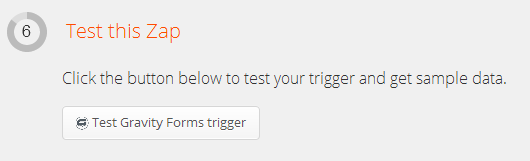
When I clicked the "Test Gravity Forms trigger" button, I saw this:
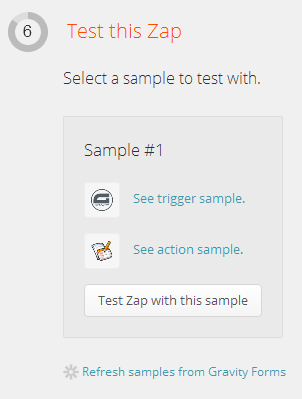
The trigger sample was that text submission I had submitted so Zapier could find the form. I clicked "Test Zap with this sample" and it returned "Success!"
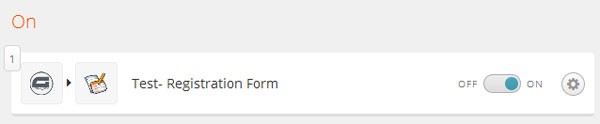
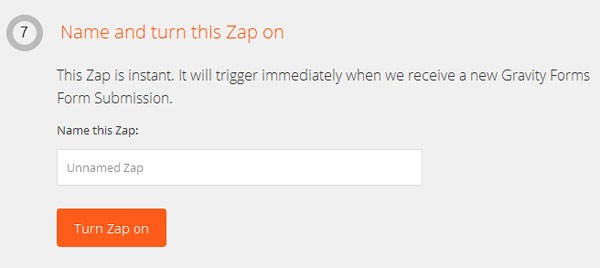
Step 7: Finally, I was able to name the Zap and turn it on.
Of course, you'll want to test your new connection to make sure it is up and running correctly, so I created a new submission through my form.
Here is my new spreadsheet:
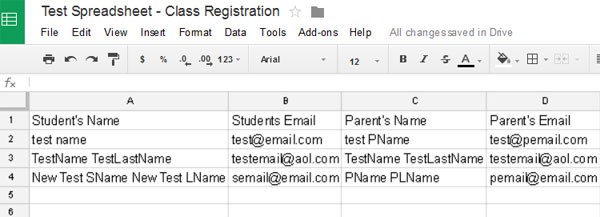
You'll see the first row is the headings that I originally gave each column. Row 2 includes the sample answers I set up when I created the spreadsheet. Row 3 has the test answers that Zapier sent when it connected to the spreadsheet. And row 4 is my final test submission through my website - it works!
Of course, now you can share your spreadsheet with anyone and they will be immediately able to see any new submissions - one of the great benefits of Google Drive. You can also use Zapier to create a file in Dropbox with Gravity Forms.
As I mentioned before, there are many, many ways to combine apps with Zapier. I hope this tutorial has given you an idea of how easy it is and will encourage you to find new uses.
I'd love to hear how you use Zapier.

Comments