I have covered the first three tabs of Settings of Easy Digital Downloads. In this article I will discuss the fourth tab, which is for Styles. In this section there are options for some default styles and for different buttons.
Styles Settings
It is extremely important for you as a digital store owner that your website should be styled well, yet user-friendly. This combination is difficult to achieve, but EDD has solved this problem, and now styling your store is a matter of few clicks. This tab allows you to configure different Styles so that your website gets a presentable appearance. You can enable and disable different styles of the plugin from here.
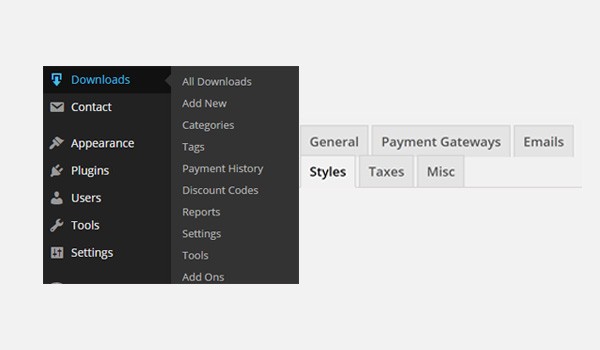
The fourth tab in the section of Settings is for Styles. To access this part of the plugin, go to Downloads > Settings > Styles.
Various configuring options are listed here. So let's discuss them one by one.
Disable Styles
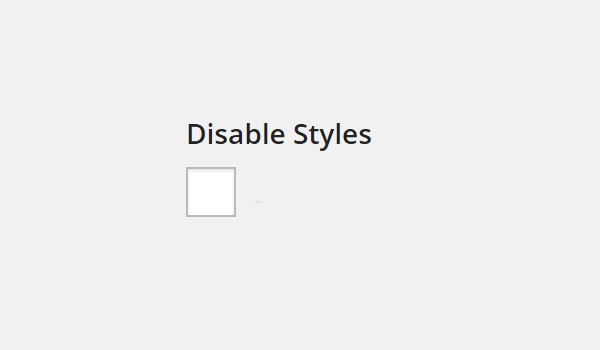
The first option is a checkbox for Disable Styles. When you check this box, it will disable all kinds of styling which are included in the plugin, to help you add your own custom styling through CSS.
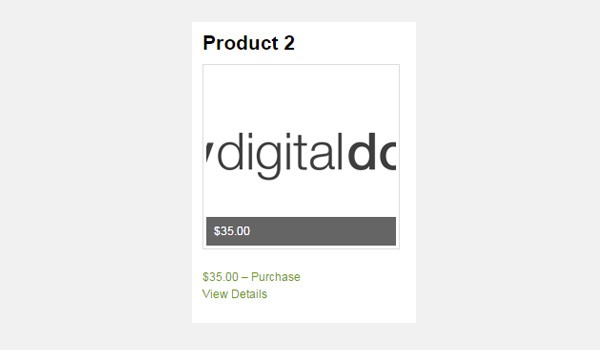
For example, if I check this option then on the front-end all kinds of styling will disappear. The figure shown above is sufficient to explain this setting. You can clearly see that the keywords like price of the product, the purchase button, etc. are written as plain text and are not distinguished from each other.
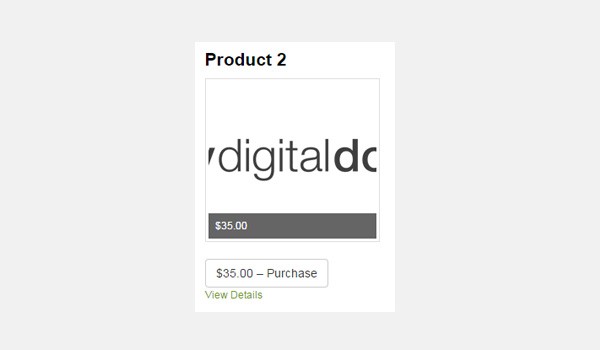
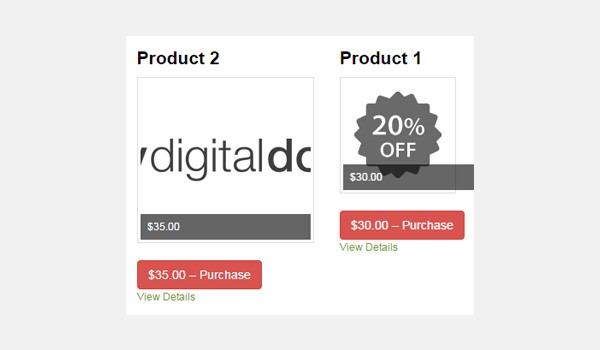
Now when I uncheck this option, the corresponding results on the front-end change subsequently. The figure displayed above shows a styled version of the digital product. The price and the option for purchase are now enclosed neatly in a button. Such styling enhances the readability factor so in my opinion you should go with the default setting unless you plan to style it with CSS programming language.
Buttons
Next, there is a separate section for Buttons in the Styles tab. Here you can see two different configuring options:
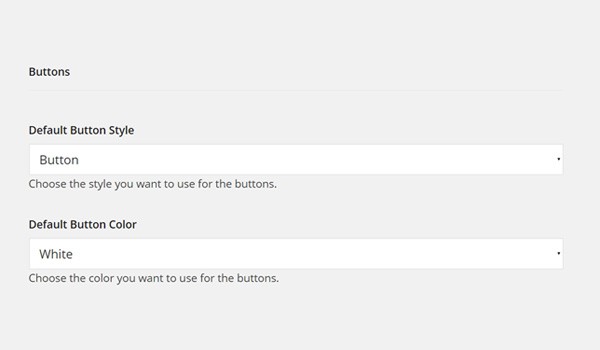
- Default Button Style
- Default Button Color
Let's take a look at these two options.
Default Button Style
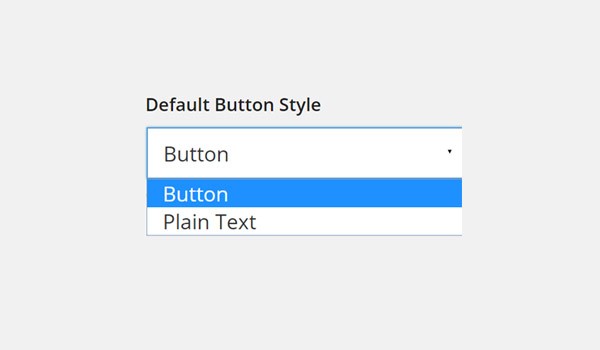
You will set the Default Button Style from here. This is a drop-down menu which offers two options:
- Button
- Plain Text

By default, Button is selected. The figure above shows its result on the front-end where you can see a proper styled line around the price tag and the purchase button.
Let's now choose Plain Text and see the results.
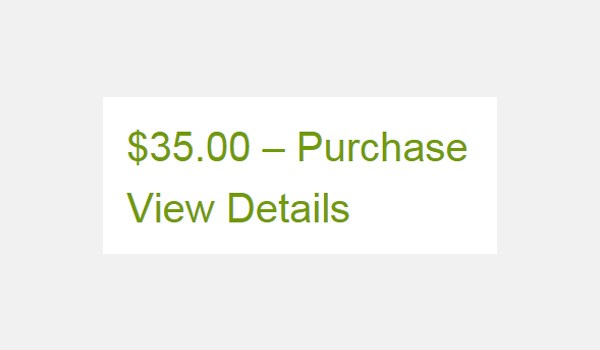
With this configuration, you will notice that the outline which was seen around the purchase area has disappeared.
So the purpose of configuring this setting is to ensure that a particular style for buttons will be applied over the entire site, no matter which part of the website you are visiting. I usually prefer to go with the default setting, i.e. the button option, because it gives a neat and tidy look.
Default Button Color
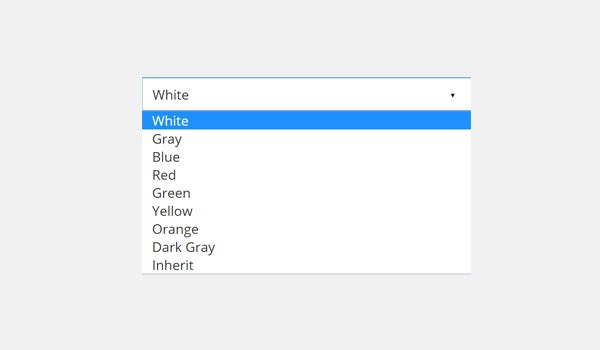
The last option in this tab allows you to choose the Default Button Color from a drop-down menu. By default White is selected, but you can select different colors from the list. This color will be displayed on places like the purchase button, the add to cart button, etc.
Let me show you the results with some custom settings, e.g. Red.
With this color being selected, you will notice that all the buttons on your site will appear Red. I prefer to use a bright and vibrant color for buttons because they are the important part of your site and must be highlighted.
There is another way through which you can apply any other color apart from the listed ones. By adding the "[purchase_link]" shortcode at the back-end you can supersede the selected color and can easily replace it from the color palette.
After configuring these settings in the Styles tab, hit the Save Changes button to save all the settings which you have just made.
Conclusion
Till now I have covered four tabs in Settings. In my next article, I will discuss the next tab which is for Taxes. I hope now you will not face any problem while configuring the basic settings of EDD.

Comments