Advanced graphics are a big part of the web these days, but there are a couple of different renderers in the mix. You could use canvas, of course; but SVG and WebGL are also options. In this tutorial, we'll review a relatively new drawing library, two.js, which provides one API that does the same thing with all three of those renderers. If you're ready, let's check it out!
Step 1 - Setting Up
The first step is to create a two instance and put it on the page. The Two contstructor takes an object with a number of parameters:
    var two = new Two({
       fullscreen: true
    });
In this case, we're using the fullscreen option, which makes the drawing area take up the entire browser window. If we wanted our drawing area to have a specific size, we could use the width and height properties instead; these both take a number for a pixel value. There's also the autostart parameter; if this is set to true, any animations will run right away when the page is loaded.
There's also the type parameter: this decides which renderer will be used. You can choose between canvas, SVG, and WebGl. You don't just type the name, though: you use a library constant of sorts: either Two.Types.canvas, Two.Types.svg, or Two.Types.webgl. Just to be clear, two.js will just default to using SVG; it doesn't do any kind of feature detection to see what the browser will support. You'll have to do that on your own (and I think that's a good idea: small tools, one thing well, and all that).
So, once we have a Two instance, what do we do with it. First, you'll want to append it to the page. It has an appendTo method that takes an HTML element as a paramter, so let's set this up:
<div id="main"></div>
<script src="./two.min.js"></script>
<script src="./main.js"></script>
Then, in main.js, we start with this:
var el = document.getElementById("main"),
    two = new Two({
        fullscreen: true
    });

two.appendTo(el);
With all this set up, we're ready to actually draw a few shapes.
Step 2 - Drawing Basic Shapes
We'll begin with basic shapes; while we can create our own complex shapes with new Two.Polygon, most simple shapes can be made with a few handy methods.
Let's start with circles. The makeCircle function takes three parameters:
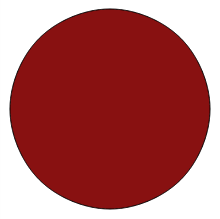
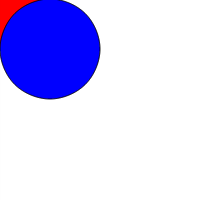
var circle = two.makeCircle(110, 110, 100);
circle.fill = "#881111";

two.update();
We'll review from the bottom, up: the call to two.update updates are drawing area and actually renders the content. Backing up to the circle, the first two parameters are the x and y coordinates for the center of the circle. Then, the third parameter is the radius for the circle. All the two.make... functions return a Two.Polygon object. As we go through this tutorial, you'll see several properties and methods that you can use on these shapes. Here's the first: fill. As you might guess, it sets the fill color: any valid CSS will do.
The result should look like this:
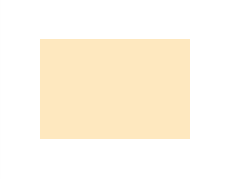
Now, what about rectangles? The two.makeRectangle method takes four parameters. Just like the circle, the first two parameters mark the x and y coordinates for the center of the rectangle. Then, param three is width and param four is the height of the rectangle.
var rect = two.makeRectangle(115, 90, 150, 100);
rect.fill = "orange";
rect.opacity = 0.25;
rect.noStroke();

two.update();
Again, we're using the fill property. We're also using the opacity property, which accepts a decimal value between 0 and 1; we're got quarter-opacity here. Finally, we're using the noStroke method, which removes the stroke (border) from the rectangle. Here's what we have:
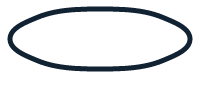
Ellipses are pretty simple, too: as you might guess, the first two parameters set the center of the ellipse. Then, we've got width and height:
var ellipse = two.makeEllipse(100, 40, 90, 30);
ellipse.stroke = "#112233";
ellipse.linewidth = 5;
ellipse.noFill();

two.update();
For new properties: we've got stroke, which sets the color of the border; to set the width of that border, we use the linewidth property. Then, remember noStroke? The noFill method is the same, except removes the fill color for our shape (without that, our shapes default to a white fill).
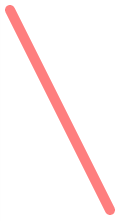
Of course, the simplest shapes are lines.
var line = two.makeLine(10, 10, 110, 210);
line.linewidth = 10;
line.stroke = "rgba(255, 0, 0, 0.5)";
The first two parameters are the x and y for one end of the line; the second set are for the other end.
Probably the most awkward shape to create is the curve. The two.makeCurve method takes as many sets of x, y parameters as you'd like - each pair being a point where the line will curve. Then, the last parameter is a boolean: make it true if the shape is open, meaning the ends don't connect. If you'd like two.js to draw a line connecting the two ends of the curves, that should be false.
var curve = two.makeCurve(110, 100, 120, 50, 140, 150, 160, 50, 180, 150, 190, 100, true);
curve.linewidth = 2;
curve.scale = 1.75;
curve.rotation = Math.PI / 2; // Quarter-turn
curve.noFill();
You know linewidth, but what about scale? We can use this to shrink or expand our shape; here, we're expanding the shape by 175%. Then, we can use rotation to rotate our shape by a number of radians; we're doing 90 degrees, which is half-PI radians.
Finally, you might think that since we've made shape open, we won't get a fill; but that's not true. An unclosed curve will still have a fill, so we're using noFill to remove the fill and end up with just the curve.

The last shape type is the catch-all: it's the general polygon. Actually, it's pretty much just like the curve, except the lines go straight from point to point.
var poly = two.makePolygon(110, 100, 120, 50, 140, 150, 160, 50, 180, 150, 190, 100);
poly.linewidth = 4;
poly.translation = new Two.Vector(60, 60);
poly.stroke = "#cccccc";
poly.fill = "#ececec";
As with the curve, we have as many pairs of coordinates as we'd like, and then the open boolean; here we're setting it to false, so the shape will be closed.
We're also setting a translation here; this allows us move the shape left or right and up or down. We're setting the translation property to a Two.Vector instance. The Two.Vector constructor takes two parameters: an x and a y. These end up being the coordinates for the center of the shape. You don't actually have to create a new vector for this; you can just assign the x and y values directory:
poly.translation.x = 60;
poly.translation.y = 60;
Here's what we get:

Step 3 - Making Groups
So far, we've been working with individual shape objects; however, it's possble to group shapes together and interact with them as one piece.
You can make a group with the two.makeGroup method. Then, we can use its add method to add a shape to the group.
var group = two.makeGroup(),
    rect = two.makeRectangle(0, 0, 100, 100),
    circ = two.makeCircle(50, 50, 50);</p>

rect.fill = "red";
circ.fill = "blue";

group.add(rect);
group.add(circ);

two.update();
If you run this, it's pretty basic; just like you'd get without the group bits.
But then, we can work with the group, using any of the transformations we can do on an individual shape. For example, how about a translation?
group.translation.x = 100;
group.translation.y = 100;

two.update();
As with regular shapes, groups are ordered from back-to-front as they are created. However, if you add a shape to one group, and then another group, it will be removed from the first group. This is great if you need to change the front-to-back order of the shapes when animating (which we'll get to). So, if we start with this:
var topGroup = two.makeGroup(),
bottomGroup = two.makeGroup(),
rect = two.makeRectangle(100, 100, 100, 100),
circ = two.makeCircle(150, 150, 50);
rect.fill = "red";
circ.fill = "blue";
topGroup.add(rect);
topGroup.add(circ);
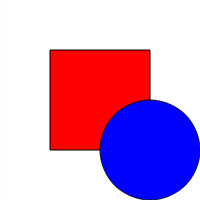
two.update();
We have the same as above:
But, if we add the rect to the bottomGroup instead . . .
bottomGroup.add(rect);
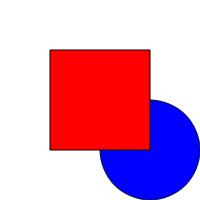
Now, our square is on the top.
Step 4 - Animating Shapes
Finally, let's talk about animation. You already know that two.js renders the shapes you've created when you you call two.update(). If you call two.play() instead, it's like calling update() repeatedly, using Request Animation Frame. Each time this happens, two.js fires an "update" event. This is how we can produce animation: listen for the "update" event; and when it happens, run a function to set up the next frame.
Our examples so far have been rather simple, so let's step things up a notch: We'll create an orbiting planet with its own orbiting moon. Remember, we start by creating two instance:
var el = document.getElementById("main"),
    two = new Two({
        fullscreen: true
    }).appendTo(el);
Next, we need to set up a few variables.
var earthAngle = 0,
    moonAngle  = 0,
    distance   = 30,
    radius     = 50,
    padding    = 100,
    orbit      = 200,
    offset     = orbit + padding,
    orbits     = two.makeGroup();
We'll increment earthAngle and moonAngle to get our planet and moon around their orbits. The distance variable is how far our moon will be from our earth. The radius is the raduis of our planet earth, and the padding is how much space our planet will have outside its orbit. Said orbit comes from the orbit variable. The offset variable is how far our planet will be offset from the edge of the canvas. Finally, the orbits group will hold the two orbit circles, which will allow us to show or hide them at will. Don't worry if you're a bit confused; you'll see how they all work together in a second.
We'll start with the earth's orbit line. Of course, that's just a simple circle:
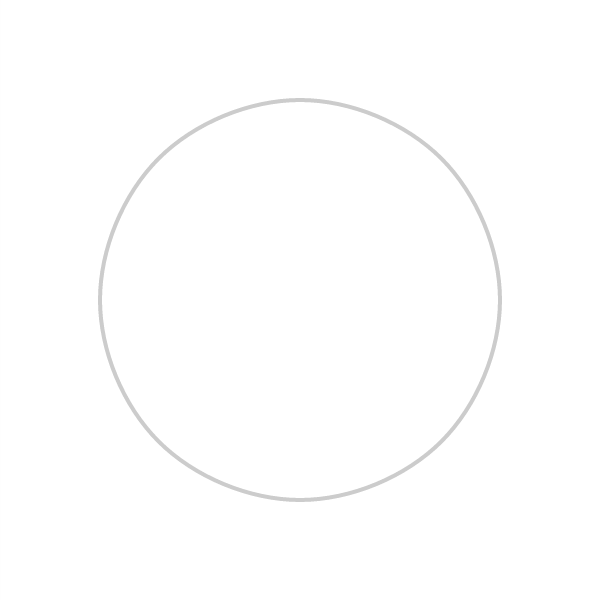
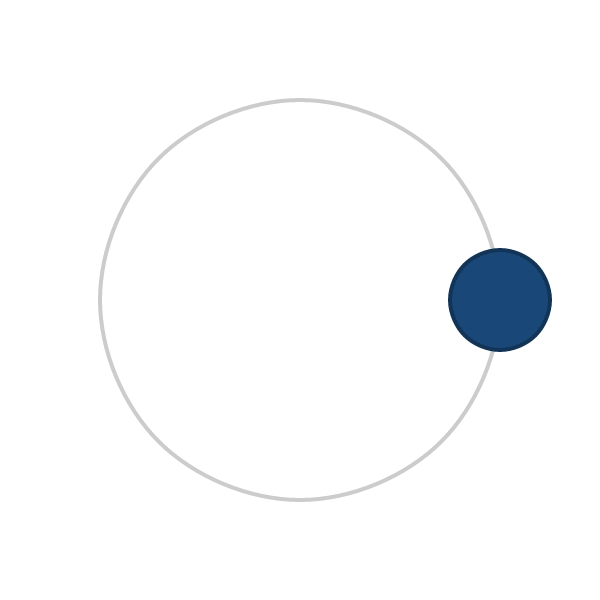
var earthOrbit = two.makeCircle(offset, offset, orbit);
earthOrbit.noFill();
earthOrbit.linewidth = 4;
earthOrbit.stroke = "#ccc";
orbits.add(earthOrbit);

two.update();
There's nothing new at all here. Here's what you should see:
Then, we need to create a planet and place it on its orbit. First, we need a means to figure out where on the orbit the planet should be placed; and of course, this needs to change for every animation frame. So, let's create a function that will return the center x and y coordinates for the orbit based on the current angle for positioning around the circle and the radius of the orbit:
function getPositions(angle, orbit) {
    return {
        x: Math.cos(angle * Math.PI / 180) * orbit,
        y: Math.sin(angle * Math.PI / 180) * orbit
    };
}
Yes, it's a little bit of trigonometry, but don't worry too much: basically, we're converting the angle (which is a degree) to a radian, using the JavaScript sine and cosine methods, and then multipling it by the orbit. Now, we can use this function to add the earth to the picture:
var pos = getPositions(earthAngle++, orbit),
    earth = two.makeCircle(pos.x + offset, pos.y + offset, radius);

earth.stroke = "#123456";
earth.linewidth = 4;
earth.fill = "#194878";
We start by getting the position for the first earthAngle (value of 0, remember?); then, we make our earth based on those positions (plus the offset) and color it up. Here's what we end up with:
Now, let's animate this planet. The event binding code actually comes straight from Backbone, so it might look familiar:
two.bind("update", function (frameCount) {
    var pos = getPositions(earthAngle++, orbit);
    earth.translation.x = pos.x + offset;
    earth.translation.y = pos.y + offset;
});

two.play();
What's happening here is that every time the update event occurs, we're using the getPositions function to calculate the position for the next angle on earth. Then, we just have to set the center of the earth to those new positions, plus the offset. Finally, we call two.play() to start the update events. If you reload the page now, you should see the earth rotating around the orbit.
Nice job so far, eh? Now, how about the moon and its orbit path; this will go above the bind statement.
var moonOrbit = two.makeCircle(earth.translation.x, earth.translation.y, radius + distance);
moonOrbit.noFill();
moonOrbit.linewidth = 4;
moonOrbit.stroke = "#ccc";
orbits.add(moonOrbit);

var pos = getPositions(moonAngle, radius + distance),
    moon = two.makeCircle(earth.translation.x + pos.x, earth.translation.y + pos.y, radius / 4);

moonAngle += 5;
moon.fill = "#474747";
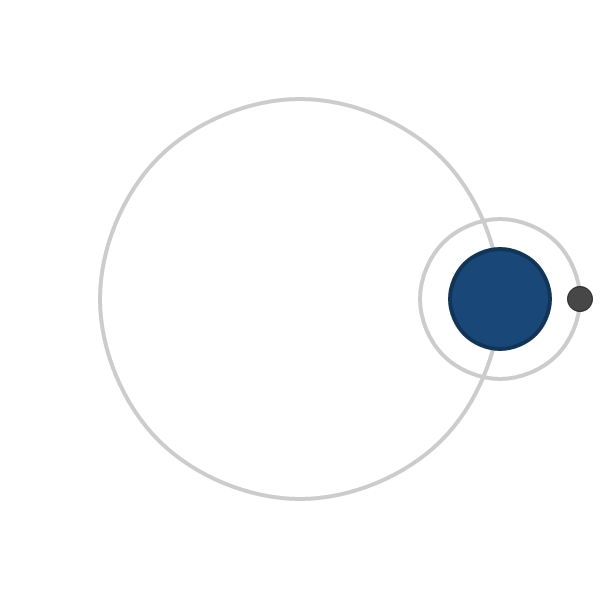
This looks a lot like the code for the planet: we center the moon's orbit circle at the center of the earth using its translation properties; its radius is the radius of the earth plus the distance the moon should be away from the earth. Again, we add the moonOrbit to the orbits group.
Next, we create the moon, by first getting its desired position and creating a circle at that location. For a radius, we'll use a quarter of the radius we used for the earth. We'll be imcrementing the angle of the moon by 5 each time, so it will move faster than the earth.
Turning off the animation (by commenting out the two.bind statement), we get this:
Last step: get the moon animating. Inside that same two.bind statement, add these lines:
var moonPos = getPositions(moonAngle, radius + distance);
moon.translation.x = earth.translation.x + moonPos.x;
moon.translation.y = earth.translation.y + moonPos.y;
moonAngle += 5;

moonOrbit.translation.x = earth.translation.x;
moonOrbit.translation.y = earth.translation.y;
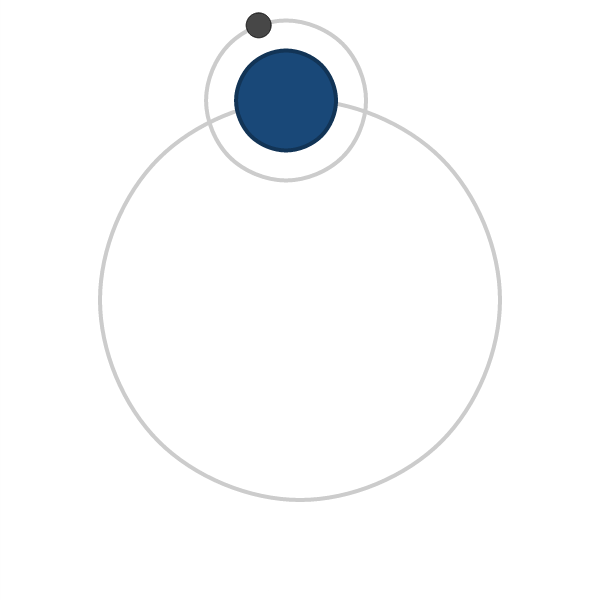
Just like before, we get the new position for the moon, and position it relative to the earth. Then, we also move the moon's orbit ring so that it stays centered on the earth.
With all this in place, our little example is complete: Here's a still-shot of the action:
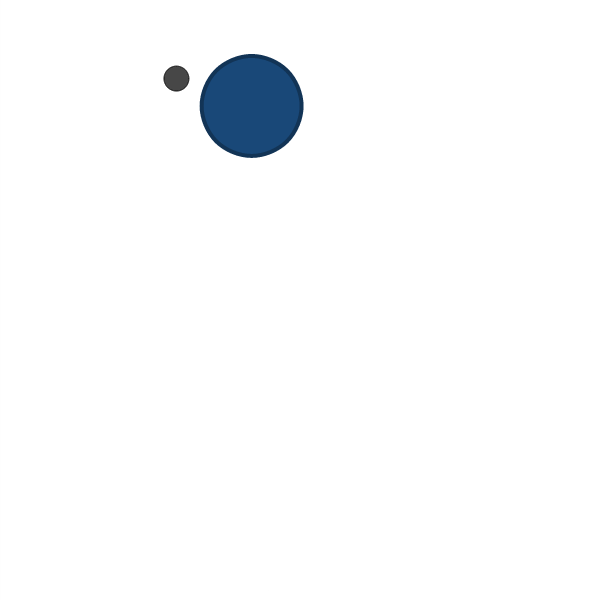
Like I said, we can also hide the orbits. Since they're both in the orbits group, we can use the visible property of the group:
orbits.visible = false;
And now:
Conclusion
Well, that's a wrap on this tutorial. Do you think you'll be using two.js in any of your own projects? Or maybe you have a better alternative? Let's hear about it in the comments!

Comments