In this series of articles, we're reviewing a handful of tips and strategies that we can use in order to build more maintainable WordPress plugins, and we're going that all through the context of a plugin that leverages tabbed meta boxes.
In the previous post, we implemented the functionality specifically for our tabs and we also implemented the first textarea that will be used for capturing some of the user input. For those who have been following along, you know that we've only gotten as far as:
- Making the tabs functional
- Introducing a single UI element with which the user can interact
We haven't completed the actual process of sanitizing, validating, and saving the data, nor have we bothered with introducing the content for the rest of the tabs. Over the next two articles, we're going to do exactly that.
Specifically, in this article, we're going to continue with introducing the rest of the user interface, and then we're going to move onto actually writing code responsible for verifying the user input and associating it with the given post.
With that laid out in front of us, let's get started.
Tab Templates, Revisited
As mentioned, in the last post we introduced a textarea into our Draft tab. If you've been following with the tutorials and/or using the code in the available repository, then you should see something like this:
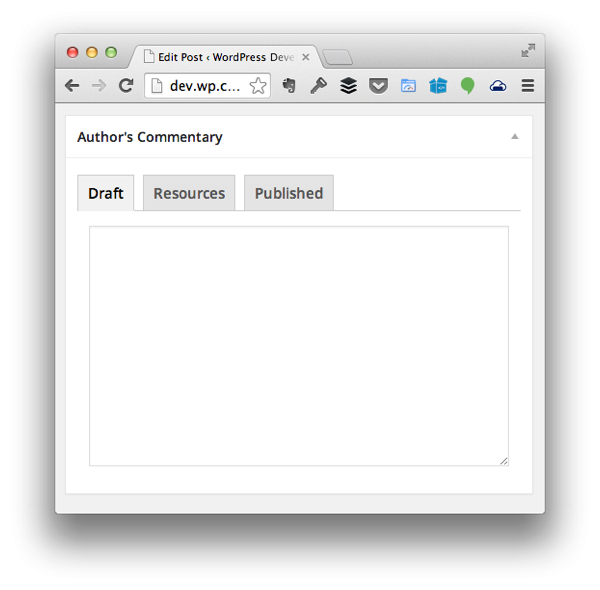
The idea behind the Draft tab is simple: This is a place in which users will be able to jot down notes, collect ideas, and basically have a notepad in place to help them gather their ideas prior to writing a post.
Resources
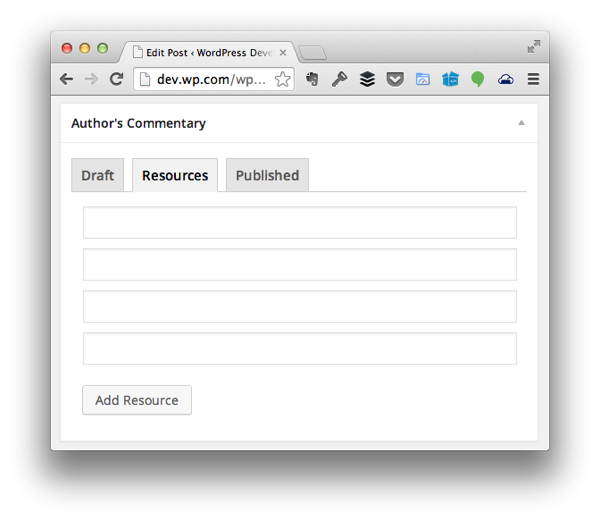
What about the Resources tab? The idea behind this tab is that users will be able to collect various URLs to pages, tweets, images, and other information related to the content that they want to write so that they can embed, link, and/or reference them in their post.
Here's how it's going to work:
- There will be a button that will allow the user to add additional fields
- When the button is clicked, a single input field will be added above the button to capture the user's input.
- If the user supplies information, then it will be saved when the post is saved.
- If the user does not supply any information, then it will not be saved.
As far as the last two items are concerned, we'll be taking care of that in the next article. For now, let's take care of dynamically adding input fields.
Locate admin/views/partials/resources.php and update the code to look like this:
<?php

/**
 * Provides the 'Resources' view for the corresponding tab in the Post Meta Box.
 *
 * @link       http://code.tutsplus.com/tutorials/creating-maintainable-wordpress-meta-boxes-the-front-end--cms-22383
 * @since      0.3.0
 *
 * @package    Authors_Commentary
 * @subpackage Authors_Commentary/admin/partials
 */
?>

<div class="inside hidden">
    <div id="authors-commentary-resources"></div><!-- #authors-commentary-resources -->
	<p><input type="submit" id="authors-commentary-add-resource" value="Add Resource" />
</div>
Next, let's create a file in admin/assets/js and call it resources.js. Stub out the file so that it looks like the following:
(function( $ ) {
    'use strict';

	$(function() {

	});

})( jQuery );
Next, we need to setup an event handler such that when the user clicks on the Add Resource button, it does the following:
- Creates a new input element.
- Provides the proper ID and name attributes so that the information can be serialized.
- Attached it to the existing list of input elements.
Here's the fully commented code for how to achieve that with more information below:
/**
 * Creates a new input element to be appended to the DOM that's used to represent a single
 * resource (be it an address, tweet, image URL, etc.) to be referenced in the post.
 *
 * @since    0.4.0
 * @param    object    $    A reference to the jQuery object
 * @return   object         An input element to be appended to the DOM.
 */
function createInputElement( $ ) {

    var $inputElement, iInputCount;

	/* First, count the number of input fields that already exist. This is how we're going to
	 * implement the name and ID attributes of the element.
	 */
	iInputCount = $( '#authors-commentary-resources' ).children().length;
	iInputCount++;

	// Next, create the actual input element and then return it to the caller
	$inputElement =
		$( '<input />' )
			.attr( 'type', 'text' )
			.attr( 'name', 'authors-commentary-resource-' + iInputCount )
			.attr( 'id', 'authors-commentary-resource-' + iInputCount )
			.attr( 'value', '' );


	return $inputElement;


}

(function( $ ) {
	'use strict';

	$(function() {

		var $inputElement;

		$( '#authors-commentary-add-resource' ).on( 'click', function( evt ) {

			evt.preventDefault();

			/* Create a new input element that will be used to capture the users input
			 * and append it to the container just above this button.
			 */
			$( '#authors-commentary-resources' ).append ( createInputElement( $ ) );


		});

	});

})( jQuery );
In the code above, there is a function that's specifically designed for creating an input element and using the number of pre-existing elements to help give it a unique name and ID.
There's also a DOM-ready handler that setups a function to fire whenever the user clicks on the Add Resource button. When the button is clicked, the aforementioned function is called, and then the input element is appended to the parent container.
In order to make sure this looks its best, we need to write a few styles. So just as we did with the JavaScript source, locate admin/assets/css/admin.css and then add the following code to the bottom of the file:
#authors-commentary-resources input[type="text"] {
    width:         100%;
    margin-bottom: 10px;
}
This will ensure that each input element will have a width of 100% so that they each reside on their own line.
Finally, we need to enqueue the JavaScript that we wrote with WordPress so that it properly responds to the elements that we've displayed on our our partial. To do this, locate the enqueue_admin_scripts function in admin/class-authors-commentary.php, and update the function so that it looks like this:
<?php

/**
 * Includes the JavaScript necessary to control the toggling of the tabs in the
 * meta box that's represented by this class.
 *
 * @since    0.2.0
 */
public function enqueue_admin_scripts() {

    if ( 'post' === get_current_screen()->id ) {

		wp_enqueue_script(
			$this->name . '-tabs',
			plugin_dir_url( __FILE__ ) . 'authors-commentary/admin/assets/js/tabs.js',
			array( 'jquery' ),
			$this->version
		);

		wp_enqueue_script(
			$this->name . '-resources',
			plugin_dir_url( __FILE__ ) . 'authors-commentary/admin/assets/js/resources.js',
			array( 'jquery' ),
			$this->version
		);

	}

}
At this point, you should be able to load the post editor in your browser, click on the Resources tab, and then begin dynamically adding multiple input fields to your page.
Remember, we aren't actually doing anything on the server-side just yet, so we're not sanitizing, validating, or saving this information. We'll be doing this in the next article.
Published
Now that we have a place to collect various notes and resources to be used throughout our posts, what elements would the Published tab contain?
- Would it include an area into which we could leave our own comments and notes similar to the Drafts tab? Perhaps.
- Would it include an place to save links to comments and other resources that are useful for following-up with after the post?
- Maybe it would just include a list of all of the comments on the post along with a link to said comments and a checkbox for whether or not the comment had received a reply or not.
All three are perfectly acceptable things to introduce into the Published tab; however, for the sake of not re-inventing the wheel and for continuing to introduce new functionality as well as other ways to work with the WordPress API, we're going to go with the final option.
Specifically, we're going to load a list of all of the comments that exist on the post. Next to each comment will be a checkbox. If the comment has received a reply, it will be checked; otherwise, it will be unchecked.
We will not be including pingbacks for this since an author typically doesn't respond to pingbacks.
With that said, load admin/views/partials/published.php and add the following code:
<?php

/**
 * Provides the 'Published' view for the corresponding tab in the Post Meta Box.
 *
 * @link       http://code.tutsplus.com/tutorials/creating-maintainable-wordpress-meta-boxes-the-front-end--cms-22383
 * @since      0.3.0
 *
 * @package    Authors_Commentary
 * @subpackage Authors_Commentary/admin/partials
 */
?>

<div class="inside hidden">
    <?php $comments = $this->load_post_comments(); ?>
	<ul id="author-commentary-comments">
		<?php foreach ( $comments as $comment ) { ?>
			<li>
				<label for="authors-commentary-comment-<?php echo $comment->comment_ID ?>">
					<input type="checkbox" id="authors-commentary-comment-<?php echo $comment->comment_ID ?>" name="authors-commentary-comment-<?php echo $comment->comment_ID ?>" />
					This comment has received a reply.
				</label>
				<p>
					<em><?php echo $comment->comment_author; ?></em>:
					<?php echo $comment->comment_content; ?>
				</p>
				<hr />
			</li>
		<?php } ?>
	</ul>
</div>
Note that we're making a call to a function called load_post_comments. Since we've not yet defined it, let's hop into admin/class-authors-commentary-meta-box.php and add the following code:
<?php

/**
 * Loads all of the comments for the given post along with checkboxes used to
 * indicate whether or not they've received a reply or not.
 *
 * @since    0.4.0
 * @access   private
 */
private function load_post_comments() {

    $args = array(
	    'post_id' => get_the_ID(),
	    'status'  => 'approve'
    );
    $comments = get_comments( $args );

    return $comments;

}
This function will retrieve a collection of all of the approved comments for the given post. The partial listed above will then iterate through the comments and then create a label and a checkbox that will allow the user to select if the comment has received a reply or not.
Below the label, you'll notice the comment author and the comment. This is meant mainly as a way to easily identify the comment that's been left.
Finally, we need to add one more thing to our style sheet:
#author-commentary-comments label {
    font-weight: bold;
}
And we're done.
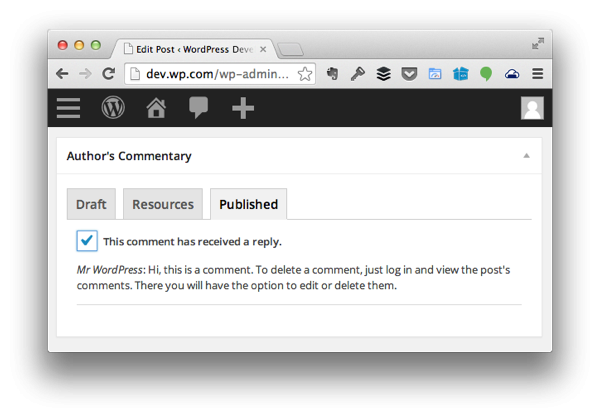
Ultimately, you should end up with a screen much like you see above.
Moving To The Server-Side
In the next article, we're going to move back to the server-side and begin working on code for validating, sanitizing, serializing, and retrieving all of the code associated with the user interface that we've just created.
In the meantime, remember to checkout the code on GitHub (available on the right-hand side of this post) and feel free to leave any and all questions and comments in the feed below.

Comments