We've been looking at how to create a simple CRM system in WordPress. In the last part of this series, we added a custom email address field to our Contacts custom post type. We learned how to write and read this custom field data, and implement a nonce to ensure our form submissions are secure.
Today, we'll cover how to use Advanced Custom Fields, a popular WordPress Plugin, to quickly generate custom fields.
Advanced Custom Fields
Creating custom fields for a post type is time consuming, and we’ve identified key security considerations in the process. For a CRM, where we may have several, different field types such as a select dropdown or checkboxes, manually creating fields in a plugin would take a significant amount of time.
Advanced Custom Fields is a WordPress plugin that provides both a user interface and programmatic methods for creating custom meta boxes and custom fields on any post type.
It also provides a greater range of form field types, such as:
- visual editors
- number / range
- password
- image
- select
- checkbox
- post objects
- Google Maps
Custom meta boxes and their fields can have conditions attached to them, so they are only displayed based on the post type or value of another field. This is really useful if we only want to display a field when a checkbox is checked, for example.
Installing Advanced Custom Fields
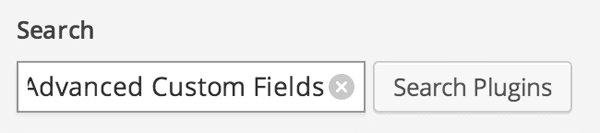
Go to the Plugins > Add New in your WordPress dashboard. In the search box, enter Advanced Custom Fields, and click Search Plugins:
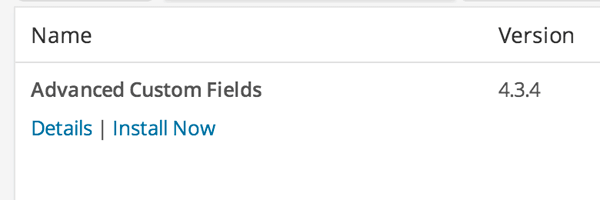
In the search results screen, find Advanced Custom Fields, and click Install Now.
Once installed, activate the plugin.
Removing Our Custom Field
As we’ll be using Advanced Custom Fields to generate our custom meta boxes and fields, the quickest way to remove our Custom Field generated in the second part of this series is to download the code from Part 1 of this tutorial series.
Wait, What Was Part 2 All About?
Rather than just jump straight into using Advanced Custom Fields, we explained in detail how the process works for registering custom meta boxes, custom fields, saving data and retrieving data.
By doing this, we have a clearer idea as to how Advanced Custom Fields works, as well as seeing how much faster it is (not to mention a better user interface).
Creating a Field Group
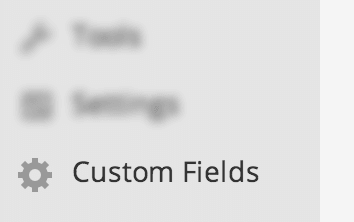
Click on Custom Fields in the WordPress Administration menu:
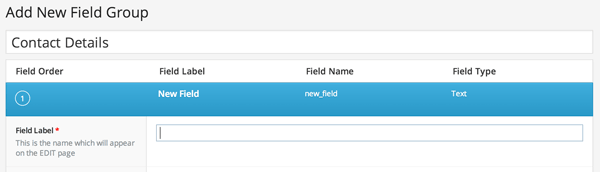
You will see the Field Groups screen. Think of a field group as a custom meta box that we described in Part 2. Let’s create our first field group, by clicking Add New next to the field group title:

Call the field group Contact Details, and then click on the Add Field button to add our first field:
Enter in the following details:
| Field | Value |
|---|---|
| Field Label | Email Address |
| Field Type | |
| Required? | Yes |
Scroll down to the Location box. We want this field group to only display on our Contact custom post type, so let’s add a condition by choosing Show this field group if Post Type is equal to contact:

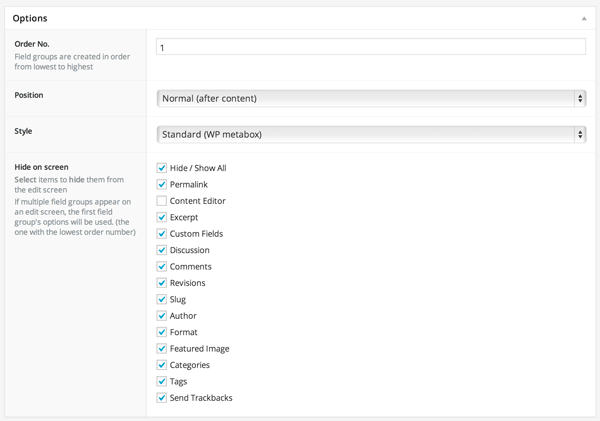
Scroll down to the options box. Set the Order No. to 1, Style to Standard and check all boxes for Hide on screen, except the Content Editor option:
Click Publish, and the Field Group will be saved.
Let’s check our field is available on our Contact Post Type, by going to Contacts > Add New in the WordPress dashboard:
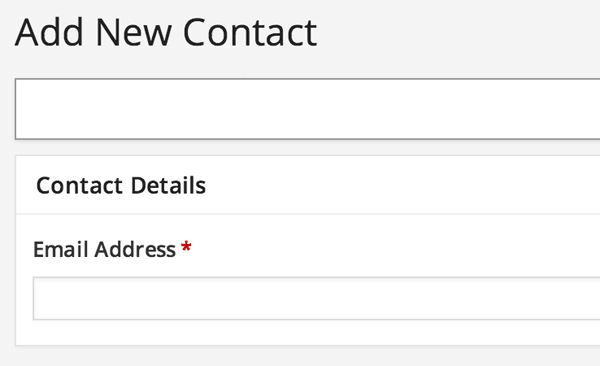
Go ahead and enter a name and email address for your Contact, and click Publish. You’ll see how Advanced Custom Fields handles all field validation, saving, and reading custom field data.
Let’s add some more fields to our existing Field Group. Edit the Contact Details field group you created above, and add the following fields:
| Field | Value |
|---|---|
| Field Label | Phone Number |
| Field Type | Number |
| Required? | Yes |
| Field | Value |
|---|---|
| Field Label | Photo |
| Field Type | Image |
| Required? | No |
| Field | Value |
|---|---|
| Field Label | Type |
| Field Type | Select |
| Required? | Yes |
| Choices |
Prospect : Prospect Customer : Customer |
Feel free to add any other fields or information you’d normally store for your customers and prospects.
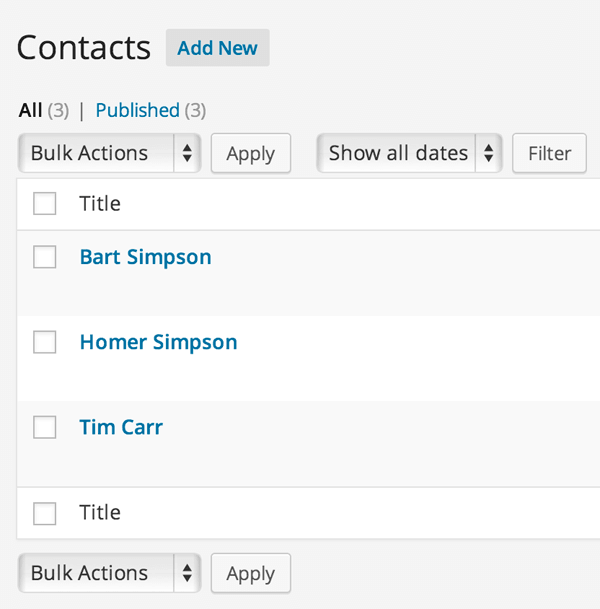
When you’re done, click Update, and start adding, editing, and managing your Contacts:
Prevent Custom Field Changes
We don’t want other WordPress administrators changing these fields (or worse, deleting them), as it would mean we can’t view or edit a Contact’s information.
Open the plugin file we created earlier, and add the following before class WPTutsCRM {:
/**
* Set Advanced Custom Fields to Lite mode, so it does not appear
* in the WordPress Administration Menu
*/
define( 'ACF_LITE', true );
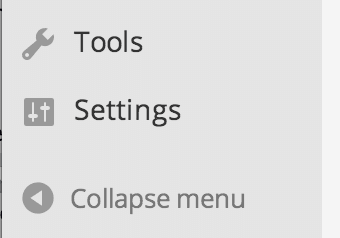
Save the plugin file and reload the WordPress Administration interface. You’ll see that the Custom Fields menu entry has disappeared:
Programmatically Define Custom Fields
We could go a step further and programmatically define our custom fields, instead of relying on the user interface of the Advanced Custom Fields plugin to define them.
This would be useful if, for example, we were to distribute our CRM plugin to multiple WordPress installations. It would be time consuming to:
- install the CRM plugin,
- install Advanced Custom Fields
- define our field groups and custom fields
Remove the following code from our plugin, so we can access it again through the WordPress administration:
/**
* Set Advanced Custom Fields to Lite mode, so it does not appear
* in the WordPress Administration Menu
*/
define( 'ACF_LITE', true );
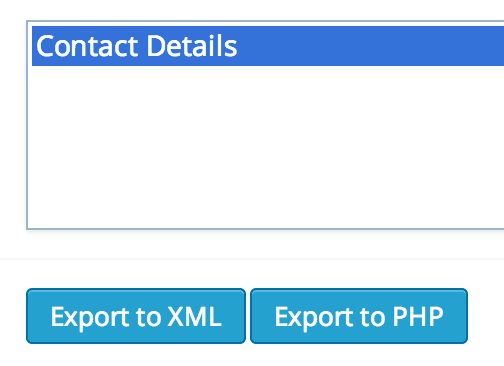
In the WordPress Administration, click on Custom Fields, and then click the Export option.
From here, let’s select the Contact Details group and click the Export to PHP option:
Single-click the code which appears on screen, which will highlight it all. Copy this to your clipboard, and paste it inside a new function within your Plugin:
/**
* Register ACF Field Groups and Fields
*/
function acf_fields() {

	if( function_exists( "register_field_group" ) ) {
		register_field_group(array (
			'id' => 'acf_contact-details',
			'title' => 'Contact Details',
			'fields' => array (
				array (
					'key' => 'field_5323276db7e18',
					'label' => 'Email Address',
					'name' => 'email_address',
					'type' => 'email',
					'required' => 1,
					'default_value' => '',
					'placeholder' => '',
					'prepend' => '',
					'append' => '',
				),
				array (
					'key' => 'field_53232a6cf3800',
					'label' => 'Phone Number',
					'name' => 'phone_number',
					'type' => 'number',
					'default_value' => '',
					'placeholder' => '',
					'prepend' => '',
					'append' => '',
					'min' => '',
					'max' => '',
					'step' => '',
				),
				array (
					'key' => 'field_53232aa9f3801',
					'label' => 'Photo',
					'name' => 'photo',
					'type' => 'image',
					'save_format' => 'object',
					'preview_size' => 'thumbnail',
					'library' => 'all',
				),
				array (
					'key' => 'field_53232c2ff3802',
					'label' => 'Type',
					'name' => 'type',
					'type' => 'select',
					'required' => 1,
					'choices' => array (
						'Prospect' => 'Prospect',
						'Customer' => 'Customer',
					),
					'default_value' => '',
					'allow_null' => 0,
					'multiple' => 0,
				),
			),
			'location' => array (
				array (
					array (
						'param' => 'post_type',
						'operator' => '==',
						'value' => 'contact',
						'order_no' => 0,
						'group_no' => 0,
					),
				),
			),
			'options' => array (
				'position' => 'normal',
				'layout' => 'default',
				'hide_on_screen' => array (
					0 => 'permalink',
					1 => 'excerpt',
					2 => 'custom_fields',
					3 => 'discussion',
					4 => 'comments',
					5 => 'revisions',
					6 => 'slug',
					7 => 'author',
					8 => 'format',
					9 => 'featured_image',
					10 => 'categories',
					11 => 'tags',
					12 => 'send-trackbacks',
				),
			),
			'menu_order' => 1,
		));
	}
}
Next, deactivate the Advanced Custom Fields Plugin, and then move the advanced-custom-fields plugin folder into our tuts-crm folder:
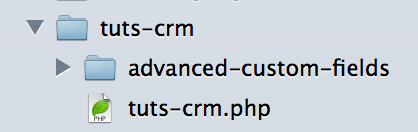
By moving Advanced Custom Fields outside of the Plugins directory, we’ll need to manually activate it from within our Plugin. Let’s do that by adding the following code before class WPTutsCRM {:
include_once( 'advanced-custom-fields/acf.php' );
define( 'ACF_LITE', true );
Finally, we need to tell Advanced Custom Fields that we have programmatically defined field groups and Custom Fields. Change our plugin’s construct to the below:
/**
* Constructor. Called when plugin is initialised
*/
function __construct() {

	add_action( 'init', array( $this, 'register_custom_post_type' ) );
	add_action( 'plugins_loaded', array( $this, 'acf_fields' ) );

}
Reload the WordPress dashboard, and create and/or edit a Contact. You’ll see that our field groups and custom fields remain in place.
Disadvantages
Bundling a plugin within a plugin isn’t always the best approach. While it allows us to distribute our plugin quickly across multiple WordPress installations in a single step, we’d need to issue an update to our plugin each time:
- fields are created, edited or destroyed
- Advanced Custom Fields has an update available
Depending on your use case, you may prefer this bundled approach. If you’re running this on a single site, using the user interface to define your Field Groups and Custom Fields may be a quicker, easier approach.
Up Next…
In the next article, we’re going to edit the WordPress Administration table (also known as WP_List_Table) to display our Advanced Custom Fields.

Comments