Welcome to the final tutorial in our Bloons inspired game series! In this tutorial, we'll handle the acorn shooting, level restart and the steps to build the final app.
Where We Left Off. . .
Please be sure to check part 1 and part2 of the series to fully understand this tutorial.
Step 1: Hide Direction Graphic
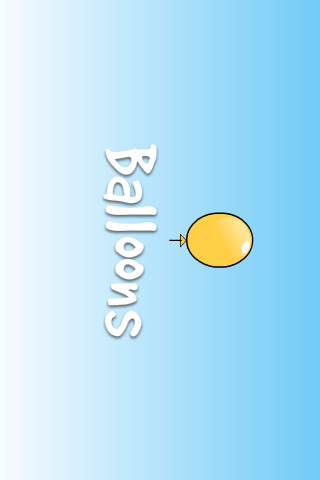
This is the shoot function, it handles the aim and acorn creation. We'll start by showing the direction indicator.
function shot:touch(e)
	if(e.phase == 'ended') then
		-- Hide gCircle

		Runtime:removeEventListener('enterFrame', charge)
		gCircle.isVisible = false
		gCircle.rotation = 0
Step 2: Create And Shoot Acorn
Next we create a new acorn physics object and apply the calculated impulse to shoot it.
-- Create new Acorn

local acorn = display.newImage('acorn.png', 84, 220)
physics.addBody(acorn, {density = 1, friction = 0, bounce = 0})
acorns:insert(acorn)

-- Shoot acorn

acorn:applyLinearImpulse(dir, impulse, acorn.x, acorn.y )
Step 3: Listener and Counter
A collision listener is added to the acorn to detect when it pops a balloon. The acorn counter is decreased in this part of the code.
-- Collision Listener

		acorn:addEventListener('collision', onCollision)

		-- Update Acorn counter

		acornsTF.text = acornsTF.text - 1
	end
end
Step 4: Update
The update function will perform a series of EnterFrame operations such as removing offstage acorns and checking for game over.
function update()
	-- Check if acorn is offstage

	for i = 1, acorns.numChildren do
		if(acorns[i].y > display.contentHeight) then
			display.remove(acorns[i])
			acorns[i] = nil

			-- Check for out of acorns

			if(tonumber(acornsTF.text) <= 0) then
				alert('lose')
			end
		end
	end
end
Step 5: Restart Level
This code runs when the Restart button is clicked. It will reset the necessary variables and listeners to restart the level.
function restartLvl()

	-- Destroy Balloons, reset score and acorns

	for i = 1, #balloons do
		display.remove(balloons[i])
	end

	scoreTF.text = '0'
	acornsTF.text = '5'

	balloons = {}

	createBalloons(5, 3)
end
Step 6: Alert
The alert function stops the game, removes the listeners, and displays a game status message.
function alert(state)
	gameListeners('rmv')

	local alert

	if(state == 'win') then
		alert = display.newImage('win.png')
	else
		alert = display.newImage('lose.png')
	end

	alert:setReferencePoint(display.CenterReferencePoint)
	alert.x = display.contentCenterX
	alert.y = display.contentCenterY
	transition.from(alert, {time = 300, xScale = 0.3, yScale = 0.3})

	local score = display.newText(scoreTF.text, 220, 190, native.systemFontBold, 20)
	score:setTextColor(135, 75, 44)
end
Step 7: Call Main Function
In order to initially start the game, the Main function needs to be called. With the above code in place, we'll do that here:
Main()
Step 8: Loading Screen
The Default.png file is an image that will be displayed right when you start the application while iOS loads the basic data to show the Main Screen. Add this image to your project source folder, it will be automatically added by the Corona compliler.
Step 9: Icon

Using the graphics you created before, you can now create a nice and good looking icon. The icon size for the non-retina iPhone icon is 57x57px, but the retina version is 114x114px and the iTunes store requires a 512x512px version. I suggest creating the 512x512 version first and then scaling down for the other sizes.
It doesn't need to have the rounded corners or the transparent glare, iTunes and the iPhone will do that for you.
Step 10: Testing in Simulator
It's time to do the final test. Open the Corona Simulator, browse to your project folder, and then click open. If everything works as expected, you are ready for the final step!
Step 11: Build

In the Corona Simulator go to File > Build and select your target device. Fill the required data and click build. Wait a few seconds and your app will be ready for device testing and/or submission for distribution!
Conclusion
Experiment with the final result and try to make your custom version of the game!
I hope you liked this tutorial series and find it helpful. Thank you for reading!

Comments