At WP Engine, we are often asked for email hosting recommendations. Unless it’s an enterprise client with hundreds or thousands of accounts, we recommend Google Apps for email. Gmail has done email so well that it doesn’t make sense to get email anywhere else, especially when gmail is free.
This tutorial will help you set up Gmail for a unique domain name for your business, blog, or whatever you’ve built on WordPress: [email protected].
Step 1 Specify the Domain for Google
To start out, visit the Google Apps c-panel at https://www.google.com/a/cpanel/standard/new3, and specify the domain you’d like to use for your email address. Type your domain into the field, and hit submit.

From here, you can fill out the rest of the form with information about your business and accept the terms and conditions. This is fairly straightforward information, including a physical address, and business size.
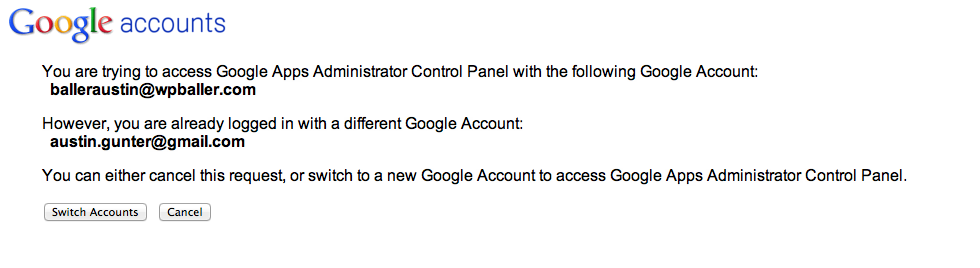
Note: Once you’ve submitted this page, if you’re signed into your normal Gmail account, you will be prompted to either cancel the request or to switch Gmail accounts using the Google Control Panel.
You want to switch accounts. Do not cancel the request. Once you’ve accepted it, you’ll go right on to Step 2.
Step 2 Express Install
First, you need to choose whether you want to do the Express Install, ideal for on person installs, or the Custom Install, where you can test out various apps for a few different users.
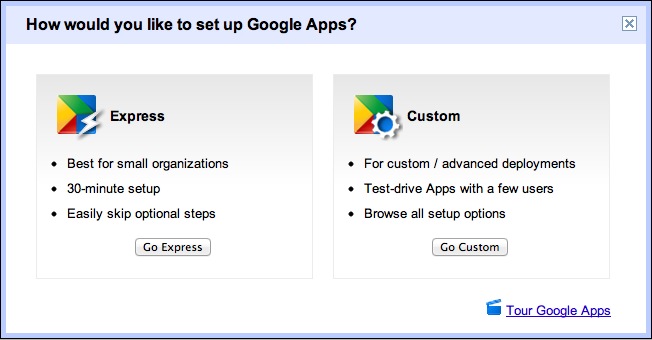
For our purposes, we’ll go ahead and do the Express Install. It takes about 30 minutes, and involves verifying domain ownership, setting up users and groups, and mobile access.
Step 3 Verifying Domain Ownership
This is the longest part of the tutorial, so bear with me and we’ll get through it.
In order to prove that you actually own the domain and have legal rights to send and receive email from the domain, you have to verify your domain. This prevents mischievous folks from registering email addresses like [email protected], or [email protected].
You can select various ways to prove ownership, including using FTP to upload an HTML file to your site, adding tags to the head of your site, and the way that we’re going to do it: using a plugin!
Before this plugin existed, it was cumbersome to validate your domain, because none of the above methods are straightforward for the average user. Plugins are part of what make WordPress so great for so many people.
Note: You don’t have to do anything else inside Google Apps at this point.
Log in to your WordPress Dashboard, and select Plugins -> Add New.
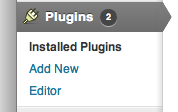
Then search for “Google Site Verification Plugin. Click “install now” to install the plugin to your site.
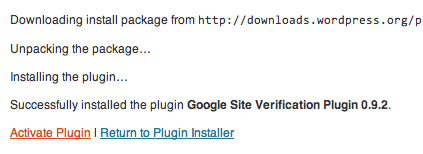
You’ll go to a status screen that tells you the plugin has been successfully installed. Now you have to activate the plugin. Select “activate plugin,” and you’ll be taken back to your installed plugins list.
In order to verify your domain, find the google site verification plugin, and click “Verify.”

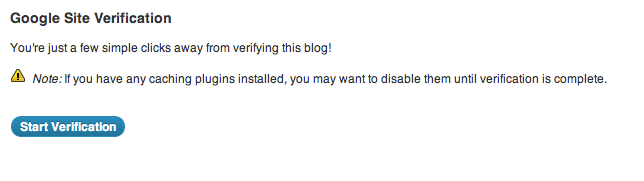
You’ll arrive at the site verification start dialogue. Click “Start Verification.”
You’ll be taken to a Google page that explains a third party, WordPress, is requesting permission to access your account. Select continue.
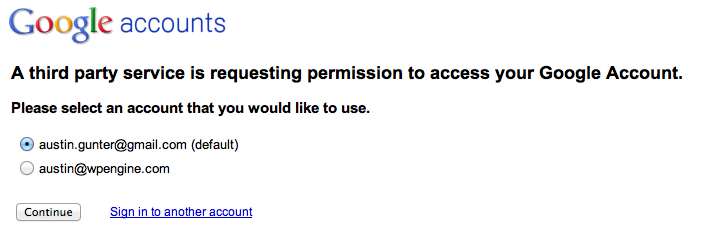
Note: it doesn’t matter if you’re signed into the email account you wish to verify. Any Gmail account will suffice to validate the domain.
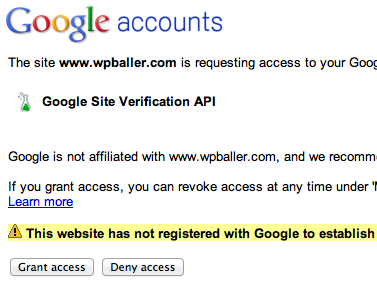
Then Google will ask you if you want to grant access to the plugin. Select “Grant Access.”
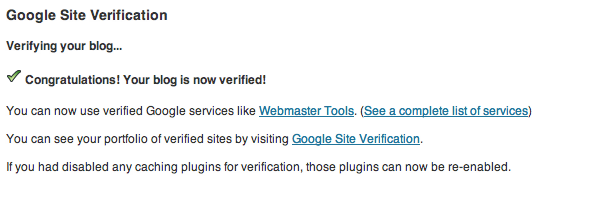
Awesome! You’re back in your WordPress dashboard, and should be looking at the screen telling you that your domain has been verified!
You now have access to webmaster tools for your site, and can manage a host of Google Apps from this dashboard, including analytics, and Google Docs.
Summary
From here, it’s a simple matter of signing into your new gmail account and setting up the account the way you want it. I have all my email sent to the same inbox, but you may want to separate them out, depending on how you organize your work and your life.

Comments