In the previous post, we started configuring advance settings of Page Cache in W3 Total Cache plugin and configured the General and Cache Preload settings. In this article, we will be covering the Purge Policy and Advanced configuration options.
So let's dive in.
Purge Policy
"Purge" implies the deletion or removal of documents or records. In a purge policy, we basically configure our plugin such that it tells it how and when it should purge the cache that is out of date. Just like actions in WordPress, there are certain points in W3TC which one can call triggers, these triggers are responsible for purging the cache.
Note that the default settings of this part are recommended. I am going to explain each one of them below.
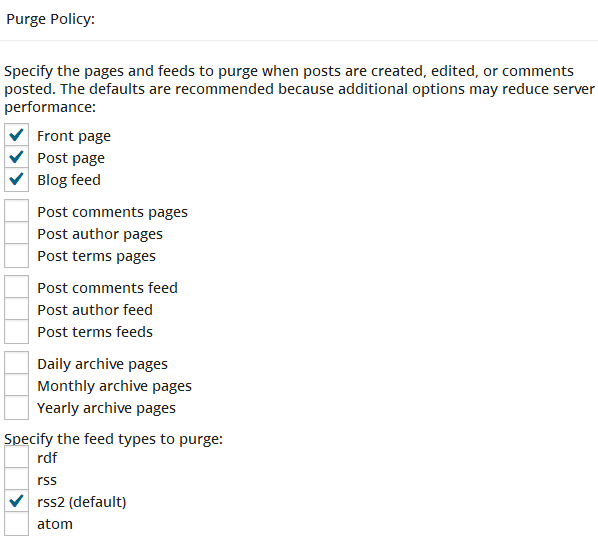
W3TC keeps tabs on events like when a post is created, is edited, or when comments are posted. One can use these triggers to purge the cache of certain pages like shown above in the screenshot. It has a simple explanation: Whenever a page is updated or a post is created your page cache of Front Page (such as the blog page) where all the posts are listed, and the post page (which is the single page) with feeds that should be purged.
These default settings are just fine. Adding more options to this list will increase your server's load. You don't want to do that unless until you have a strong server at least a VPS and there is an utmost need of purging everything. Instead, you can purge all the cache manually.
1. Purge Limit

WordPress offers a paged structure for paginating the blog post's list page and/or even a single post can be paginated. This setting purges the amount of those paginated pages. For example, in the case of a blog post's list page, which is the front [age in most cases.
Consider you have pagination after every five articles. Then, whenever you create a post, this limit will purge that pagination right away. So specify number of pages that lists posts (like the archive page) that should be purged on post updates.
For example, pages like:
- 0 means all pages that lists posts are purged
- example.com/ ...
- example.com/page/5.
- example.com/page/2 ... .
2. Additional Pages
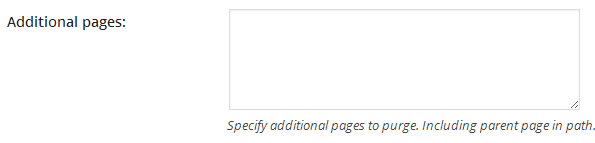
Are you building a custom structure with WordPress and wondering how to purge it? This area helps achieve exactly that.
3. Purge Sitemaps

This setting is responsible for purging the sitemap of your site. Here, you can define a regular expression for all the sitemaps. As a beginner, you don't really need to do anything.
If you are using Yoast's WordPress SEO plugin or the Google Sitemap plugin for WordPress, the default value caters the sitemaps' links generated by them. So leave this as it is.
Save the settings at this point.
Advanced
There is a big list of advance Page Cache settings. I am going to list them one by one and explain them with the recommended settings.
1. Late Initialization

Enabling this option may increase responsive time. So, I would recommend you all leaving this unchecked. It enables support for WordPress functionality in fragment caching for the page caching engine.
2. Compatibility Mode

It is recommend to be checked in most of the cases. What compatibility mode does is that it decreases performance by ~20% at scale in exchange for increasing interoperability with more hosting environments and WordPress idiosyncrasies.
This option should be enabled for most sites. These days, most of the hosting stacks are based upon multiple local area networks combined together to form a hybrid system. To cope with this hybrid system and the culture of WordPress such as how WordPress works, one can use the compatibility mode to enhance overall performance.
3. Charset

This option should be unchecked in most of the cases. It only helps in resolving the browser issues that may occur due to incorrect odd character encoding. So, if you don't experience any odd characters in your page cache, there is no need for this option to be enabled. But if you do experience some odd characters in your page cache and you are sure about them being there due to W3TC's page cache, only then you can try and check enable this option to resolve the issue, in case it does.
4. Reject HEAD requests

Usually HEAD requests contain text information of specific user data and record, user's browser sends requests to the web server in the form of text and receives the URL of requested text.
Checking this option will result in disabling the caching of HEAD requests so that unauthorized user cannot reload the page with a cached HEAD request.
But at the same time, it may result into "empty pages" being returned for subsequent requests for a URL. So, I recommend to keep this setting unchecked unless until you know what you are doing while enabling it.
5. Garbage Collection Interval

If you are caching your pages to disk, here is where you specify how frequently expired cache data should be removed from it.
If your site gets a decent traffic 3600 which is the default setting will do just fine. If you think your site has way more traffic than average sites, you can decrease the number for frequent removals of expired page cache.
6. Comment Cookie Lifetime

TTL - or Time to Live - is a mechanism which defines the lifetime of any data in user's browser. For example, in the case of WordPress comments, a cookie is set to authenticate the user as a part of authenticated traffic. Decreasing the time to live for that cookie which stays in user's browser can increase your site's performance & efficiency. 1800 is a recommended setting. Though you can make it lower than that or enter -1 to return the default TTL which is set up by WordPress itself.
7. Accepted query strings
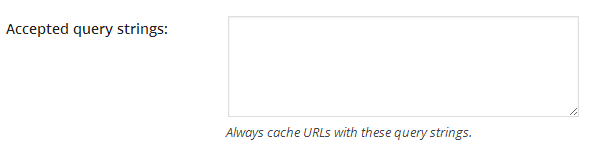
In this section, you can specify the query strings which you want to be able to cache their pages. That is, if you will mention a query string inside this text-box then W3TC will always cache URLs with that query string. For beginners anad non-programmers just leave this option blank.
8. Rejected User Agents

You can add user agents here, for which you don't want to send the cache pages. For beginners and non-programmers, just leave this option blank.
9. Rejected Cookies
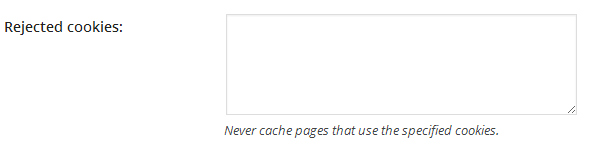
You can restrict W3TC from caching pages, which use any specific cookies, by mentioning the cookies here. For beginners and non-programmers just leave this option blank.
10. Never Cache the Following Pages
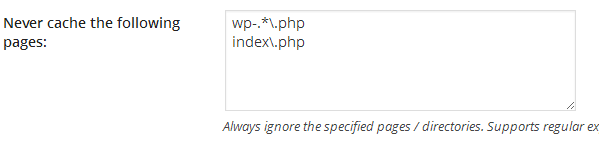
You can stop certain pages from being cached in this area. If you are a developer it is easy to understand how it works. For beginners and non-programmers just leave this option as it is.
11. Cache Exception List
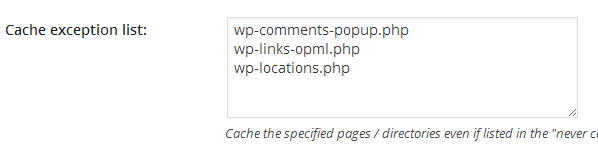
If you are having problems in caching a specific page, mentioning it here will cache it even if it is listed in the "never cache the following pages" field. It also supports regular expression.
12. Non-trailing Slash Pages
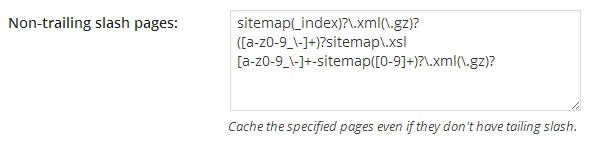
If any page in WordPress is a non-trailing slash page, this area can be used to cache it. Like the Sitemaps. Leave it default.
13. Specify Page Headers
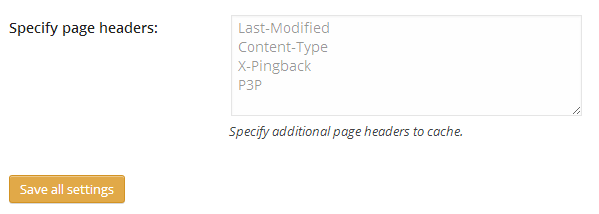
If you want to specify additional page headers to cache you can do it here. For beginners and non-programmers just leave this option as it is.
Save the settings now.
This ends our Advanced Page Cache settings of W3TC. If you have any questions, don't hesitate to ask below.

Comments