We are learning about Android app development in this series. We already looked at the basic elements in an Android project and touched on user interface design and data storage along the way. In this tutorial, we are going to explore how to run and interact with your apps on physical and virtual devices. In the next part of the series, we will work through the process of running an app on a physical device and on the emulator. In this part, we'll look at getting our physical and virtual devices set up in Eclipse.
Introduction
When you develop Android app for release to the public, you should always try to test them on a real device as well as the emulator. With the emulator, you can configure virtual devices for various hardware and software features. While this is not quite as reliable as testing on a range of real devices, it does help to bridge the gap between the devices you have access to and the extremely wide range of Android devices in use. Certain hardware and software features are not available on the emulator, but you can test for most of the functions you are likely to use in your first apps.
1. Hardware Devices
Step 1
When you develop Android apps, you should primarily aim to test them on a physical hardware device. As well as providing a real sense of how your app will look, feel, and function for users, hardware devices are the only way to test certain functions, such as telephony. If you use a hardware device during development, you can then run and test the app on a range of virtual devices configured to emulate the hardware and software features your hardware device does not have.
Let's start by connecting a hardware device to Eclipse. Connect an Android device to your computer by USB. You may need to enable USB debugging on your device. To do this, browse to the device Settings, then choose "Developer Options", "Advanced Settings" or "Applications", and "Development". Select the checkbox to enable USB debugging. If you're using a device running Android 4.2 or newer, you may need to set the developer options section to display. Browse to "About phone" then tap the listing for "Build number" repeatedly (seven times) then navigate back to the previous screen.
Step 2
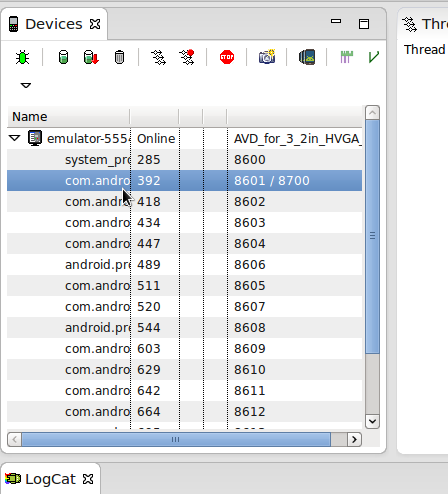
Once your system detects the connected Android device, you can interact with it in Eclipse. When you start running your apps in the next tutorial, you will see this in action. For now, just switch to the DDMS View. In Eclipse, select "Window", "Open Perspective", and "DDMS". You should see your device listed in the Devices View on the left. You will also see the LogCat View begin to populate with messages about processes executing on the device.
Take a moment to look at the File Explorer View with your device selected in the Devices View. You will see the files and folders on the device. As you can see, these Views let you explore the connected device as you run, test, and debug your apps. You can also use the buttons in the Devices View, which include a Screen Capture button you may wish to use when preparing images of your apps for release.
2. Virtual Devices
Step 1
Now let's look at creating some virtual devices. In Eclipse, open the AVD Manager by selecting "Window" then "Android Virtual Device Manager". The AVD Manager displays two tabs, one in which you can create and launch virtual devices and another for managing reusable definitions for devices. There may be times when you need to create your own AVDs with configurations to test particular app features from scratch, but in the beginning you will find it much quicker and easier to use the existing device definitions. Now switch to the "Device Definitions" tab.
You will see a list of device definitions in the AVD Manager. This provides a way to store device configurations you can later re-use. You can create your own device definitions using the "New Device" button. Click it now to see the interface.
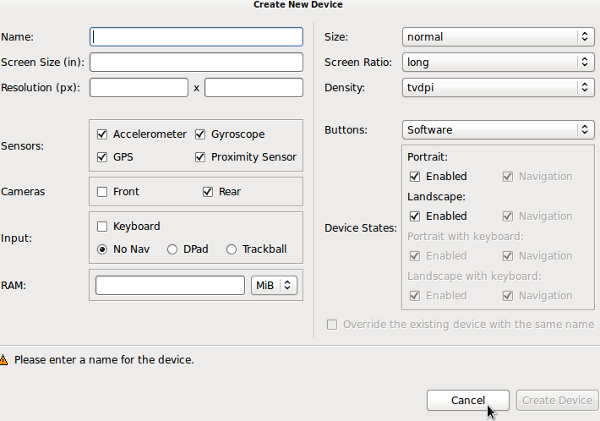
Here you can configure many aspects of the virtual device software and hardware, including screen size and resolution, sensors, camera, input, density, and buttons. When you create a new device, it appears within the list alongside the existing definitions. You should try to choose meaningful names for any definitions you configure so that you can identify them at a glance in the list. You can stick to the existing definitions for your first few app runs, so click "Cancel" for now.
Step 2
You have two options to utilize existing device definitions: either clone an existing device definition then tweak its properties or create a virtual device instance based on its existing definition. Select a device from the list and click "Clone".
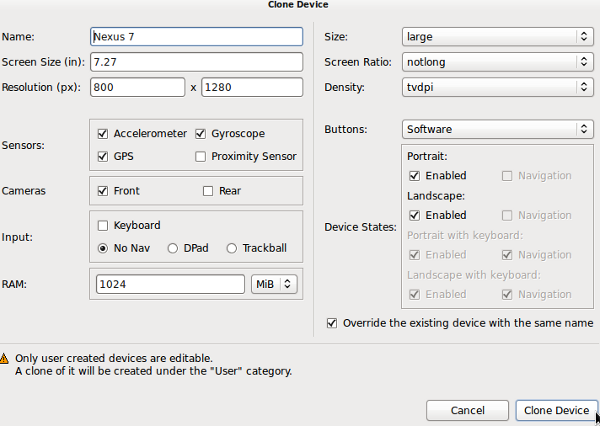
The Clone Device window fields are automatically populated with the properties matching the selected definition. To use these device properties as a basis for a slightly different device, leave all of the fields as they are and click "Clone Device". A copy of the device will appear in the list.
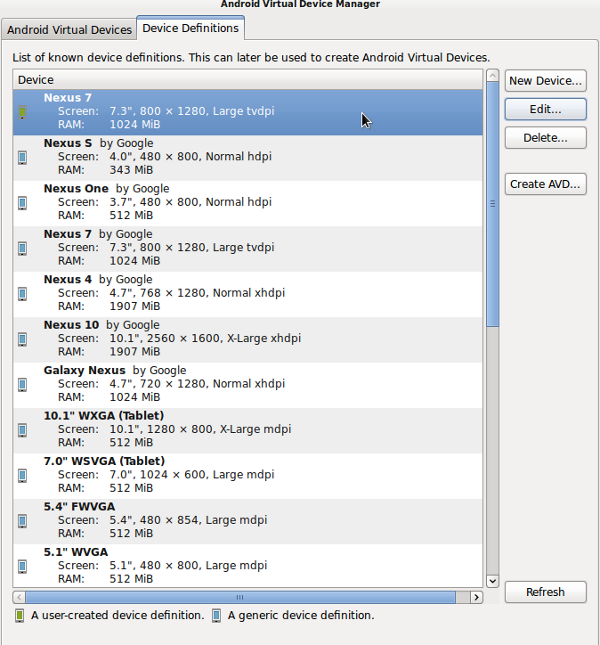
As you can see, you can identify user-defined devices at a glance as the Android device definitions and user device definitions are color coded. You can only edit user-defined definitions, so select your cloned device in the list and click "Edit".
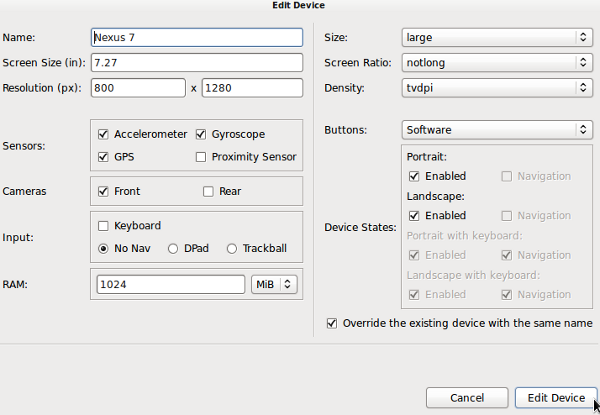
You can now edit any aspects of the device you like and click "Edit Device" to apply your configuration. You can now create AVD instances based on the listed device definitions.
Step 3
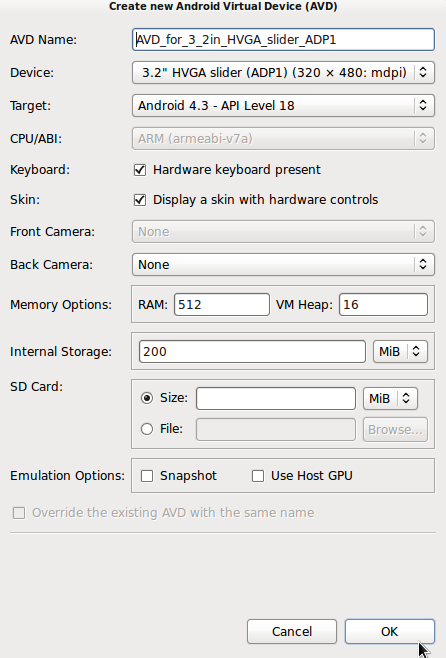
Now you can see one of the device definitions in action by creating an AVD based on it and running it on the emulator. Select a device definition from the list and click "Create AVD". In the window, you can configure the instance or can leave it as it stands based on the definition. See the Developer Guide for a list of AVD options. Click "OK" to create the AVD.
Eclipse will switch back to the Android Virtual Device tab where your new device will appear. With the new AVD selected, click "Start" to run it.

Click "Launch" in the pop-up window that appears. Eclipse will start to run the emulator with your defined AVD on it. The device may take a few minutes to start up. You can close the AVD Manager once you have a device running.
Step 4
Where appropriate, the emulator displays virtual versions of the device hardware controls. You can interact with these by clicking them with your mouse. In addition, there are a number of keyboard shortcuts on the emulator that you will likely find useful, including the "Home" key for the device home button, ESC for the device back button, and F2 for the menu button. See the Developer Guide for a list of emulator shortcuts.
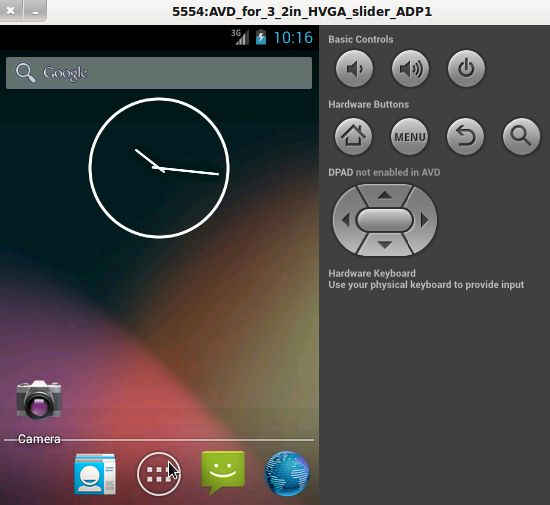
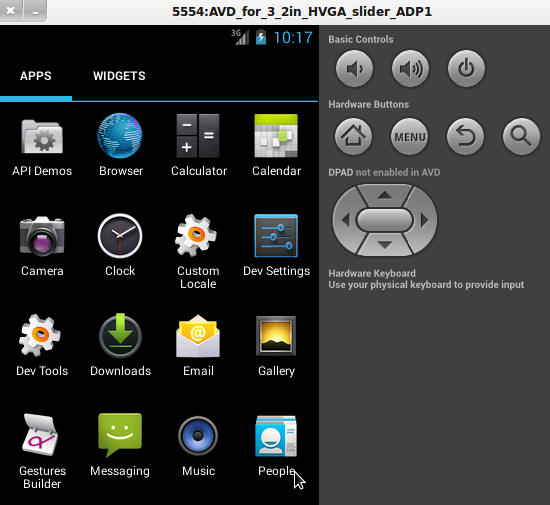
Depending on the AVD you created, you may need to press F2 or click "OK" to remove the lock screen. As you can see, the emulator displays what you would see on a physical device. Take a few minutes to explore the virtual device now, browse the app menu, and launch a few apps.
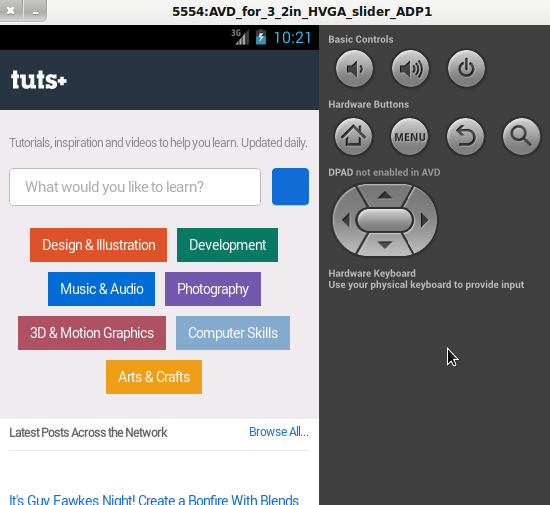
Launch the Browser app on the virtual device. Click in the navigation bar and enter a URL to visit. You can use your computer keyboard to type on the device. The emulator automatically uses any Internet connection you have on your computer, so you can test Web connectivity functions in your apps.
Step 5
With your AVD still running, switch back to Eclipse and open the DDMS perspective again. You will see the virtual device listed in the Devices View, as with the physical device you connected. Eclipse will display a list of processes running on the device. For selecting a process, various buttons in the Devices View are enabled. Take a moment to look at these now. You can use these tools when you debug future apps.
Conclusion
Now we are acquainted with the process of using a hardware or emulated device in Eclipse. In the next tutorial, we will run our app on a device from Eclipse. After that, we will explore common Android components and the Activity lifecycle, before pointing you in the direction of resources for future learning. As you develop your first few apps, you may wish to look back at these tutorials as a reminder of the options available when creating and interacting with devices from Eclipse.

Comments