This tutorial runs through the basic process of creating a share button, implementing the share Intent, passing your content, and building the chooser list.
Implementing the share Intent allows users of your apps to share content across multiple channels, including email, text messaging, social networking and more. You can give your users a good level of control over how they wish to share your content by letting them select from the list of sharing applications available on their own devices.
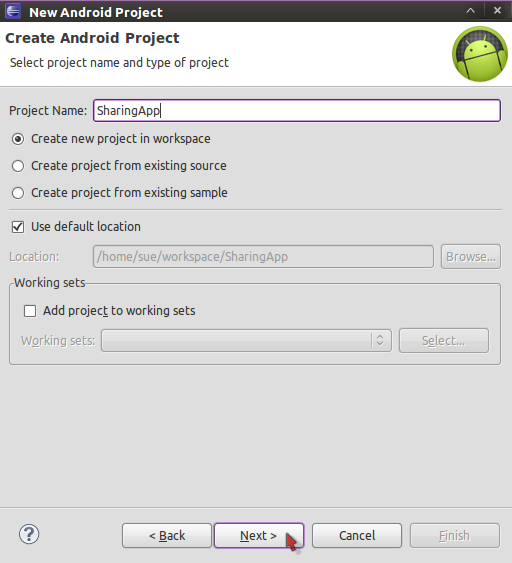
Step 1: Start a New Android Project
If you already have an application you want to implement sharing with, you can use it. If not, create a new project in your Android IDE. In Eclipse, choose "File," "New," "Project" then "Android Project." Fill in your project details and click "Finish." your new app's details will appear in the workspace.
Step 2: Choose an Activity to Launch the Share Intent
If you already have an Activity in your Android app that you plan on launching the share Intent from, open it in your IDE's editor area. Otherwise, you can use the main class for your new app or create a new class, making it an Activity so that you can include a button to launch your sharing Intent. Make your class extend the Activity class and include an "onCreate" method in which you can build your user interface elements.
Step 3: Create a Share Button
You can launch your sharing Intent on any user action, such as pressing an options or context menu item. The following Java code creates an image button, inside the "onCreate" method of the Activity:
ImageButton sharingButton = new ImageButton(this);
sharingButton.setLayoutParams(new ViewGroup.LayoutParams(LayoutParams.WRAP_CONTENT, LayoutParams.WRAP_CONTENT));
sharingButton.setImageResource(R.drawable.sharing);
This creates a button based on the Android ImageButton class, which the Activity will need to import. This code refers to an image saved with the file-name "sharing" which is stored the drawable folder of the application resources. You can use your own image and alter the code to reflect its name. Alternatively, you can create a standard button with text rather than an image.
Step 4: Listen for Button Clicks
Depending on which type of button you're using to launch your Intent, you may need to implement a listener function. For the image button, you can add the following code:
sharingButton.setOnClickListener(new View.OnClickListener() {
public void onClick(View v) {
shareIt();
}
});
This code specifies a method for the application to call when users press the share button. By including the code in a dedicated method, you can call on the sharing functionality from multiple locations in your code, such as from the "onContextItemSelected" method for long-presses or the "onOptionsItemSelected" for option menu button presses.
Step 5: Implement the Share Method
Add a new method to your Activity, matching the name specified in your button listener method, as follows:
private void shareIt() {
//sharing implementation here
}
This method will contain the implementation code for sharing content from your app. You can choose to pass parameters to the method if this suits your project.
Step 6: Create a Send Intent
Create the sharing Intent. Add the following Java code inside your sharing method, creating an Intent object with the send action type:
Intent sharingIntent = new Intent(android.content.Intent.ACTION_SEND);
Step 7: Set the Sharing Type
Set a MIME type for the content you're sharing. This will determine which applications the chooser list presents to your users. Plain text, HTML, images and videos are among the common types to share. The following Java code demonstrates sending plain text:
sharingIntent.setType("text/plain");
This is a flexible option, as you can send plain text reliably through many different channels.
It is possible to target specific applications using the "setType" method, but this can be a risky strategy, potentially causing problems if the user does not have those particular apps installed. By keeping the sharing function as generic as possible, you give your users control over how they want to share your content. Sticking to the standard behaviour for sharing in Android applications also creates an intuitive user experience.
Step 8: Build the Share Content
You can pass various elements of your sharing content to the send Intent, including subject, text / media content, and addresses to copy to in the case of email sharing. This Java code builds a string variable to hold the body of the text content to share:
String shareBody = "Here is the share content body";
You can of course build the content using variables and methods within your application.
Remember that some of your content will not appear when the user chooses certain channels. For example, if you set a subject, it will not appear if the user chooses to share using text messaging, and anything over 140 characters will be cropped if the user chooses Twitter.

Step 9: Pass Content to the Intent
Pass your sharing content to the "putExtra" method of the Intent class using the following Java code:
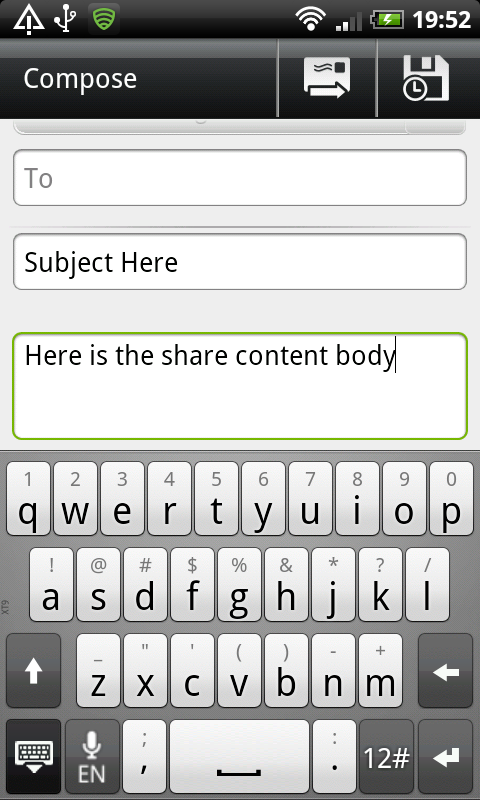
sharingIntent.putExtra(android.content.Intent.EXTRA_SUBJECT, "Subject Here");
sharingIntent.putExtra(android.content.Intent.EXTRA_TEXT, shareBody);
This code first adds a subject to the sharing content, then adds the text body by referring to the string variable.
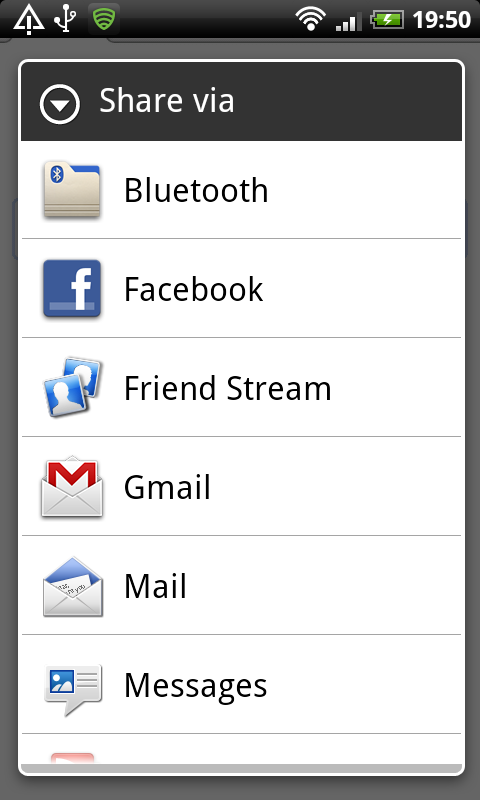
Step 10: Create a Chooser
Now that you have defined the content to share when the user presses the share button, you simply have to instruct Android to let the user choose their sharing medium. Add the following code inside your share method:
startActivity(Intent.createChooser(sharingIntent, "Share via"));
This code passes the name of the sharing Intent along with a title to display at the top of the chooser list. This example uses "Share via" which is a standard option you may have seen in existing apps. However, you can choose a title to suit your own application.
When the user chooses an application from the list, your share content will be passed to that application. For example, if the user chooses an email application, any subject you specified will be automatically populated in the subject field. The user will be able to edit the content before sending it if they wish to do so.
Conclusion
The process of implementing a share Intent in your Android applications is not a complex one. However, the bigger challenge is choosing your sharing content in a way that serves the purpose of your application, while keeping it user-friendly. For example, you can't share the same content in a text message or tweet that you could send using email. For this reason it's best to keep your sharing content as general as possible, so that the function will be as effective for Twitter and Facebook as it is for Gmail and email.
If you want to improve as an Android developer, check out the range of useful Android app templates on Envato Market. There's sure to be something there that can speed up your next project.

Comments