Android From Scratch: Setting Up the Development Environment
Admin 2016-09-08 11:40:49
So you've decided to take your first steps into learning about Android app development. Great choice. Android is currently the most widely used smartphone platform in the world and it is a fun operating system for app development. This article shows you how to set up Android Studio, the official IDE (Integrated Development Environment) for Android app development, and the Android SDK on OS X and Windows.
Do you find it easier to learn with video? Why not check out our course:
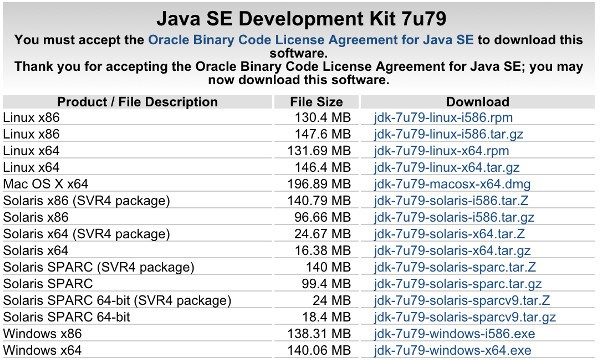
Before you install Android Studio, you need to install version 7 of the Java Development Kit (JDK) on your computer. You can do so by going to Oracle's JDK download page, accepting the license agreement, and downloading the JDK for your computer's operating system.
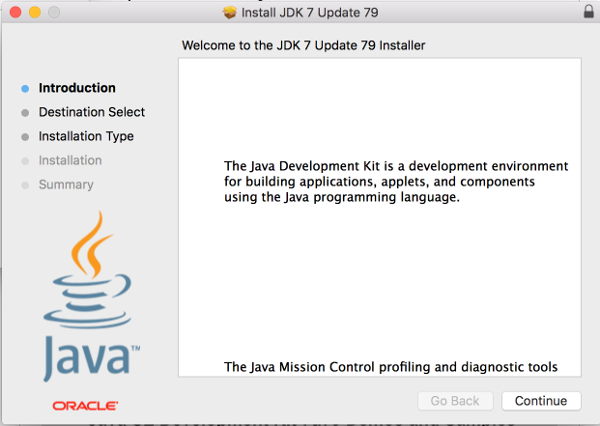
Once your download has finished, you can open the installer for the JDK and continue through the guided installation. The installer for OS X looks like this:
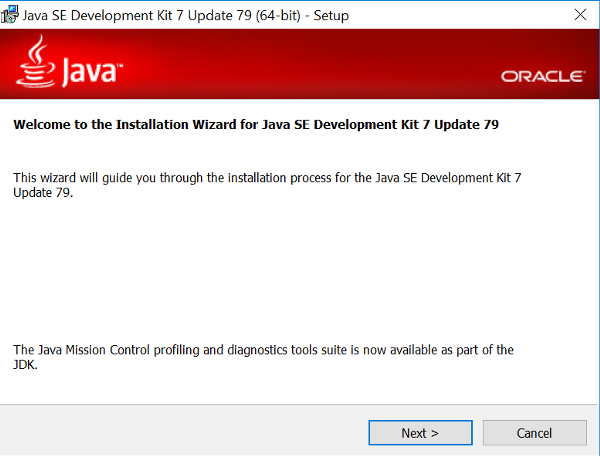
The one for Windows looks like this:
Once you have installed the JDK, you can move on to downloading Android Studio.
2. Downloading Android Studio
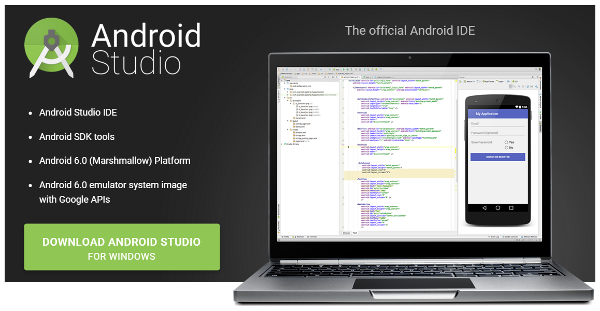
You can get the installation file for Android Studio by visiting the official Android Studio download page. It automatically detects your operating system so that you can download the proper version of Android Studio. This page also lists the system requirements for the current version of Android Studio.
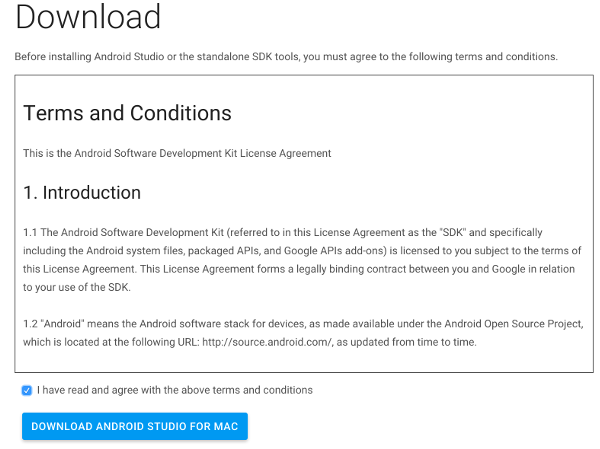
Once you have clicked the green download button, you are taken to another page where you need to accept Android Studio's terms and conditions before the download starts.
3. Installing Android Studio
After the installer has finished downloading, it is time to run it. Because the following steps vary between OS X and Windows, we discuss each platform separately.
Windows
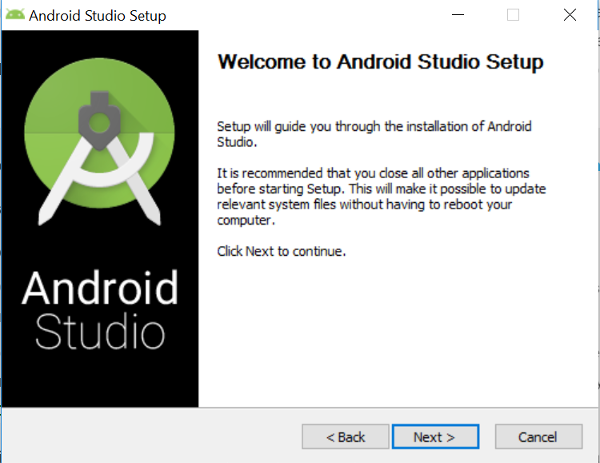
When you open the installer, you are presented with a dialog to set up Android Studio.
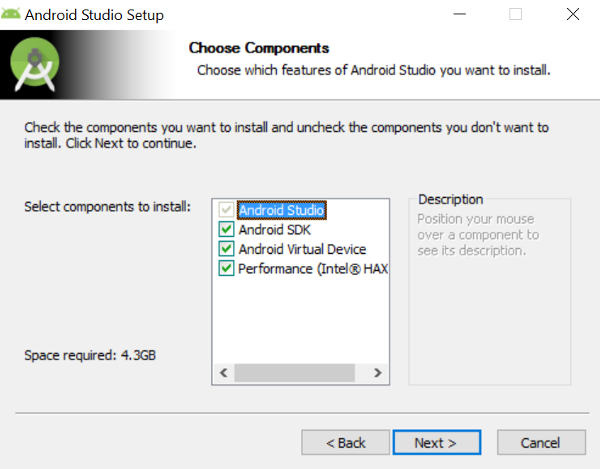
When you click Next, you are taken to another screen that asks you to choose which components you would like to install. You can accept the defaults and click Next.
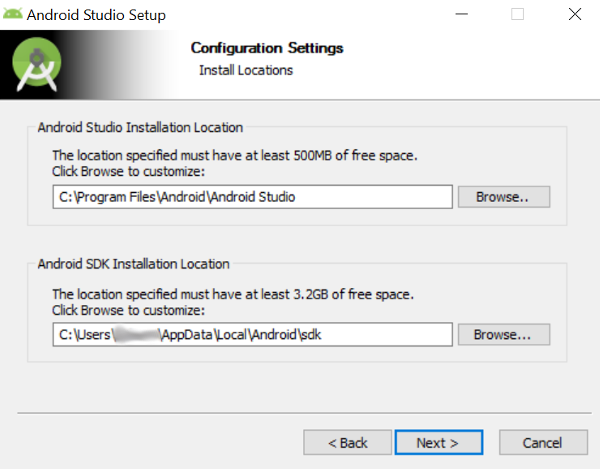
Next, you are asked to provide an install location for Android Studio and the Android SDK. You may want to make a note of where the SDK is installed because other platform tools, such as the Android Device Bridge, are located in the SDK folder.
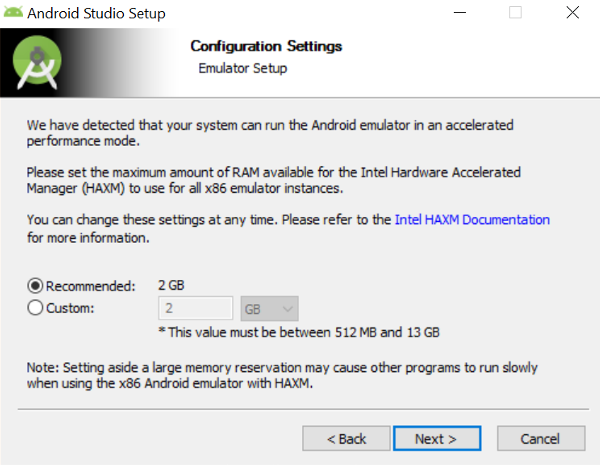
The last setup step that you may encounter involves allocating RAM for an emulator if your computer supports hardware acceleration.
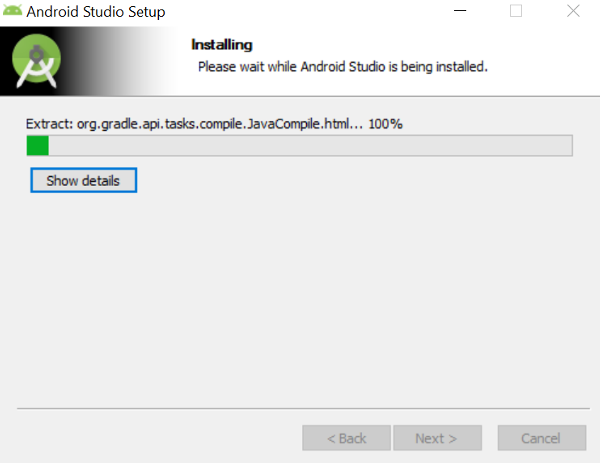
Click Next to install Android Studio.
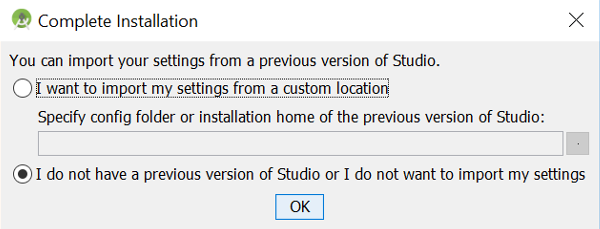
After Android Studio is installed, you are prompted to import settings from a previous version of Android Studio. Since this is most likely the first time you have installed Android Studio, you can select I do not have a previous version of Studio or I do not want to import my settings and click OK.
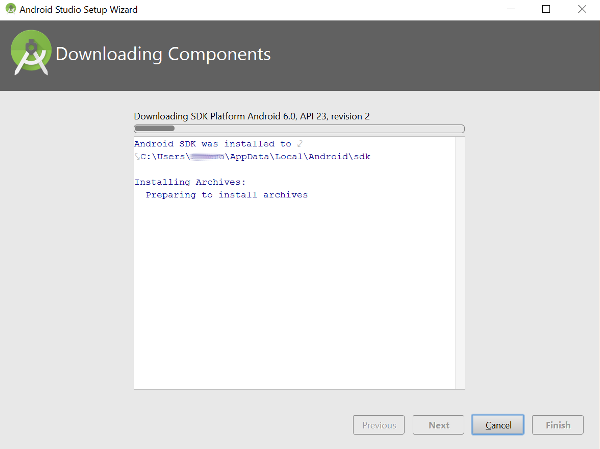
Finally, Android Studio will download the latest Android SDK to the location you provided earlier.
Once the SDK has finished installing, you are able to run Android Studio on your Windows computer.
OS X
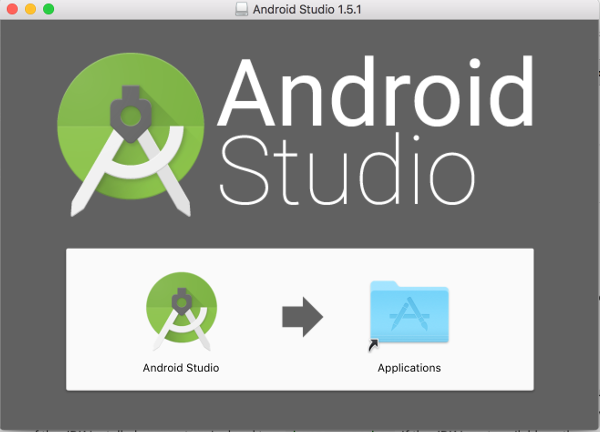
When you open the OS X installer for Android Studio, you are presented with a window that asks you to drag the application into the Applications folder.
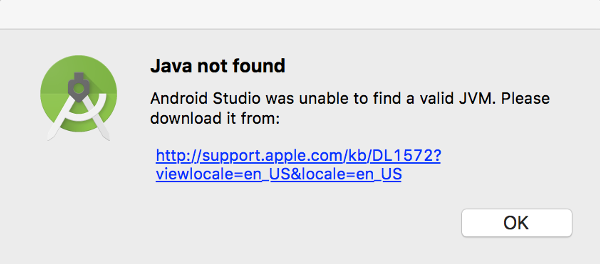
After moving Android Studio to the Applications folder, double-click the application icon to open it. You may see a dialog that says Android Studio is unable to find a valid JVM.
You can follow the link in the dialog to download the Java installer for your machine from Apple's support website.
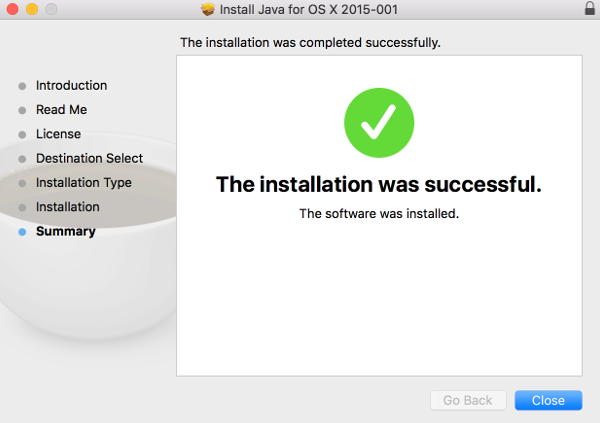
Installing Java is as easy as following the steps provided by the installer.
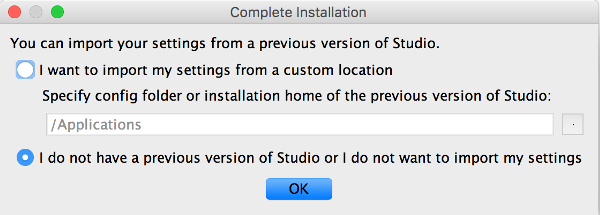
If you already have Java installed or you followed the previous steps to install Java, then opening Android Studio prompts you to import settings from a previous version of Android Studio. Since this is most likely the first time you have installed Android Studio, you can select I do not have a previous version of Studio or I do not want to import my settings and click OK.
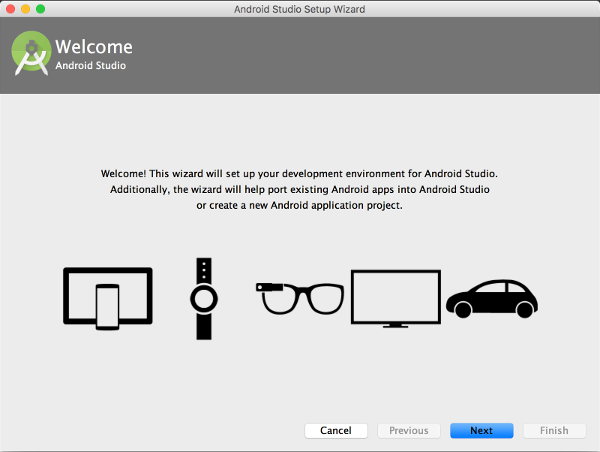
Once you select OK, you are taken to the Android Studio Setup Wizard. Clicking Next starts the setup process.
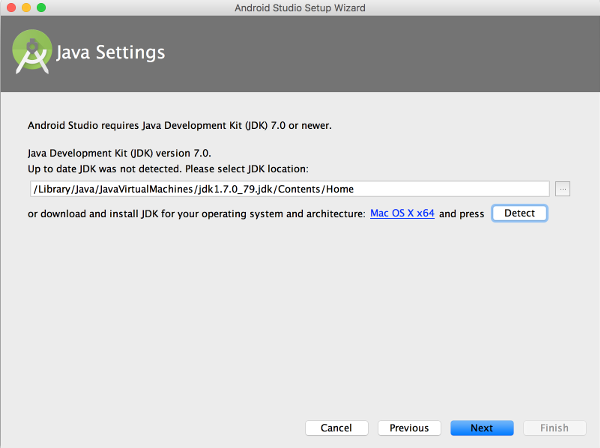
The next screen asks for the location of the JDK that you installed earlier in this tutorial. On OS X, you can find this location by clicking the Detect button.
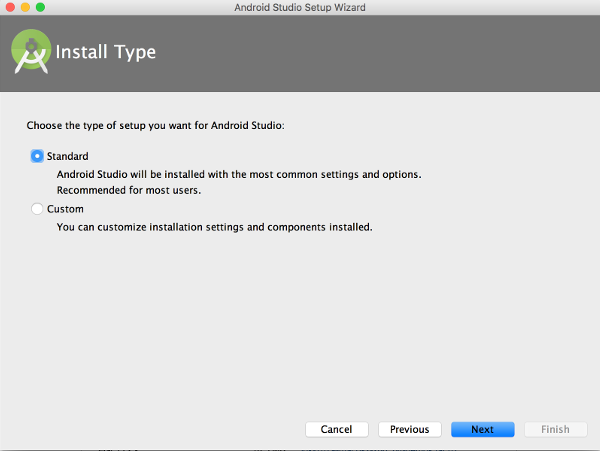
After pointing Android Studio to the JDK, you are asked whether you want a standard or customized Android Studio setup. Unless you have specific needs, the standard configuration should be fine.
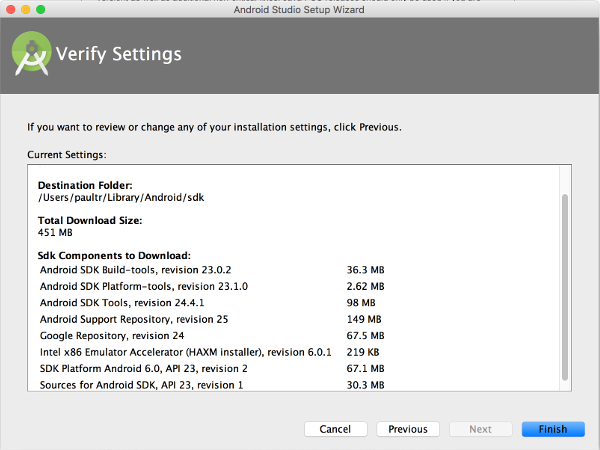
The last screen asks you to verify your Android Studio settings.
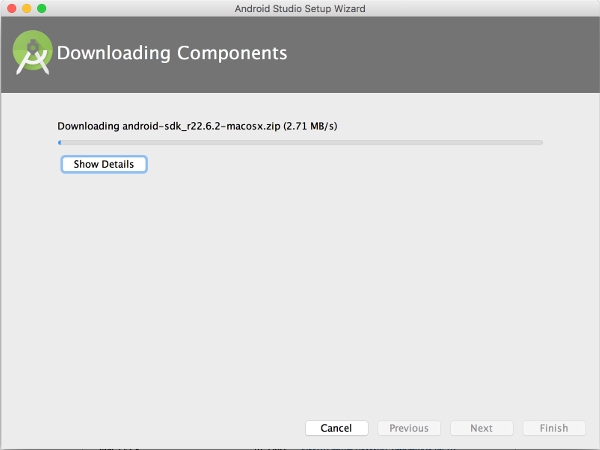
Once you select Finish, Android Studio begins downloading the latest Android SDK.
4. Finishing Up
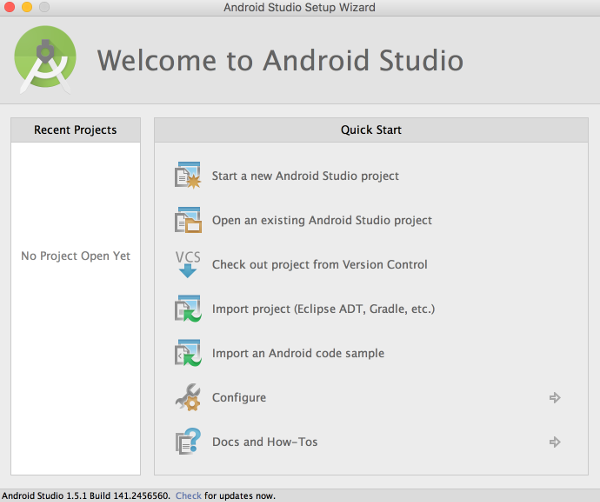
At this point, you should have Android Studio installed on your computer. If you open the application, you are presented with a window that lets you create new projects, open existing projects, or configure Android Studio.
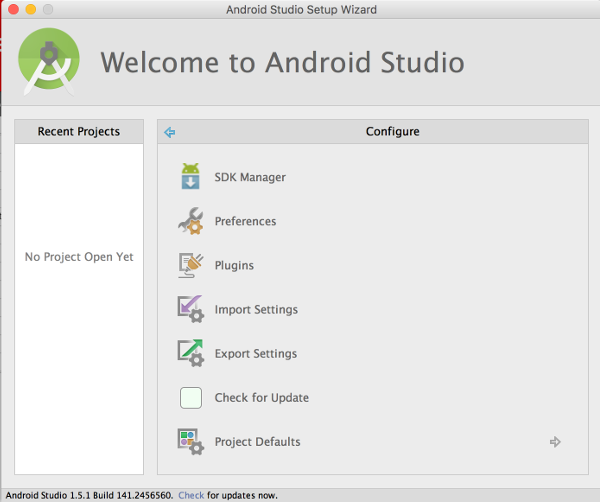
If you select Configure, you are taken to a screen that lets you further customize Android Studio.
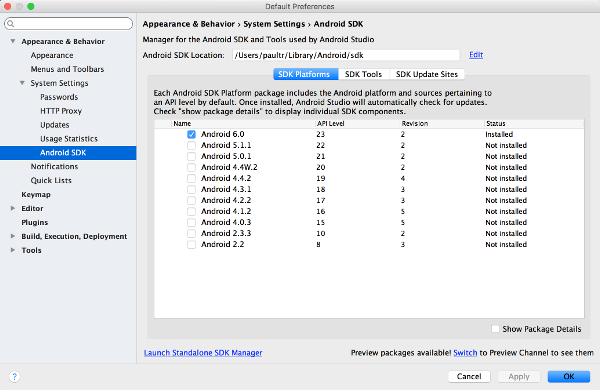
Before you start creating new applications, select SDK Manager to install additional components of the Android SDK that can assist you when developing for Android.
Conclusion
In this article, you have learned how to install and set up Android Studio on your computer. You also set up the Android SDK so that you can begin creating Android applications. Congratulations. This is the first step in your journey of building Android apps.


Comments