Products hold a key position for an online store. In the previous article, we learned how to configure the General settings in WooCommerce; today we will look into the various settings for Products.
Products
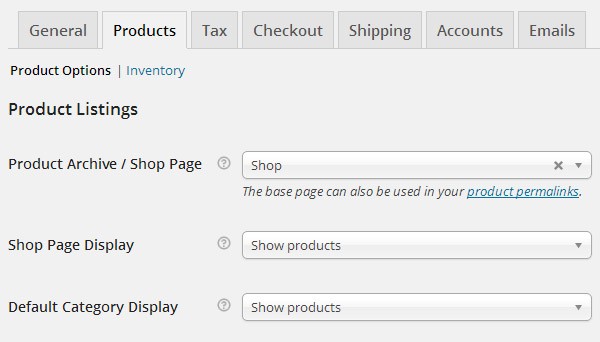
The tab right next to the General Settings is Products. This section of the plugin starts right off with two options which are:
- Product Options
- Inventory
Product Options
The following options come under this section:
- Product Listing
- Product Data
- Product Image Sizes
- Downloadable Products
Product Listing
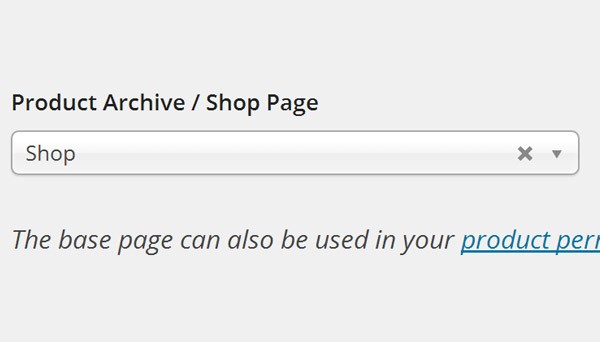
1. Product Archive/Product Page
As an online store owner, you will always want to maintain visual uniformity for your customers. Whenever a customer visits the store and looks for a product, he or she should see one default page every time.
This is made possible with the option of Product Archive/Product Page. Configuring this option will not only set the base page for your store, but you can also find the product archive as well. Set the Shop page here where all your products will be displayed.
2. Shop Page Display
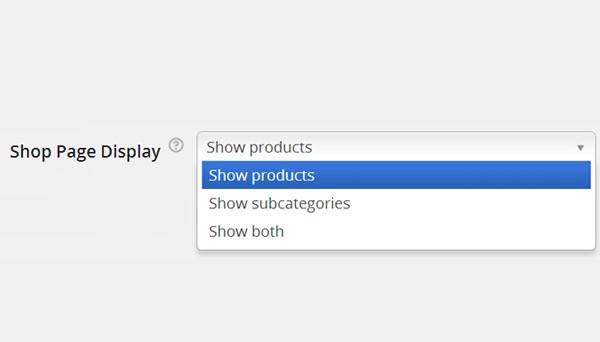
What your product archive will display in real time is controlled with this option. You can show products, subcategories or both with this setting. Let's say you are selling Clothing, Music, and Posters.
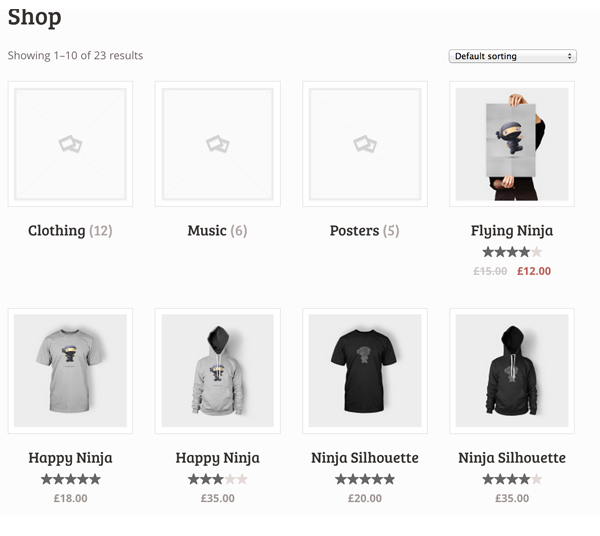
Show Products
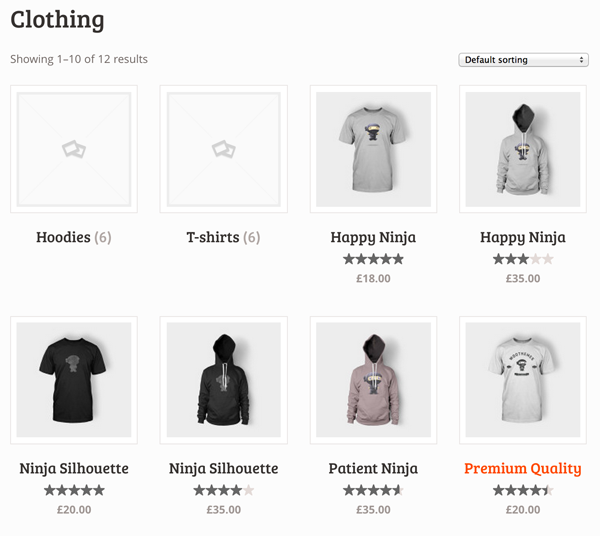
Selecting this option will display all of the products at the Shop page. The figure below shows only the products being displayed like Flying Ninja, Happy Ninja, etc.

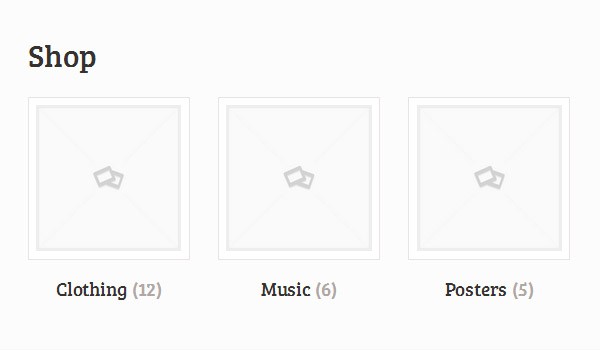
Show Subcategories
The figure below clearly shows that if we select this option then only the categories will be displayed. In this case you can see the Clothing, Music, and Posters subcategories.
Show Both
This option will display both the products and the subcategories on your shop page. Both are being displayed exactly side by side. See the figure below:
In my opinion, if your store has numerous categories then it is better to go with the option of Show Subcategories instead of going with other options. If you have fewer products then go with the first option of showing products only.
3. Default Category Display
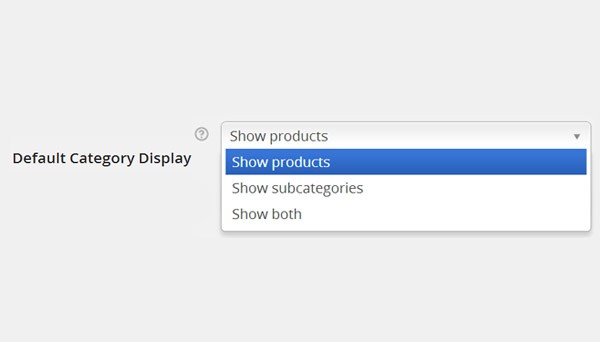
Let's say you are selling Clothes and it has the subcategories Hoodies and T-Shirt. Then you can either display only products or only subcategories, or else choose to display both.
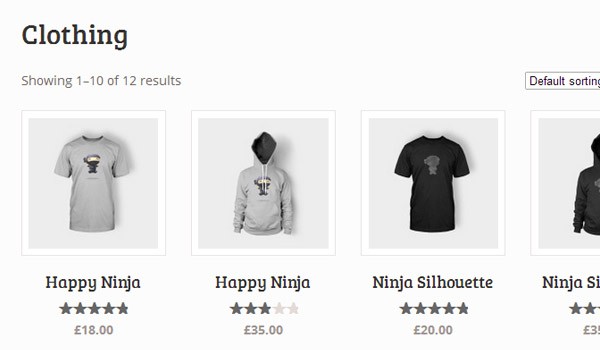
Show Products
If you choose this option then clicking on Clothing on the shop page will show products inside it. The below image clearly explains this fact.
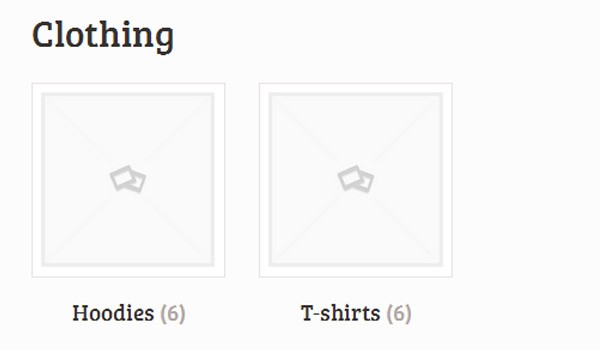
Show Subcategories
If you choose this option then clicking on Clothing will show you the subcategories. The figure below shows that we are in the category of Clothing where different subcategories are displayed to the customer, i.e. Hoodies and T-shirts.
Show Both
If you choose this option then it will display both the products and categories, as shown in the picture below.
Here I will suggest that you select the option of Show Products, which gives a much more user-friendly experience, but again if you have a lot of products and subcategories then choosing to show only the subcategories might be a better idea.
4. Default Product Sorting
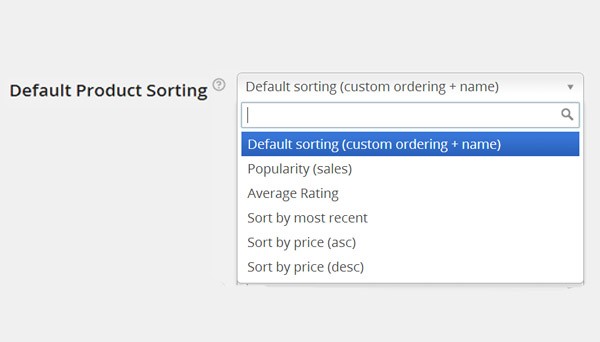
Any category or subcategory page's display order can be configured with this sorting option. You can sort your items with six different routines. Specifically, these are:
- Default sorting (custom ordering + name). More orders of products and then arranging them with respect to their names.
- Popularity (sales). More number of sales will lead a product to be displayed at the top.
- Average rating. Number of sales is one thing; rating is another. Selecting this option will arrange products with regard to the average rating of customers.
- Sort by most recent. Sometimes it is important to display the latest at the top, so select this option at that time.
- Sort by price (asc) and Sort by price (desc). Pretty obvious by their names: use these options if your customers are price crazy.
5. Add to Cart
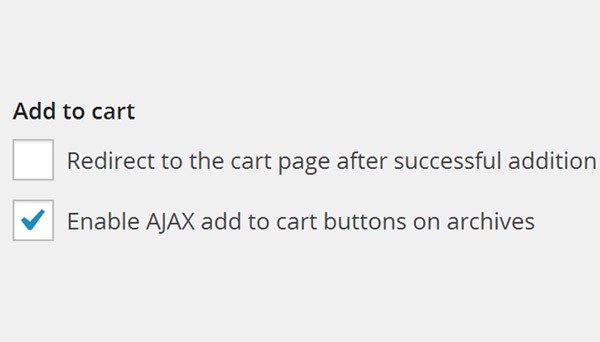
For any online store the “Add to Cart” option is a must, without which you cannot covert your leads into sales. In this section of settings you come across two different checkboxes.
- Redirect to the cart page after successful addition. Enabling this checkbox will mean that whenever a customer adds a product he will be automatically directed to the "Add to Cart" page. I'd suggest you to leave this option unchecked because there is a chance that your customer will buy more products at the same time if you don't redirect him/her directly to the checkout page.
- Enable AJAX add to cart buttons on archives. Displaying the option for “Add to cart” on your archive pages can be hectic but this problem is solved if you enable this checkbox. I'd suggest that you enable this.
Product Data
1. Weight Unit
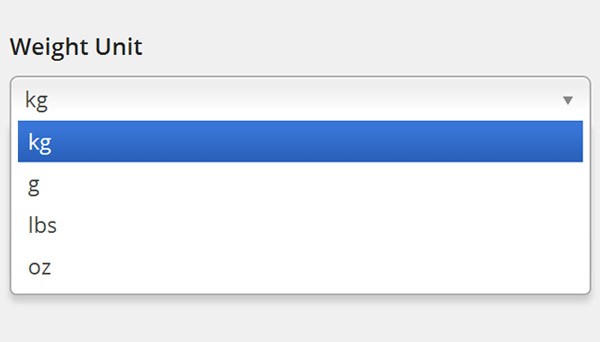
You can set the units of weight for the products of your online store with the help of this option. Select any one unit out of the drop down menu, i.e. kg, g, lbs and oz.
2. Dimensions Unit
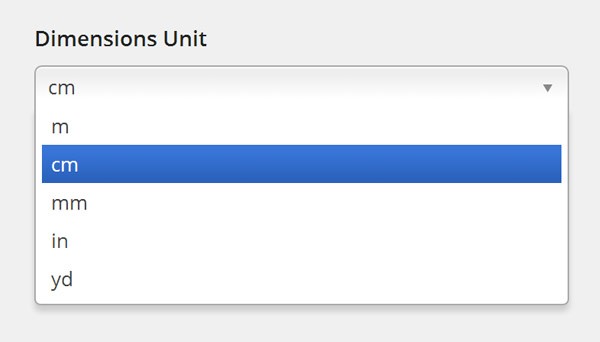
Like weight, you can also set the default units for defining lengths of products in your online store. You can set these units in m, mm, cm, in and yd.
3. Product Ratings
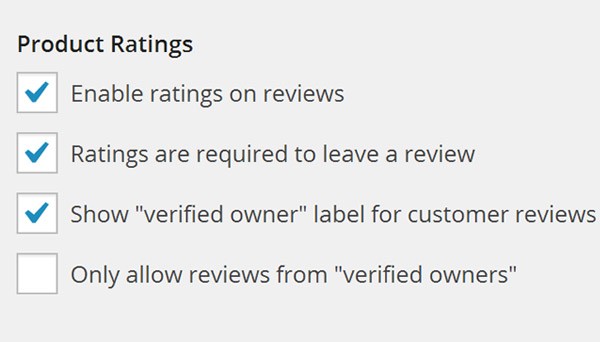
You can manage product ratings with freedom and ease with WooCommerce. It offers various options in these settings. Enable these according to your requirements.
- Enable ratings on reviews. Customer can rate while reviewing the product.
- Ratings are required to leave a review. Customer needs to rate if he/she wants to post a review.
- Show “verified owner” label for customer reviews. Enabling this checkbox will mark any customer as a "verified owner" so that people can trust his/her review.
- Only allow reviews from “verified owners”. With this option enabled, only "verified owners" (i.e. people who bought the product) enjoy the right of posting a product review.
We'll configure the rest of the products page in the next article. Till then if you have any questions, let me know.

Comments